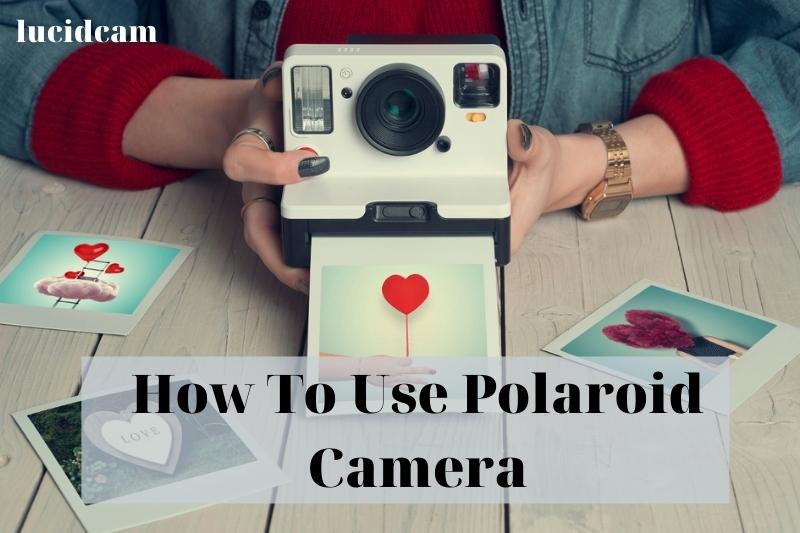
Polaroid cameras are known for their unique ability to produce photos that develop as the picture is taken. It’s a basic, easy-to-use, point & shoot type camera, that takes instant photos. Here we will show you how to use polaroid camera, from inserting the film to taking the picture.
Table of Contents
What is a Polaroid Camera?
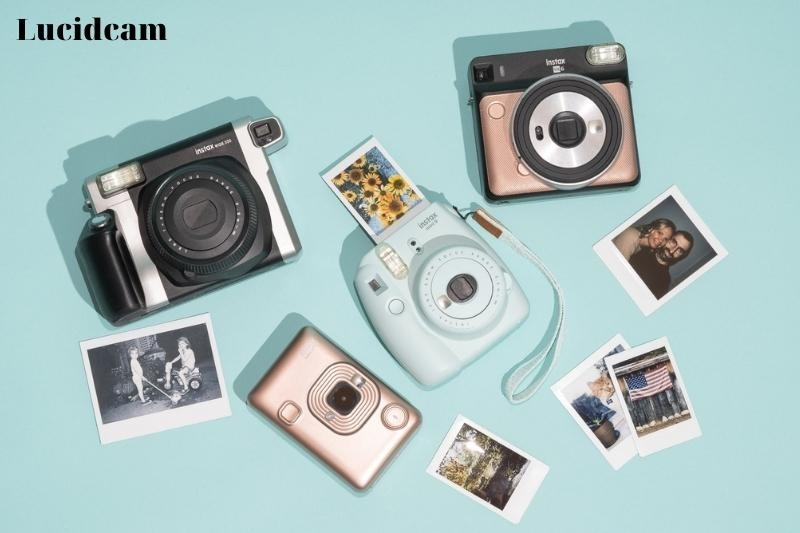
You are not the only one who has been misunderstood by the term “polaroid cam”! It’s basically an instant camera that instantly delivers your photos after you take them.
These cameras are also called Polaroid cameras because the Polaroid Corporation invented and patented the technology in 1952.
They were the first to use this technology, which enabled people to instantly lock in memorable experiences and then marvel at their photography skills within minutes of taking the photo.
The self-developing film is what allows this type of camera to produce fast photos. These cameras have been around since 1923. The first commercial edition was released in 1948. Modern polaroid cameras are available from other brands, including Fujifilm, Leica, and Kodak.
How to Use a Polaroid Camera
It’s easy to make your own polaroid camera!
It can be purchased at any camera shop. Once you have purchased one and a compatible film, it is time to learn how to use your new camera.
This is because polaroid functions are a bit different than the standard DSLR or point-and-shoot cameras.
Follow the steps below to get started with taking photos.
Cartridge Loading
Before you can start taking photos with the camera, prepare it by first equipping it with appropriate films.
Turn your camera to the back or the bottom and pull the switch. The container for the film cartridge will be revealed. Place it in the container so that the metal parts face down and the darker side faces the cover.
If your Polaroid camera is old and has an old cartridge, store it in a dark place to keep it safe. Don’t expose it to direct sunlight.
When you load the cartridge, you should see a dark slide sticking out of the camera. If you don’t see it, check the device to find out why. You can use this slide to protect your photos during exposure.
Power On
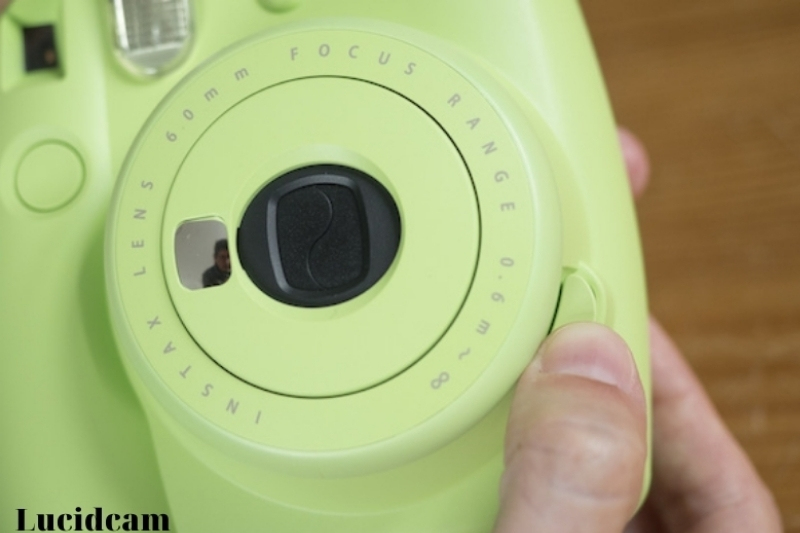
You will now need to turn the camera on. Each model has a different process.
You may have to open the flash bar for 600 series models. This will be necessary almost every time you take a photograph.
For most other polaroid cameras you will need to flip the flash bar. Some models don’t require you to turn on the camera before using it. Polaroid SX-79 is a good example.
Fixing Exposure
Exposure is a term used to describe the light sensitivity of your camera and film. It determines the tone of your photos, and how dark or light they are. This is why it’s important to correct it before you take the shot.
You can adjust the exposure using the slider on the OneStep series Polaroid cameras. You can adjust the amount of light entering your camera lens. To find the perfect exposure, try different exposure settings.
Certain films, such as the Impossible Project SX-70, have higher light sensitivity. You can also adjust the exposure with a switch. These films require you to be more cautious with your exposure.
Keep Your Distance
Now it is time to get ready for your first shot with the polaroid camera. You should be at the right distance to the subject of the photograph since these cameras use depth-of-field to adjust the lens focus.
Find the optimal distance to get the sharpest image possible.
This distance should be at least 4 feet. We recommend that you keep photos within the recommended distance if your model has a close-up setting that allows you to take photos of distant objects.
Find the Right Frame
The most important aspect of taking a great photo is framing. A bad frame can make a great subject look boring in a photo.
Unfortunately, polaroid cameras won’t show you exactly how the image will look. The viewfinder makes it a bit more difficult to find the perfect frame.
You will need to do more to ensure that your photo doesn’t look too bad.
Snap, Protect, And Wait
You can finally click the button to take the shot! But you can’t be amazed at your photography skills yet.
The snaps will be in the form of squares of black. Depending on the model, you will need to keep them out of direct sunlight for between 10 and 30 minutes. This is required for the chemical compounds to develop.
To protect them from light exposure, cover them with paper or place them in a light-safe container or pocket.
How to Tak Your Shot

1. At least 4 feet (4.22 m), from your subject.
OneStep cameras have fixed-focus lenses that allow them to focus on the subject. They do not have the electronics required for autofocus. To allow the camera to take sharp images, you must maintain enough distance from yourself and your subject.
Photographs taken with Polaroid cameras may require you to play with distance. Some models produce better images when photographed from a distance of 10 feet (3.04m). Some models might not work at distances greater than 10 feet (3.04m). Be patient and test your camera.
A closeup setting may be available on some models that allow you to take photos of subjects less than 4 feet (1.22m) from you. These settings don’t usually work well. These settings don’t work very well.
2. Frame your shot using the viewfinder.
The viewfinder is not able to show you the exact image. The viewfinder can’t give you an exact replica of the final image so make sure to leave enough space between your subject and the camera when framing your shot.
3. Press the trigger to take a photo.
Taking a picture using a Polaroid OneStep camera is as simple as it gets. There are no adjustments. Simply push the button and take a picture. Then, you can view your work.
4. Keep your photographs from being exposed to the sun.
Either place the photos in a bag or other light-safe container immediately or cover them with paper. You have two options: either place them in a pocket or light-safe container immediately or cover them with a piece of paper.
5. Before you view your photos, wait at least 10 minutes and up to 30 seconds.
Ensure that your photos are not exposed to light during development.
Although some old Polaroid films can be developed in as little as 90 seconds, it is safer to wait. Be cautious if you are using the Impossible Project’s latest film. A properly developed image will look better after half an hour than one that looks sloppy after five minutes.
- The Impossible Project suggests waiting 10 minutes for black and white film, and 30 for color film.
Special Tips – How to Use Polaroid Camera at Night
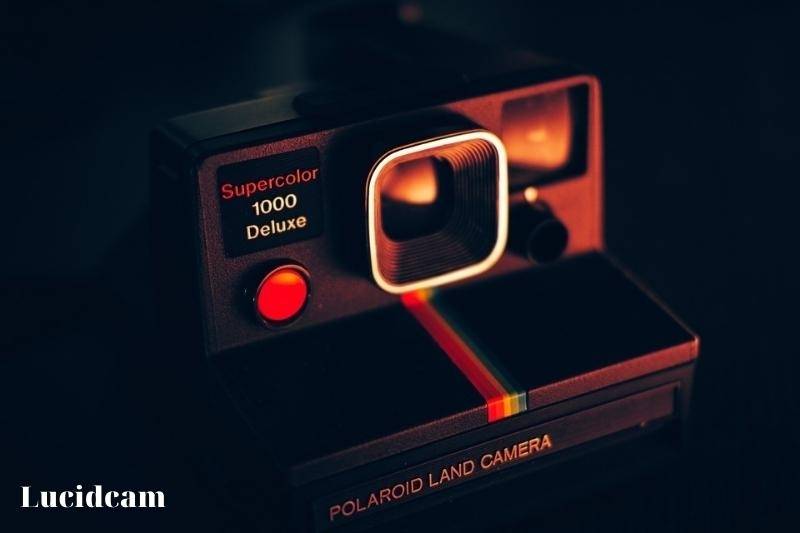
You now have the basics of how to take a photo with a polaroid, but you also know some helpful tips for using it at night.
Steady Camera
To get a good night shot, you must keep the camera stable. A tripod that is attached to the mounting socket of your camera is one way to ensure it stays stable.
You may have to find other ways to set up your tripod if your model doesn’t have one. You can also place the tripod on a solid, flat surface and add a side structure for support.
Pose on Hold
Night photos of moving objects are not very well-suited for night photography. This is also true for the people in your image. If you’ve created a beautiful pose to taking a stunning night photo, it is important to keep the pose in place for at least a few seconds so the camera can properly capture it. The result could be blurry if you don’t.
Right Light
Flash is a great tool for taking photos in dark conditions with a polaroid camcorder. A small amount of white electrical tape can be used to increase the brightness.
This will keep the light from hitting your subject, and it will result in more subtle soft illumination.
This trick and the flash are great for dark settings, but its use in well-lit areas is questionable. The flash will only make matters worse if you’re taking the photo in a bright area. For the best lighting, switch to outdoor settings, and your camera will automatically adjust for the appropriate amount of light.
we believe a photo lightbox is a good tool for professional photography, such as product photography.
Tips to Take Great Pictures With Your Fujifilm Instax Mini Camera
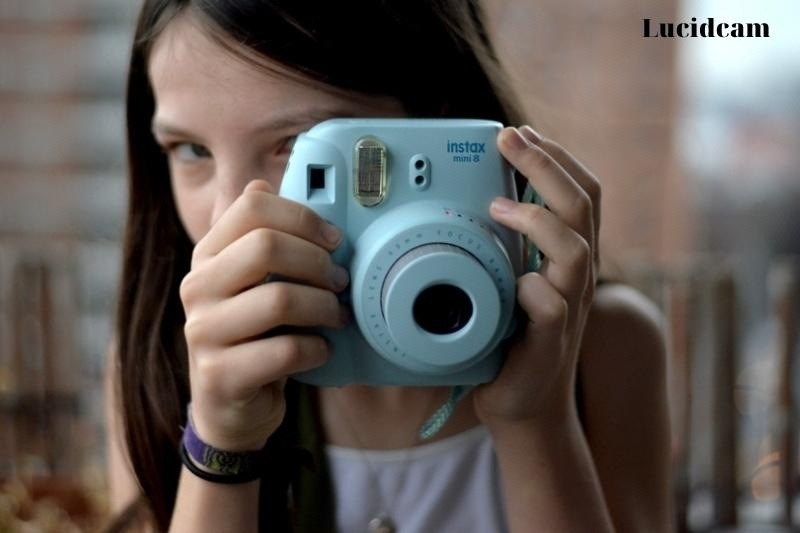
Fujifilm was the first manufacturer to offer different modes of shooting for Polaroid cameras. For example, “Kid mode” will allow you to capture photos at a faster shutter speed in order to capture fast-moving objects and people.
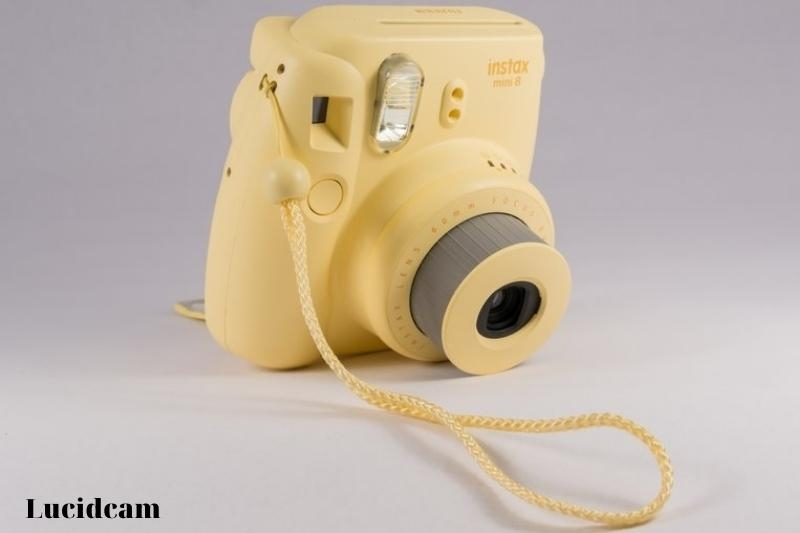
Fujifilm introduced Instax Mini 8 later. It was marketed as the “cutest camera” for young girls and women. They introduced Instax Mini 90 shortly after and Instax Mini 70. These cameras were designed for middle-aged men and had a classic, sleek design.
The following, These tips will help you take great photos with your Instax camera.
Find good lighting.
Instax Mini 8 automatically selects the best setting for each lighting situation. It also features a flash that helps illuminate your subject or scene. It is important to photograph insufficient lighting so that your photos are not underexposed.
Do not stand too close to or too far away from your subject.
For the best outcome, keep your subject 2-9 feet away from the camera. The flash’s range is around 1.97 to 8.86 feet, so be sure to stay in this range to get clear photos.
Try different brightness settings.
You can always follow the suggested settings if you are a beginner. You can adjust the brightness to achieve a different outcome in some situations.
First, learn about the brightness settings of your camera. The camera’s aperture opening determines the brightness of your picture. An aperture is a key element in photography. It allows light to pass through the camera’s opening.
Keep in mind, the aperture is measured using f-numbers. The greater the number, the bigger the opening.
- Hi-Key – Brightest setting. Makes your photo soften and brighter
- Indoors, Night is the second-brightest setting. Aperture of f/12.7
- Third brightest setting: Cloudy, Shade; aperture of f/16
- Sunny, Slightly cloudy – Fourth brightest setting; aperture of F/22
- Sunny and Bright – Fifth brightest setting; aperture of F/32
Let’s suppose you are shooting outdoors and the sun is very bright. The bright sun icon is the default setting. If you prefer a brighter photo, then ignore the suggested setting. Instead, “trick” the camera to let in more light.
If the camera indicates a cloudy scene, but you wish to make your photo darker and less exposed, then select the sun icon to create a dramatic effect.
Experiment!
Although the Fujifilm Instax Mini 8 is one of the best instant cameras around it’s still a point-and-shoot. You won’t be able to control everything. This camera can only control two things: your exposure (to a certain extent) and the composition of your photos.
Experimenting with different compositions is the best way to get better photos. Take photos from different angles and vantage points. Photograph unusual subjects.
FAQs

1. How to Load a Film Pack into Your Fujifilm Instax Mini 8
- Find the film cover at the back of the Instax camera.
- To open the film compartment, press the top latch.
- Place the Fujifilm Instax Mini film cart (make sure that the yellow dots on the cartridge and on your camera are aligned) in the camera.
- Change the film cover.
- To eject the film cover, turn on the camera and press the shutter button. (The exposure counter will change from “S” to “10”)
2. How to use the Instax Mini Self-Timer
Instax Mini’s self-portrait timer is an excellent feature for taking a self-portrait. How to take instant selfies.
- Place your camera on a tripod, or ensure it is balanced on a flat surface.
- The self-timer button is located on the backside of the camera. It is similar to a clock dial and can be found next to the Mode button.
- To start a 10-second countdown to the shutter, press the button one time. You’ll see the countdown on the LCD window so that you know when the self-timer is finished.
- Position yourself for your shot.
To take two selfies at once, double-press the self-timer button. The countdown will start when you see the small number 2 next to the LCD icon. The first shot will start firing after seven seconds, and the second one will fire three seconds later.
3. Are you putting Polaroids in the dark or light?
Polaroid film can be sensitive to bright light for the first few minutes. You should protect your photo from direct sunlight as soon as it is ejected from the camera. Keep it in a dark area while it develops
Conclusion
How to use polaroid camera film article is very helpful to those who want to use polaroid camera film. It will help you to know how to use polaroid camera film in the right way. Share this post with your friends if you feel helpful to you.
If you want to know more information, you can access Lucidcam to read other blogs
