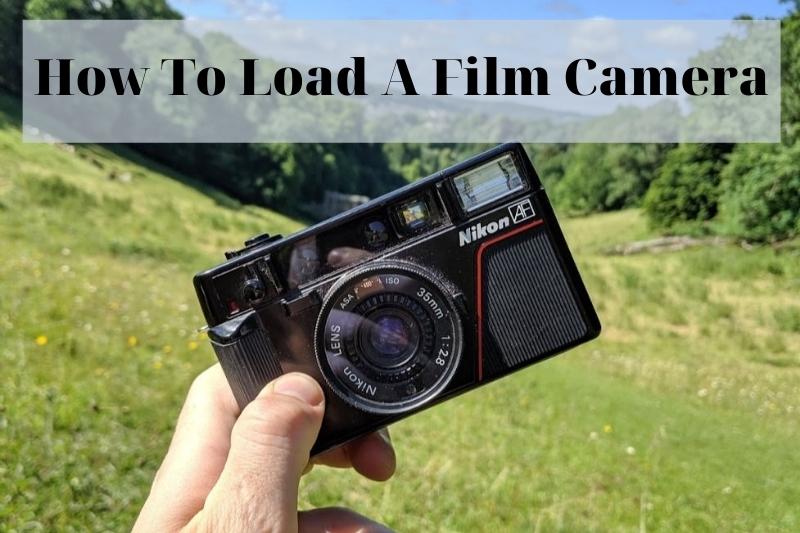
People are arguing about whether film or digital cameras are better. Some people swear by the quality of film photographs, while others love the convenience of digital ones.
Personally, we like both for different reasons. The digital camera is great for capturing memories quickly and easily, and Digital photography is just easier—less time and less money spent on materials, while film cameras can give really beautiful classic images.
But, Do you know how to load a film camera properly? In this blog, Lucidcam will discuss about it.
Table of Contents
The Basic Steps to Load Film into Camera
Although loading film into a camera can seem difficult at first, you will soon be proficient in the process. These steps will show you how to load film into a camera. You’ll soon be able to take amazing photos.
Step 1: Open Your Camera
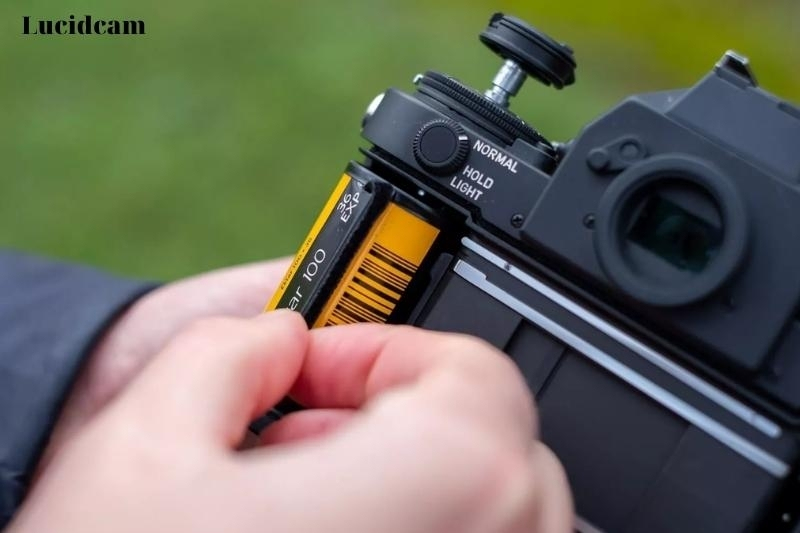
First, open the camera’s back. Most cameras have a rewind knob that will allow you to open the back of your camera when you press it. The back of your camera will open when you press the rewind button until it clicks.
Some cameras come with an open switch that allows you to open the back of the camera. You can refer to the manual for more information or search online to find out how to access film chamber of your camera.
Step 2: Make Your Film
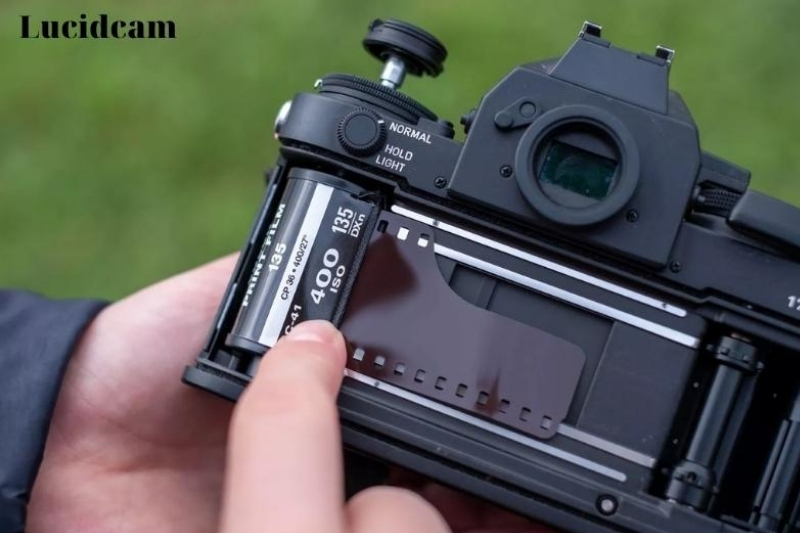
You can now take your film out from the container. The leader is a thin strip of film that measures approximately an inch. Place film in chamber to the left of your camera. Films leader should poke out towards the right.
Once you have positioned the film correctly pull up the rewind knob, or push the film into a film chamber to load it.
Make sure you are 100% certain that the film is correctly positioned before moving on to the next step. It should be clear to hear it click into place. Then, settle into the film chamber.
Step 3: Secure the Film Leader in Place
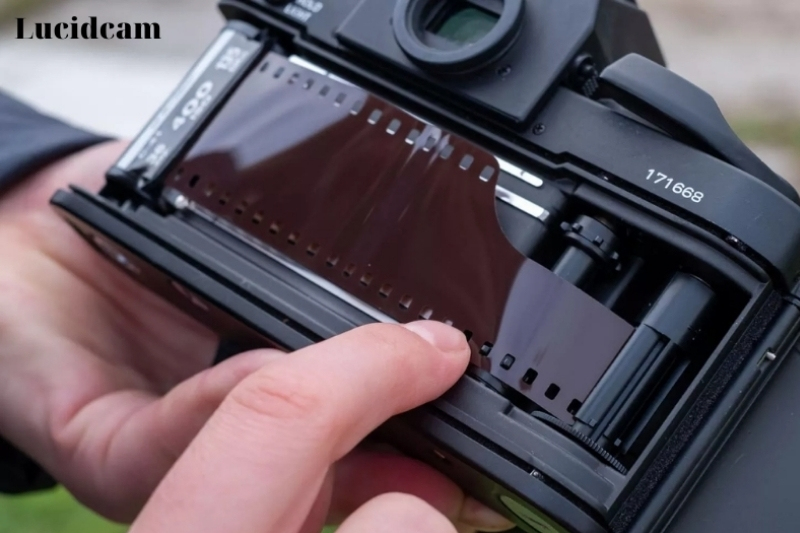
This is a critical step when loading film into your camera. To allow the camera to wind your film through every time you take a photograph, the leader must be securely fastened.
First, move the film leader towards the slot on your right, which is the take-up spool. You should hold the 35mm film at the top and bottom of your camera.
Push the leader’s narrow end into the take-up spool, and hold it in place with your fingers. Make sure you insert the leader far enough into the spindle to ensure it is fully taken up.
Step 4: Move The Film Forward
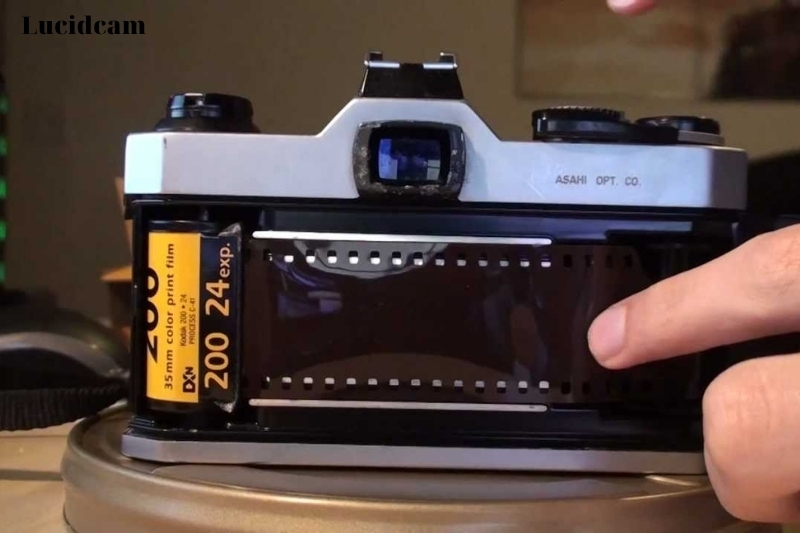
Next, you will need to coordinate. Holding the leader in your left hand is important. Next, align the sprockets with the spindle by placing them in the right place.
Next, locate the film advance lever at the top right of the camera by using your right thumb. The shutter release button may also be needed.
Move the film slowly so that the spindle grabs film and begins to wind it up. Continue this process with film advance lever until you have enough film to wrap around the spindle.
Step 5: Take Some Photos and Close the Camera!
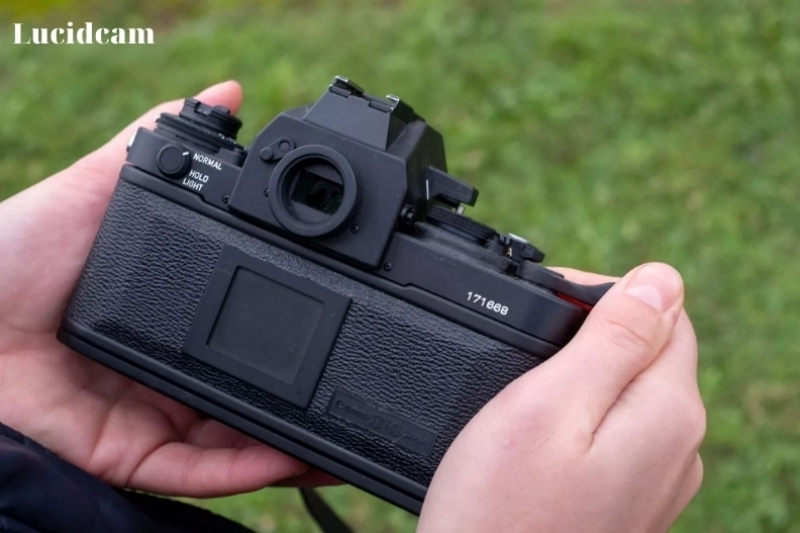
Last, you need to close the camera. But only after you are certain that your film has been correctly loaded. You should close the back compartment by pressing down.
Now, you just need to wind on film to avoid using the exposed film at the beginning of the roll. This is done by pressing the shutter button and turning for several clicks. When the counter shows ‘0’, stop.
That’s it! Do not rush and take each step slowly. A small error can ruin your film.
Now you are ready to begin shooting! Film photography is an amazing experience. Have fun, be creative and have fun!
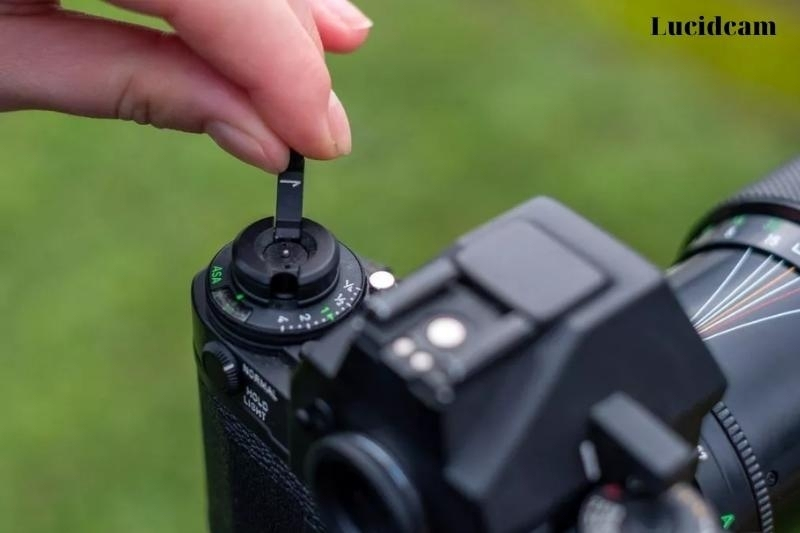
Notice: Make sure to adjust the ASA to match your current film. You will need to modify the ASA before you begin shooting the ASA100 film.
How to Load Film into a 35mm Camera
Step 1
Find the Rewind Knob on the left side and pull up until you see the back of your camera.
Step 2
For your film to be loaded into the Take-Up Spool, cut a leader. To fit on the spool, the leader should be 22mm in diameter.
Step 3
Place films on the left side. After film is in the pocket, push the Rewind Knob to make it snug.
Step 4
Bring the film leader over to the Take-Up Spool. The slot will be accessed by inserting the narrow end from the film leader. Keep one hand on the spool and push the film inward until it is fully enclosed or out the other end.
Step 5
Place the teeth on both sides of your film. To remove any film slack, use the rewind knob. Finally, close the film to the camera. Close the back of your camera and then wind the film using the film advance.
Step 6
Take three pictures. If the film is loaded correctly, the rewind knob should turn every time you crank the film advance lever. If it is not loading properly, the rewind knob will turn every time you crank the film advance lever. To clear the film, take at least two pictures and then start over with a new film. You are now ready to start taking pictures once you see the number 1.
Step 7
It’s now time to adjust your ISO Film Speed. You can now set your ISO film speed by gently lifting the ISO speed ring up and turning it to the desired ISO speed, as shown in the window. This should rotate the numbers in the INSIDE window of the ring.
Step 8
Rotate the shutter speed ring until you have set the Shutter Speed. This camera controls the exposure length. The higher the number you will see, the shorter the exposure time. This should rotate the numbers on either side of the ring.
Step 9
Once you have set the aperture, adjust the aperture ring until it is the desired aperture. The smaller the aperture number, and the less light transmitted to the film, the smaller will be the aperture opening. (the dial closest to the camera).
Step 10
The built-in meter is included with this camera. The meter will be activated when you hold the shutter release button down until it reaches the third position. Once the meter has been activated, turn the shutter speed dial or aperture ring so that only the green OLED is lit.
If you see the red + LED light on your subject, it means that it is too bright. This can be fixed by increasing the shutter speed or aperture.
If you see red LED lights, it means that your subject is too dark. Reduce the shutter speed and aperture. For best results, aim to get the green LED light.
Step 11
Push down on the lever to set a timer. To activate the timer, press the shutter release button fully when you are ready to capture the photo. The timer will take 10 seconds to capture the photo. The timer’s length will depend on the camera’s make and model.
Step 12
After you’ve finished the roll of film, you need to rewind it into the canister. Press the film release button at the bottom of your camera to rewind the film. Turn the film rewind crank in the direction indicated by the arrow until there is no tension.
Step 13
Pull up on the film rewind knob until the back cover of the camera opens. The film should be rolled back inside film canister and it is now ready to be developed.
Tips for Film Photography
Choose the right film
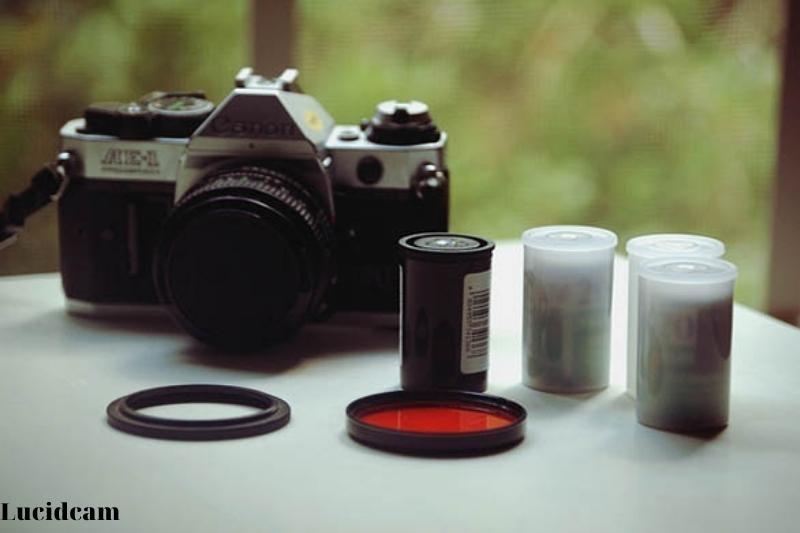
To get the best results, you need to choose the right film for the lighting conditions. Use a higher ISO film speed if you are shooting in darkness. If there is plenty of natural lighting, you can choose a slower ISO film speed. 400 ISO is a good film speed for all-day shooting.
Choose the Right Settings
Make sure your settings are correct before you begin shooting. Consider the best ISO speed, aperture, shutter speed, and shutter speed to get the shots you want. It is worth spending a few minutes getting your settings just right. You will notice a significant improvement in your photos when you do this!
Is it possible to load film into the light?
Films can be loaded in the light provided that the leader is visible. To prevent light from entering the film cradle while switching films, it has felt around its edges. If possible, avoid loading film in direct sunlight. Your best option is to simply move away from the sun and shield your camera with your hands.
What is the maximum time I can wait to have my film developed?
The sooner you act, the better. Here’s why.
The film is exposed to light, and the latent image is saved by excited electrons that move onto a different area on the grain. This is called a hole. The grain will develop if enough electrons reach the grains.
These electrons can migrate if the latent image is not left for long enough. This means that grains that were once developable could become ineligible.
This is especially true in the shadows where there are less developable grains.
It is not known how strong this effect is. Modern films are built for latent image stability and can last for up to 6 months without displaying any loss of shadow detail.
It’s hard to believe that you should say it sooner than later, but if you need to wait a while to develop large batches of film, it won’t mean the end of the world.
How to Unload Film from a 35mm Camera

Your film will stop you from winding it anymore after it finishes. You might be able to squeeze an additional image from your 35mm film depending on how it was loaded.
Turn your 35mm camera upside down so that you can unload film. Then, push the button at the bottom to bring it in.
Now, turn the rewind knob counterclockwise until the film releases. Now you can open the back to remove the film. If you want, you can also wind the film back in. If you leave a tail, you should fold it up so you are aware of its existence. A tail can be helpful for you and the people processing your film.
FAQs

1. What is the difference between an SLR and a rangefinder?
A rangefinder is the simplest example. It has two screens at its front: a focusing screen and a viewfinder. An SLR only has one viewfinder and a mirror that reflects the image upwards.
Cool, simple, light, compact, and easy to use, Rangefinders are great. SLRs have all the same characteristics but are less reliable and require more maintenance. They are also a little noisier due to the mirror.
SLRs were the most popular cameras because they were the most reliable in focusing and showing the actual image exactly as it appears on film.
SLRs are the most affordable film cameras available. Rangefinders that are reliable and good often have a high price.
2. Should you load a film camera in the dark?
It is not necessary to load a film camera in complete darkness, but it is best to avoid exposing the film to direct sunlight or bright artificial light. It is recommended to load the film in a shaded area or under low ambient light conditions to prevent accidental exposure and ensure the best image quality.
Some photographers prefer to use a changing bag or a darkroom for added protection against light leaks during the loading process.
3. What should I do if I accidentally expose my film to light while loading it?
Conclusion
If you’re new to photography, loading a film camera may seem tough. But don’t worry! By following these simple instructions and practicing a bit, you’ll soon be able to load film like a pro. Remember to handle the film carefully and keep your camera clean to avoid any damage or scratches. Once you’re ready, start shooting and try out different settings to take the perfect picture. Thank you for reading!
