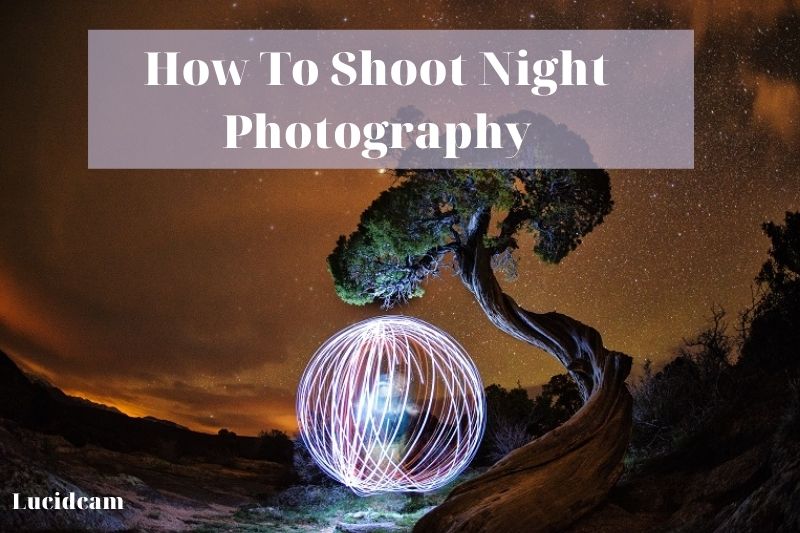
There is something about night photography that just seems to draw people in. Maybe it is the challenge of capturing something beautiful in a dark and often unpredictable world. In this article, Lucidcam will discuss How To Shoot Night Photography and tips for you when taking picture at night.
Table of Contents
- 1 How To Shoot Night Photography
- 2 Here Are Some Useful Tips For Night Photography
- 3 Night Photography Camera Settings
- 4 Cool Ideas for Night Photography
- 5 Night Photography Equipment That You Might Need
- 6 Which Camera Is Best For Night Photography?
- 7 Which Lens Is Best For Night Photography?
- 8 FAQs
- 9 Conclusion
How To Shoot Night Photography
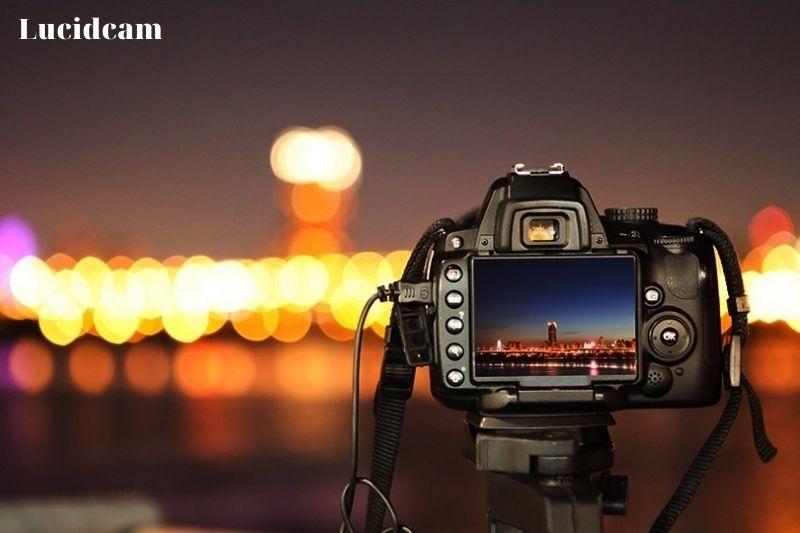
Step 1: Put Your Camera in Manual Mode
Night photography is easier when you shoot in manual mode. You can trust me when I say that manual mode is easier than automatic mode.
Step 2: Get a Sturdy Tripod Or Something To Support You.
A night shot will take at least 10 seconds for your camera to capture. The camera has a shutter speed of 10 seconds. The image will be hazy if you hold the camera with your hand. A tripod, or at the very least a location where your camera can remain motionless for at least 10 seconds, is required.
Step 3: Lower Your Aperture As Low as Possible
Your lens will determine how low your aperture (f-stop) can go. Different lenses have different apertures. You might see your lens drop to f/5.6, f/3.5, or f/2.8. If you’re unsure how to change your aperture, I suggest searching Youtube for change aperture, followed by the name of your camera.
If you are shooting night landscapes, you may feel tempted to use a larger aperture such as f/11 or even f/16. However, this is not the best choice. You’ll find ways to reduce the negative effects of low apertures as you become more skilled.
Step 4: Increase Your Shutter Speed to 10” (10 seconds)
You will need to adjust the shutter speed depending on how much light your scene is. However, 10 should be a good starting point for taking the shot.
Although it may seem crazy to record the image for 10 seconds, you will soon realize that this is normal for night photos. Some night photos have been taken with exposures that last over 30 minutes. This is just one photo.
Step 5: Change your ISO to 1600
The ISO increases, which makes the image brighter but also creates more noise. This is a compromise that you have to make at night in order to get properly exposed shots. Modern cameras can still take great photos at ISO 1600.
Step 6: Take A Picture And Analyze The Exposure
It’s now time to take a picture. It takes long time for the image to be recorded and then to display on your LCD screen. This is perfectly normal..
It is important to determine if the photo’s brightness or darkness is acceptable. Increase your shutter speed by 30 seconds if the photo is too dark. Take another shot.
You can increase the ISO to 3200 if it is still too dark. This will render the photo grainy, but it may be necessary to compromise.
Your ISO should be set to 800 if the photo is too bright. If the photo is still too dark, you can reduce your ISO to 800 or lower your shutter speed down to 8.
Here Are Some Useful Tips For Night Photography
You now know which cameras, lenses, and settings are best for night photography. Check out these night photography tips to help improve your night shots.
Shooting RAW
JPEGs are a excellent choice because they can hold more images, and you don’t need to convert them later. Photographing at night is best done in RAW. Do you remember that large dynamic range we spoke of? You won’t see this range if you compress your images using JPEG.
Give Yourself Lots Of Time
Photographing at night is a rewarding art that rewards creativity and patience, no matter how many tips and equipment you have for night sky photography. You should take the time to experiment with your settings to find the right scene. You will need to take several test shots because night photography settings don’t work for everyone.
Use Exposure Bracketing
You can adjust the exposure compensation manually, or your camera may have an exposure bracketing function. It’s difficult to get the exposure just right for nighttime photography. You’ll be happy to have several options when you edit your stunning images.
Use Aperture Priority
Although we know that manual is the best way to go, aperture priority makes it easier for beginners to start night photography. Your camera will take care of the rest.
Buy a Shutter Release or Remote Cable
A tripod is essential for night sky photography. However, even the most steady hand can cause a camera shake when you press the shutter. You can capture perfect images by using a remote or release cable.
Try Bulb Mode
This mode allows you to be creative! Bulb mode allows you to leave your shutter open for longer than the standard 30-second limit by pressing and holding the shutter button. Bulb mode is great for capturing light painting images or star trails.
Night Photography Camera Settings
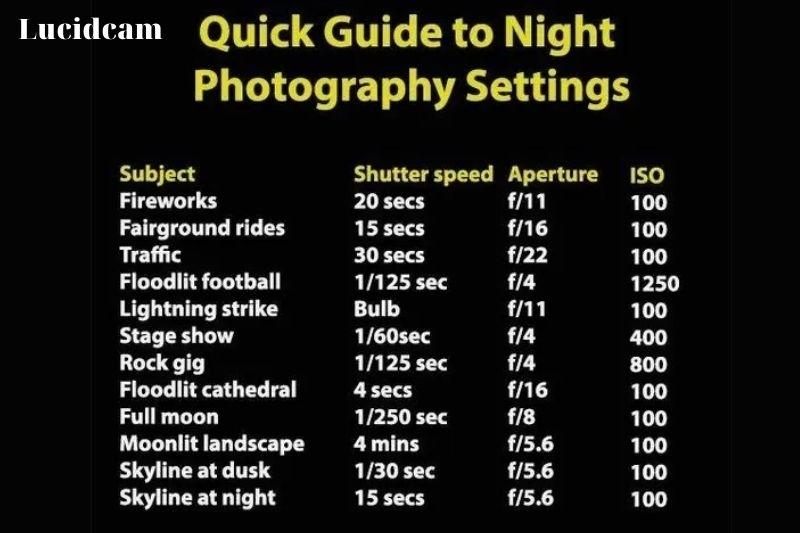
Although you will need to fully manual in order to do this type of photography, it is not difficult. Here are the how-to settings for night photography.
Use manual mode. You’ll get full control over your camera. You can also use shutter priority mode or aperture mode if you are not comfortable using manual mode.
Shutter Speed 30-60 seconds A longer shutter speed is better for dark conditions. Increase the shutter speed if you notice your photography is too dark. If your photos appear too light, reduce the shutter speed.
Aperture- f8,f11, or f16. This allows you to achieve what’s known as a long depth-of-field. It creates sharp images from the foreground to the background. The aperture can adjust to make your shots darker or lighter, just like the shutter speed. Start at f11. If the image is too dark, increase to f16.
ISO 100 or 200. This is done to reduce noise. A blurred image can result from noise. You will need to make as little noise as you can in order to get a clear, crisp, and vibrant night photo.
While it may seem sensible to use high ISO when you are shooting at night, this can also increase the noise in your images. Modern high-end cameras allow you to take beautiful noise-free pictures at extremely high ISO settings (up to ISO 3200).
For most consumer cameras that have a limited light sensitivity, a lower ISO setting is best.
Find out the ISO limits of your camera. Take low-light test shots at different ISO settings to determine the limits of your camera’s ISO levels. Take a look at the photos to determine the ISO setting that makes it too noisy. It should not be used at ISO 1600.
Set white balance to Auto. Photographing at night often uses many different light sources and lots of colors. Auto White Balance allows you to create a middle ground that can be modified in Lightroom or other post-processing software.
You can also set the white balance of your camera to Daylight. Although this will capture the colors as they are, it can cause photos to look too orange.
Manual focus. Your camera will struggle to focus on something dark. This can be solved by focusing on something in the distance and then switching to manual focus to fix your focus point.
Make use of a tripod. Because of the lower shutter speeds, your night images will be too shaky if you don’t use a tripod or anything to hold your camera still.
Shoot in. This is optional but highly recommended. Raw shooting will allow you to have more control over the shot when or if you post-process it. Further details are below.
If the camera settings have been confusing, take a look at our Beginner’s Guide to Photographing.
Cool Ideas for Night Photography
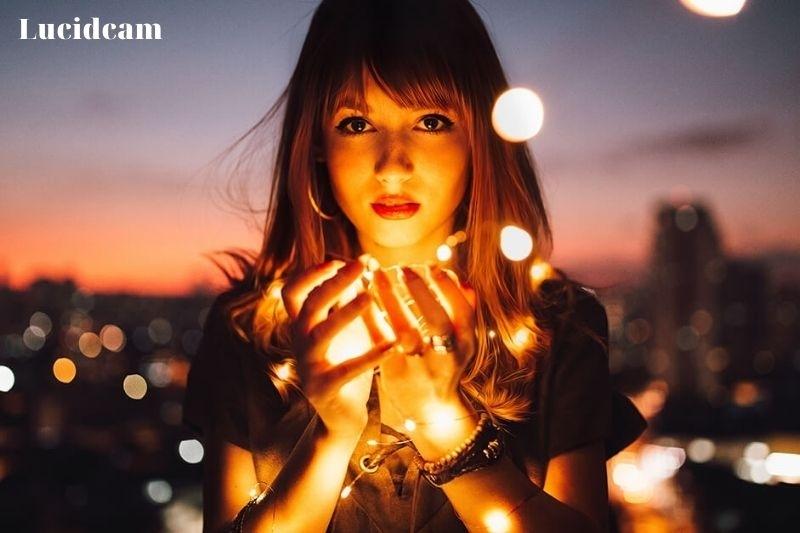
You’ll find interesting subjects everywhere you go if you take your camera out at night. There are many great night photography subjects in cities. Here are some ideas for things you could shoot:
Unsightly city lights: Cities are full of natural light, so it’s easier to capture sharp images. Also, cars passing by can make your photos look super dynamic.
Portraits. You can improve your portrait shooting skills by taking your subject outside at night. This will allow you to take some very moody, cool photos. These photos will make your portrait portfolio stand out.
These night photography tips are great for those who live far from the city.
Silhouette Night Sky Images: Nightsky photography is great fun. But why not try to capture something like a tree or building silhouetted in the background?
Landscapes: Create your landscape photography portfolio by adding some breathtaking nighttime landscapes.
Night Photography Equipment That You Might Need
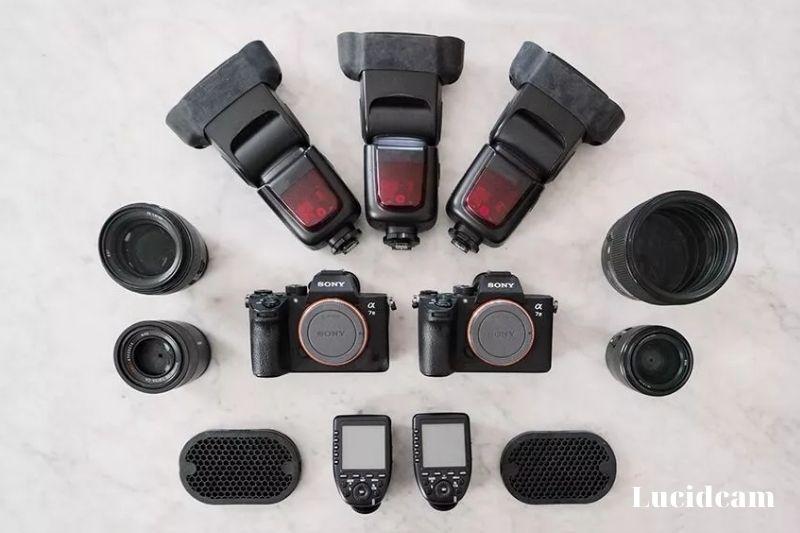
A camera that can be used in manual mode is required. It could be a DSLR, a point-and-shoot, or a mirrorless.
A tripod: Photographing at night simply won’t work without a tripod since you’ll be using a long shutter speed. The image will look blurry if it isn’t.
A cable release. Although you don’t necessarily need a cable release for Photographing at night. it is a useful piece of equipment. The cable release attaches into the camera and allows you to lock it by pressing a button, allowing your camera to shoot images for longer than 30 seconds (the typical shutter speed of most cameras).
A flashlight. A flashlight is essential if you ever plan to learn light painting. Light painting is when you hold a flashlight and point it at the scene to capture the image.
Note: A crop sensor camera is a great tool for shooting night photography. By using a longer exposure time, you can capture the beauty of the night sky.
Which Camera Is Best For Night Photography?
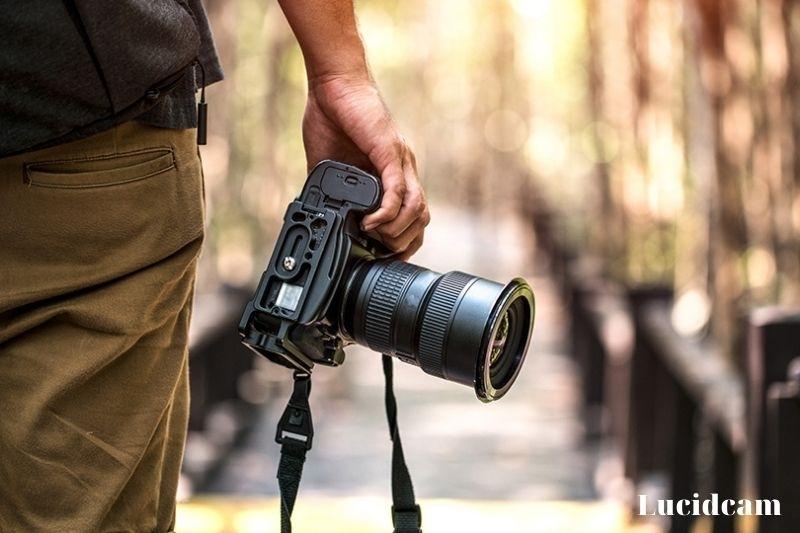
You should be looking for a wide ISO range, large sensors, and a wide dynamic range when choosing the best night camera. These features are available on many cams, so you can sure that you have the right camera for you.
If you are finding a night camera, make sure it has a wide ISO range. Night photography requires that you use less ambient light than usual. Your ISO will most likely be set to at least 3200. Even a great point-and-shoot camera won’t be able to handle this task.
A wide dynamic range is essential for Photographing at night. Without it, your image will lose all detail in the shadows. You can capture as much light as you want with a large sensor. It is all about not creating a noisy image. These are some of the best night-photography cameras:
- Nikon D750 Full-Frame DSLR: The Nikon D750 is quiet at ISO high, making night photography easy.
- Canon 5D Mark IV: This camera captures fine details even in low-light situations, making for stunning night photos. This is the camera to choose if you want night sky photography at its best.
- Sony a6500 – If you are looking for something smaller, the Sony A6500 has a maximum ISO of 51200. However, images can get very grainy at higher ISOs.
Which Lens Is Best For Night Photography?
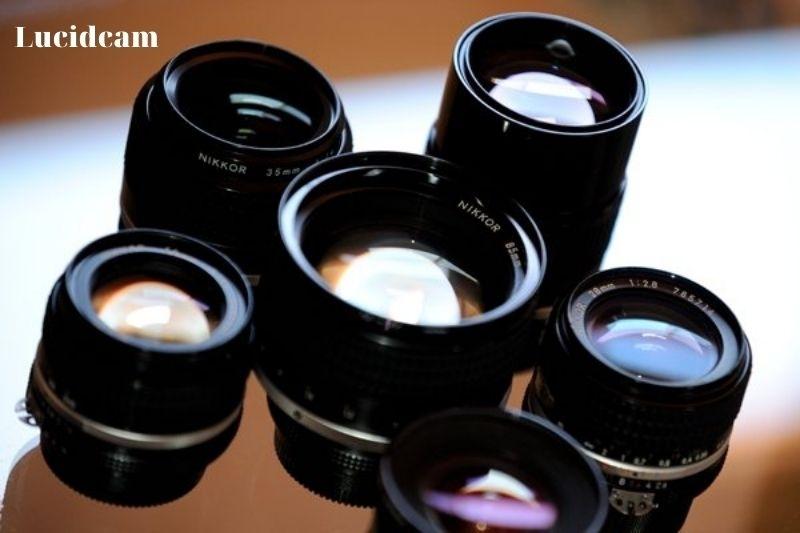
It is simple to choose the best night-photography lens if you are familiar with what to look out for. Good news: The best landscape lenses and portrait lenses are both great for Photographing at night.
It is important to find a lens that allows in plenty of light. It is best to opt for a lens with an aperture of at least f/2.8, if not f/1.4.
Prime lenses have wider apertures, so you will want to use them. A wide focal length lens will produce sharp night sky images if it is used. However, a longer focal length will allow you to capture star trails more easily.
FAQs

1. Why is a full-frame sensor better for night photography than a half-frame sensor?
A full-frame sensor is superior for Photographing at night because it is twice as large as an APS-C sensor. A full-frame sensor is twice the size of an APS-C sensor, which means that it can capture twice as much light. Night photos are all about light!
Even if you don’t have a full-frame camera or even a camera where the ISO looks noisy over ISO 3200, it is important to understand your limitations. You now know what your limitations are and how to use a tripod.
2. What is shutter speed?
Your shutter speed acts as a door. It’s like a room with a glow-in-the-dark toy. To be able to charge, the toy must have light. It will charge up if you leave it in a room without the door closed. If the toy is in a darkened room, you can open the door for 1/12th of a second. Then close the door. The toy will be charged very little.
The camera sensor functions in the same manner. As long as the shutter is open, the sensor will expose the image. You can increase or decrease the ISO by increasing shutter speed.
You can use a low shutter speed to create star photos, light trails, or light painting. Your ISO should be low and your aperture high. This is because more light enters the room, aka your camera sensor.
3. How do you shoot flash at night?
Conclusion
Few things you consider before taking picture at night. First, use a tripod to keep your camera still and avoid blurry photos. Second, ensure you have a good lens with a large aperture to let in as much light as possible. And finally, take your time and experiment to find the best settings for your shot. With these tips in mind, you can capture beautiful night photography shots in no time!
Lucidcam hopes this article will be helpful for you. Thanks for your reading!
