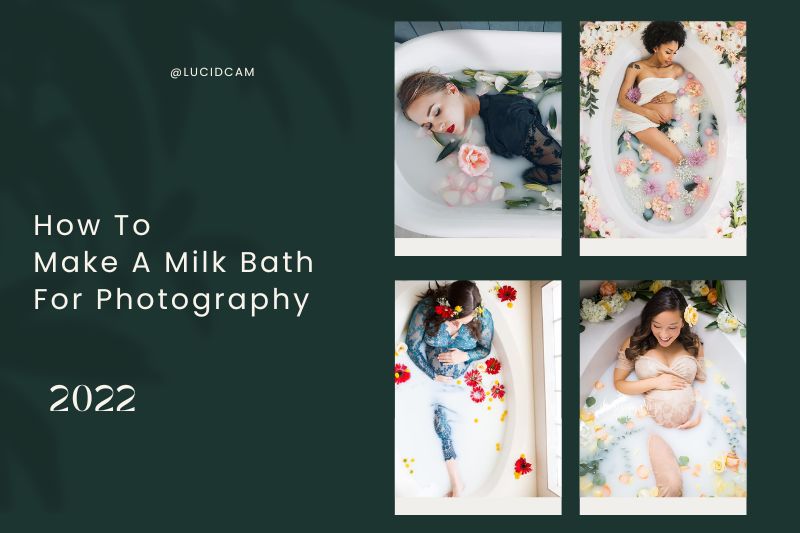
Consider using a milk bath if you’re hoping to advance your photographic abilities. Milk baths are a fantastic technique to give your images an extra dimension and layer of intrigue. This tutorial will show you how to make a milk bath for photography.
Table of Contents
- 1 What is Milk Bath Photography?
- 2 Is Milk Bath Photography the Right Choice For You?
- 3 How Do You Make A Milk Bath For Photography?
- 4 What To Wear In A Milk Bath
- 5 16 Milk Bath Photography Tips
- 5.1 1. Make A Plan
- 5.2 2. Determine How Much Milk You Need
- 5.3 3. Make Sure Everything Is Safe
- 5.4 4. You Can Offer A Range Of Milk
- 5.5 5. Pay Attention To the Color Palette
- 5.6 6. Add Essential Oils
- 5.7 7. Take More Of Everything
- 5.8 8. Bring Different Focal Lengths
- 5.9 9. Play With Light
- 5.10 10. Your Point of View Should Be Changed
- 5.11 11. Add Movement
- 5.12 12. Keep It Simple And Make Use Of Negative Space
- 5.13 13. Nude Photography Is A Great Option
- 5.14 14. You Can Color The Milk Bath
- 5.15 15. Use Male Models
- 5.16 16. Innovate
- 5.17 17. It’s Not A Waste Of Time
- 5.18 18. Clone Stamp Is Used To Remove Unwanted Objects
- 5.19 19. Bubble Wrap Is A Great Way To Make Fake Flowers
- 5.20 20. Pick a Color Scheme for the Florals
- 5.21 21. Make Sure the Model Doesn’t Have Allergy
- 5.22 22. Butterflies Are Also Available
- 5.23 23. Warm Water Access
- 6 Post-Processing Milk Bath Photography
- 7 FAQs
- 7.1 What kind of milk do you use in a milk bath?
- 7.2 Do you rinse your face after a milk bath?
- 7.3 Can a milk bath lead to yeast infection?
- 7.4 How do you do a milk bath photoshoot without milk?
- 7.5 How do you take milky water for photography?
- 7.6 How much milk should I put in a milk bath?
- 7.7 How to make fake milk for photography?
- 8 Conclusion
What is Milk Bath Photography?
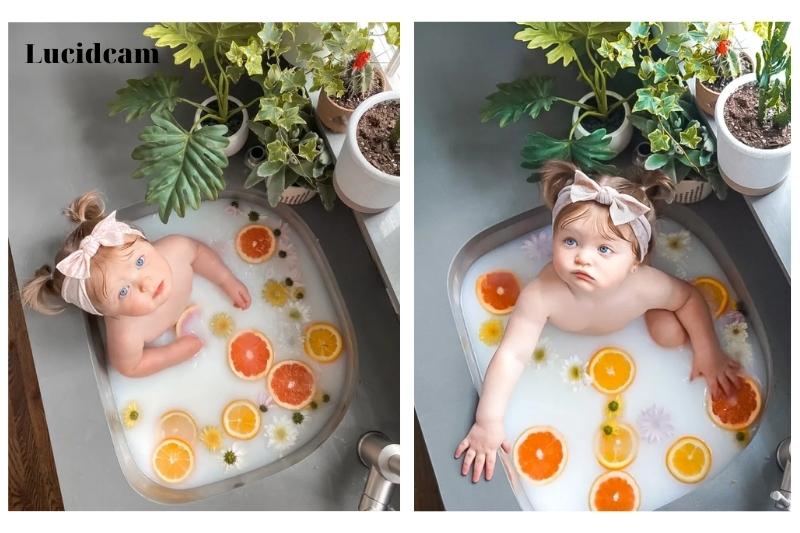
A milk bath photography session involves submerging your subject in milk and diluted water. It is a technique rather than a genre. It can be used for editorial, portrait, lifestyle, and even conceptual picture shoots.
Is Milk Bath Photography the Right Choice For You?
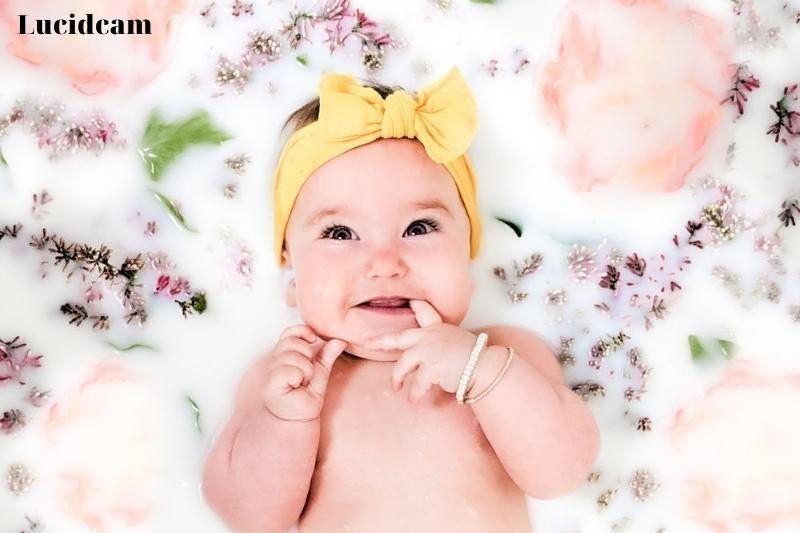
During the bath, the person is surrounded by white, which is frequently connected to innocence or purity and draws attention to their features. Pregnant women and milk bath photographs are frequent subjects for this style of photography.
A bath can highlight the innocence of a fresh pregnancy and showcase the baby bump. A milk bath for babies is another common application for this kind.
How Do You Make A Milk Bath For Photography?
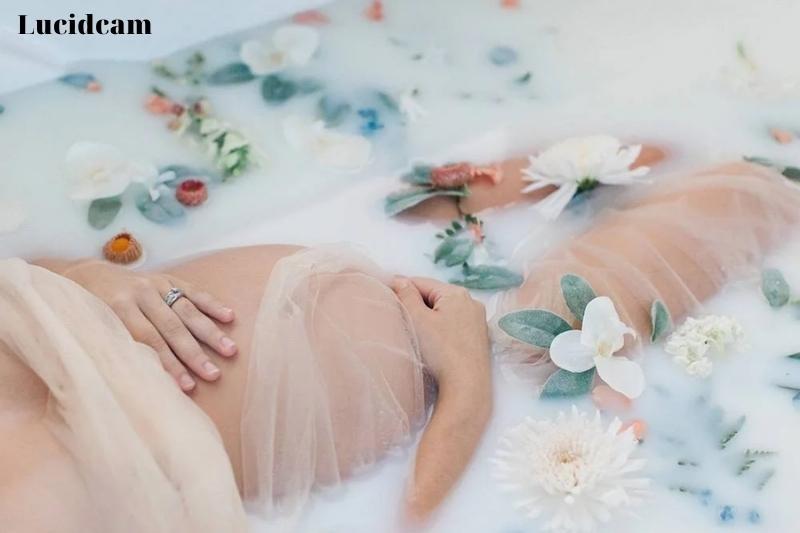
A lot of individuals are afraid of this method because they are worried about the cost (and waste) of milk. How much milk do you need to take milk photos?
Although it may look like you are filling an 80-gallon (302-liters) tub with whole milk, this is not the case. It must be diluted with water.
You will need to dilute it with water, depending on what effect you want. However, you won’t need more than 2-4 gallons (7-15 liters) for a white bathtub.
If you don’t want to use as much real milk, you can substitute milk powder or even non-toxic paint. For vegan customers, plant-based milk can be a fantastic option (oat milk, for instance, is relatively economical and simple to prepare at home).
Step by step, here’s how to make a milk bath shoot:
- Get the set up – Make sure the lighting and set are ready before you fill the tub. This is crucial since the temperature drops quickly. They might not be able to avoid sinking for very long, depending on the props you utilize.
- Preparation of the milk bath: To the desired level for the picture, fill the tub with water. Initially, add milk. Don’t consume the milk all at once. Simply stop when the milk achieves the preferred density and color. If you only use a small amount of milk, some transparency will still be visible. You will be able to notice less of it if the milk is concentrated.
- Position your subject: Floating props are challenging to control and can seriously harm your composition. It is preferable to put your subject to the tub before adding anything else.
- Place props – The ideal opportunity to include them in your photo is right now. Think about the color and the composition. If they are sinking, you can try to put something under them. They can also be shielded with Scotchgard.
- You can start shooting – This is all there is to know about taking a milk bath. Even though it’s simple to set up, the milk bath session’s effectiveness hinges on your imagination and attention to detail.
What To Wear In A Milk Bath
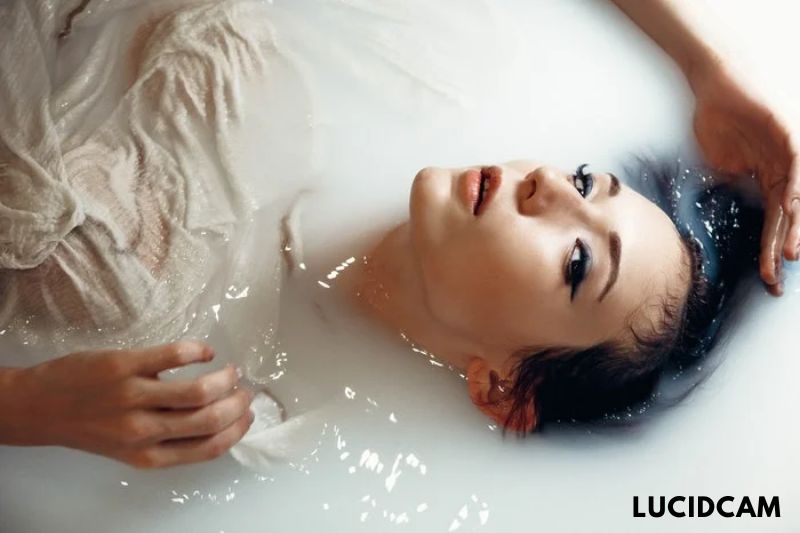
While you can certainly go natural for your milk bath maternity shoot if you’re unsure about what to wear, we’ve got you covered.
According to Cora Harrington, proprietor of The Lingerie Addict and author of the soon-to-be-released book In Intimate Detail: How to Choose, Wear, and Love Lingerie, a lace robe or sheer dress is the ideal piece for a pregnancy photoshoot.
Although it has a goddess-like quality, it is also comfortable and size-flexible, which is crucial in the later stages of pregnancy. It is feminine, delicate, and beautiful.
Harrington suggests the following three robes in a variety of pricing ranges:
- AiTrip Sexy Deep V Neck Lace See-through Maxi Slit Dress ($14): According to Harrington, “one of the most popular maternity dresses, this style is offered by a variety of sellers on Amazon and other online retailers.” “Since it’s so cheap, you don’t have to worry about ‘ruining,’ it’s a terrific alternative for something like a milk bath. However, before placing an order, be sure to review the sizing chart carefully.
- Nudwear Long Lace Kimono ($150): “This option is a bit more luxurious, and it also looks more like a beautiful robe than a sheer dress,” Harrington says. I adore the way the scalloped lace frames the neckline and décolletage in particular; it is such a lovely touch.
- Girl&ASeriousDream Swan Queen Long Lace Robe Gown With Train ($490): If you really want to indulge, Harrington advises thinking about purchasing a robe from Girl and a Serious Dream. These robes, which are created by hand in the USA, feature genuine Chantilly lace from France for a truly exquisite experience.
16 Milk Bath Photography Tips
Making milk bath photography sessions is simple, but standing out in this field of photography can be challenging. These pointers will help your bath photo shoot run smoothly and produce stunning results.
1. Make A Plan
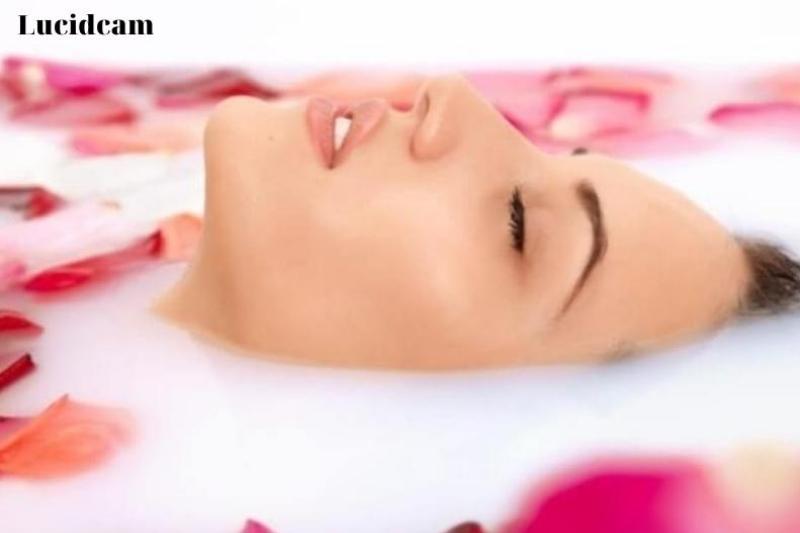
For the greatest equipment and props, you must organize your picture session in advance. If the restroom is small, a wide-angle lens is required.
If the window is too small, you could require reflectors or artificial lighting. Even staying in a hotel would be an option if you wanted a better arrangement.
All of this needs to be decided beforehand. Ahead of time, especially if using fresh flowers, you can test out props to determine if they float or how long they persist.
To get the vibe you want, make careful to pick out the appropriate attire and accessories.
2. Determine How Much Milk You Need
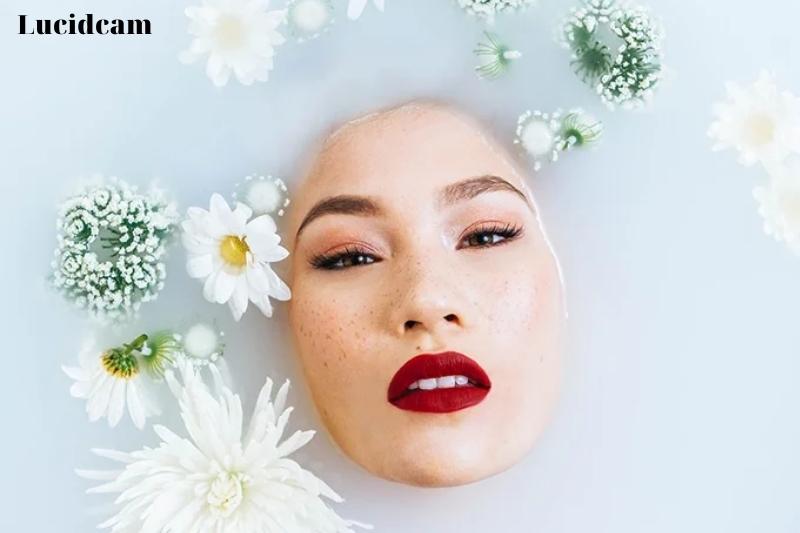
If the measurements are not exact, don’t worry. You will need to modify the amount of milk depending on the bath photography style.
I advise adding 1 to 2 cups of fresh or canned milk to warm bathwater. You can mix 1/3 to 2/3 cup of powdered milk with warm water. If there is more water present, the
3. Make Sure Everything Is Safe
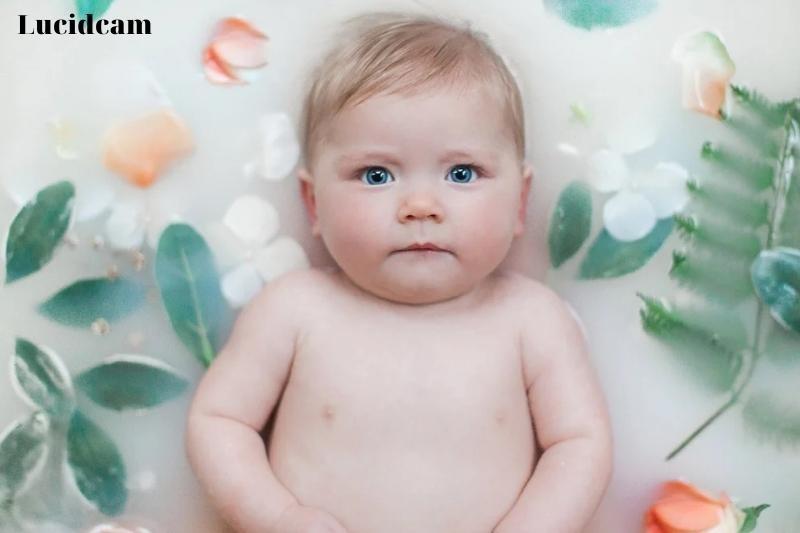
When you are shooting, safety should always be your top priority. When photographing milk baths, there are a few things to keep in mind.
- Temperature: Maintain the bath at a temperature that is suitable for the model. especially if you are photographing a baby in a bathtub. If you are using powdered milk, you must use extremely hot water to prevent lumps. Make sure the temperature is lower before asking your model to enter. The model may potentially experience discomfort if the water temperature falls too far.
- Allergies: There are numerous varieties of milk, both plant- and animal-based. Make sure your model doesn’t develop a milk allergy before using it. This applies to essential oils you add, as well as props, regardless of whether they are real flowers, leaves, fruits, or other plants.
- Surfaces: Bathtub shots might be untidy because you’re working with fluid. When handling liquids, you and your model run the risk of slipping and falling. Throughout the session, be sure that everything is dry. You must locate dependable assistance. Secure the camera strap over your arm to prevent mishaps. See our list of the top camera manufacturers.
- Avoid attempting to clamber up an unstable surface or perch on the edge of the tub to shoot the picture.
- You will require ladders and boom stands, as well as all the other equipment you need to take the pictures. If you don’t have them, you could be better off adjusting the photo’s composition.
- Never leave your baby unattended. If you are taking baby milk bath photos, make sure you have someone (the parent or your assistant) watching over the baby.
- Position your model comfortably. Make sure that the water level is suitable for them, so they don’t have to strain to stay above the surface.
4. You Can Offer A Range Of Milk
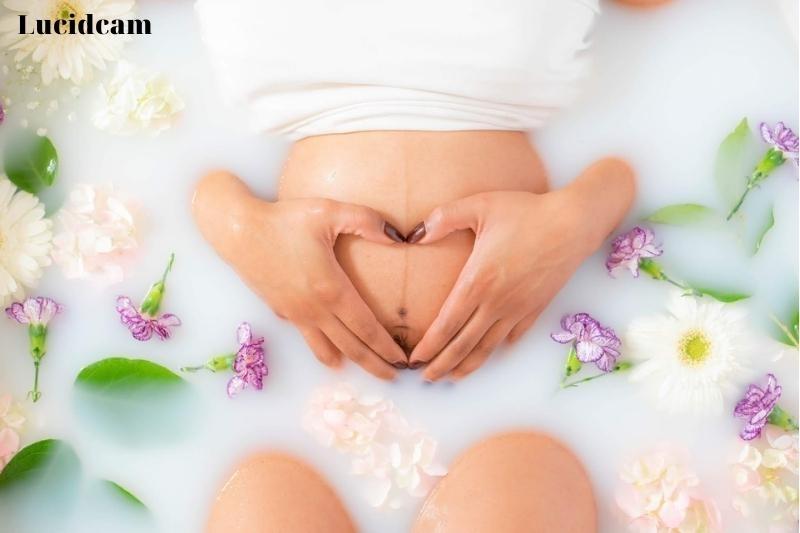
Most photographers will concur that it doesn’t matter what type of milk is used to create the image, while others prefer whole milk for their milk photography.
Your client could feel more comfortable with a selection of milk.
Even though they don’t consume it, vegans might favor non-dairy milk. Depending on the advantages for their skin, some people might like to have the option.
While coconut milk is anti-inflammatory, almond milk is calming and hydrating. On the other hand, goat milk has antibacterial properties and makes your skin feel supple.
Keep in mind that some milk varieties are more expensive than others when planning your budget. It doesn’t matter what kind of milk you select, and it’s crucial for customers to be aware of their possibilities.
5. Pay Attention To the Color Palette
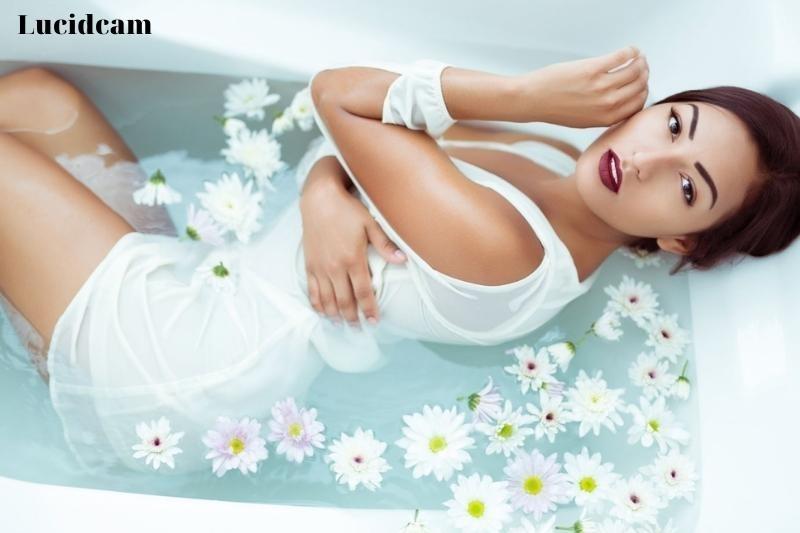
When considering the purchase of props or coloring the milk bath, it is crucial to adhere to a color scheme for harmony.
To make sure your client or model is satisfied with the color scheme, talk to them about it. Make sure their makeup and attire are coordinated (if any).
You can budget for the flowers, accessories, and colors you’ll need for your bath photographs.
6. Add Essential Oils
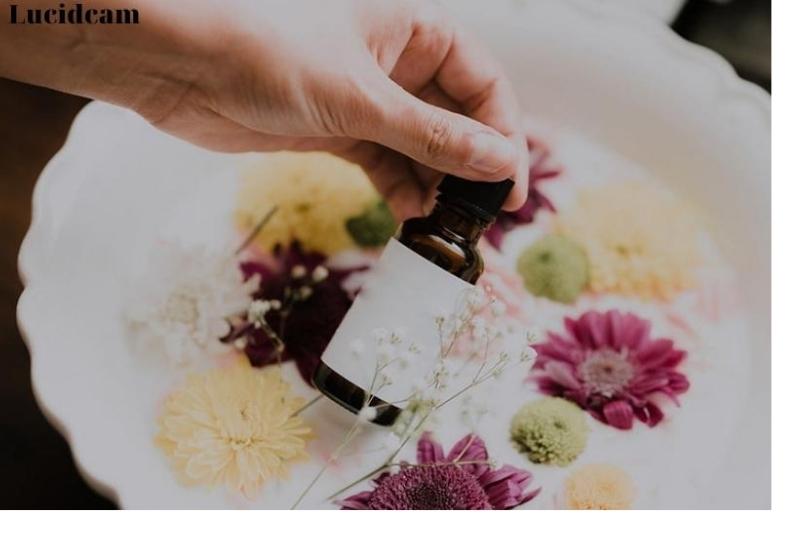
To calm down and heal, use a carrier and essential oils. You can put your infant in the bath if they exhibit stage fright, anxiety, or excessive activity symptoms.
When utilizing flowers, fruits, or plants as props, make sure the oil enhances its natural aroma. Your models can experience anxiety as a result and be unable to unwind sufficiently to finish the session.
7. Take More Of Everything
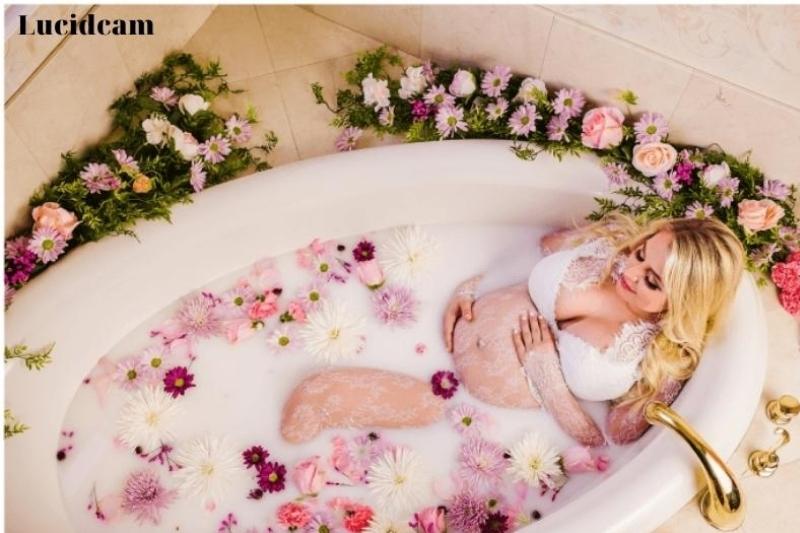
List all the items you need to prepare for your bath photography session. Bring a little bit more of everything, please.
Ask your model to bring a different outfit once you have finished taking pictures. Bring extra towels so you can keep the floor and tub borders dry in addition to using them for your model. Always keep in mind that a wet surface poses a risk, and safety should always be your primary priority when taking pictures in a milk bath.
Put some milk in. Put your person in the tub and start the photo session after you have the ideal combination at the ideal temperature.
The water can soon freeze, making it challenging to set up floating props. Your model’s physique might need warm water to stay comfortable.
As a result, the water-to-milk ratio will change, creating a translucent bath. You can fix the issue by adding extra milk if you don’t like it.
Finally, with time, some props could start to lose their original appearance. Real flowers may wilt in overheated water.
The bottom of artificial flowers might become moist and sink even if it is sealed. Having extra props on hand is always a smart idea when taking milk bath photos.
8. Bring Different Focal Lengths
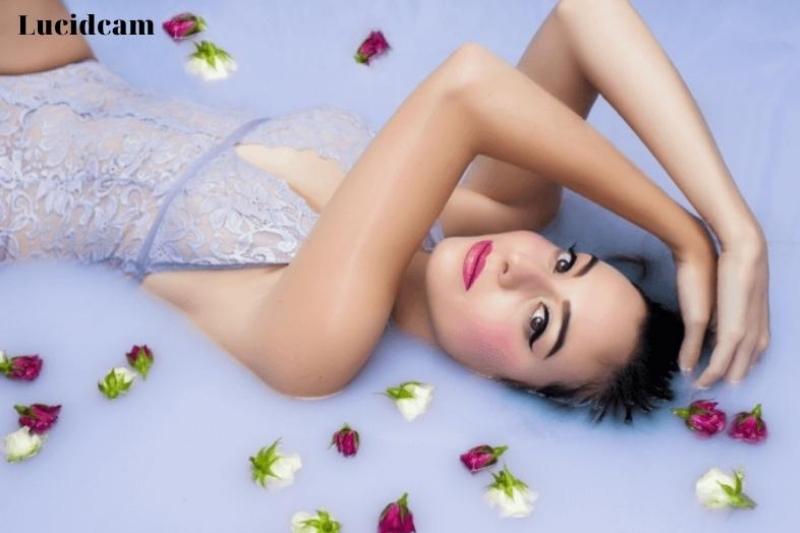
Your milk-bath images can become more interesting by using various focal lengths. Prime lenses can be used with either an 85mm or a 50mm lens for close-ups and portraits.You must use a wide-angle lens to catch more of the scene in a small bathroom.
From a short telephoto to a long telephoto, a zoom lens may capture a variety of viewpoints. For bath photos, a 24-70mm lens works best.
9. Play With Light
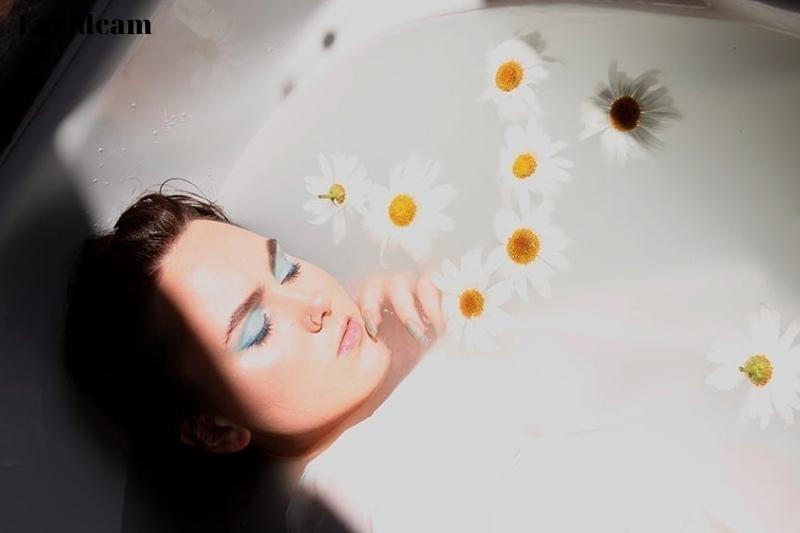
The challenge of lighting a milk-bath set is another issue. Photographers’ preferred tool is window light.
There may not be a choice in this. Maybe you want to add more mood to your photo. You can utilize artificial light with modifiers or adjust the natural light for this.
10. Your Point of View Should Be Changed
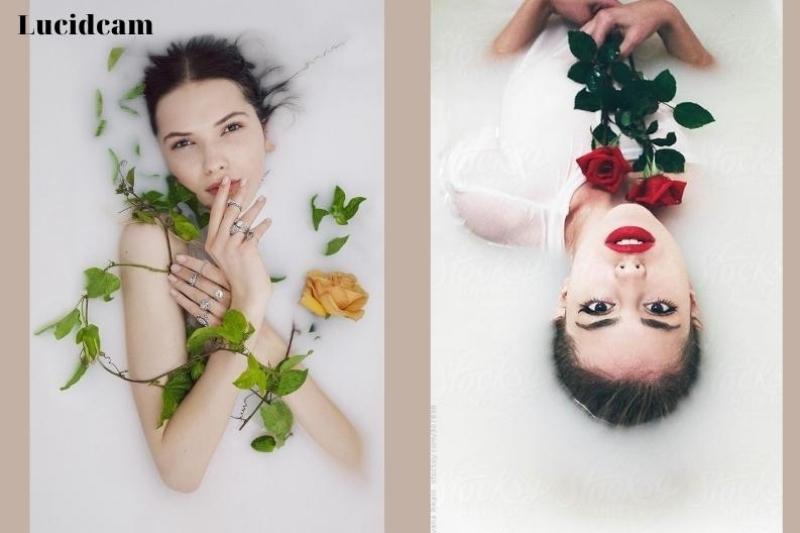
The most common sources of inspiration for milk bath photos will be overhead or, at the very least, high-up photographs.
It’s crucial to take some pictures and cross off the items on the photo shoot checklist. But don’t forget to switch things up and try new approaches.
11. Add Movement
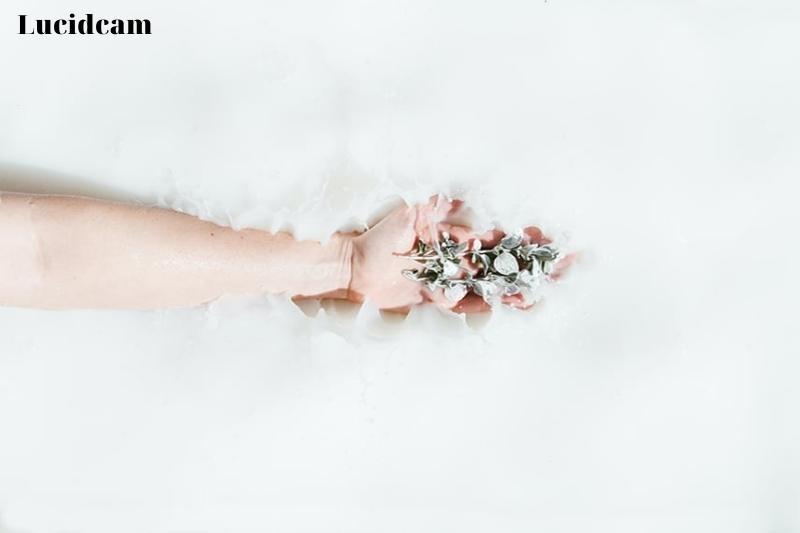
I stated in the step-by-step guide that the subject must remain immobile to prevent the props from moving.
This is accurate, however it’s acceptable to give the concept some motion. For instance, producing waves or icy splashes.
12. Keep It Simple And Make Use Of Negative Space
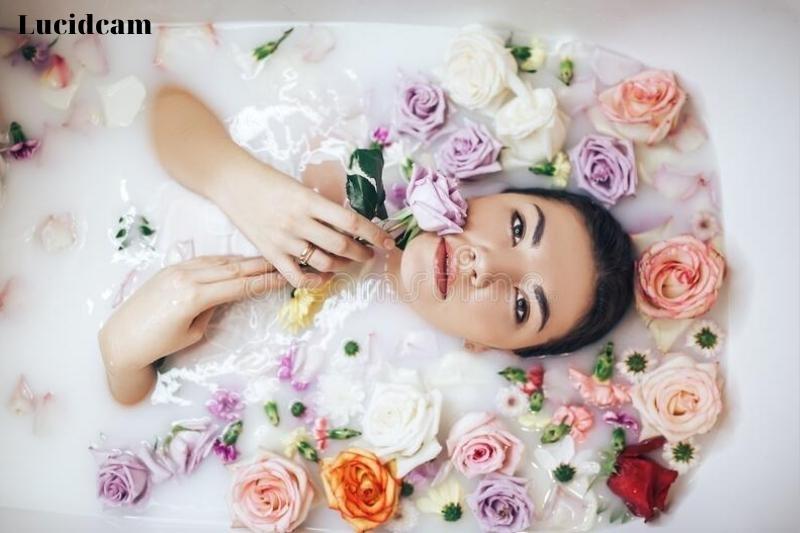
No accessories or flowers are required for a portrait in the milk bath. You may just place your model in your compositions to add interest.
You can change how much of your topic is beneath the surface to draw attention to certain forms or produce new effects.
Allowing models to make their own decisions is a fantastic concept for those who lack confidence or wish to conceal particular body parts. Additionally, plus-size boudoir photographers may find this helpful.
13. Nude Photography Is A Great Option
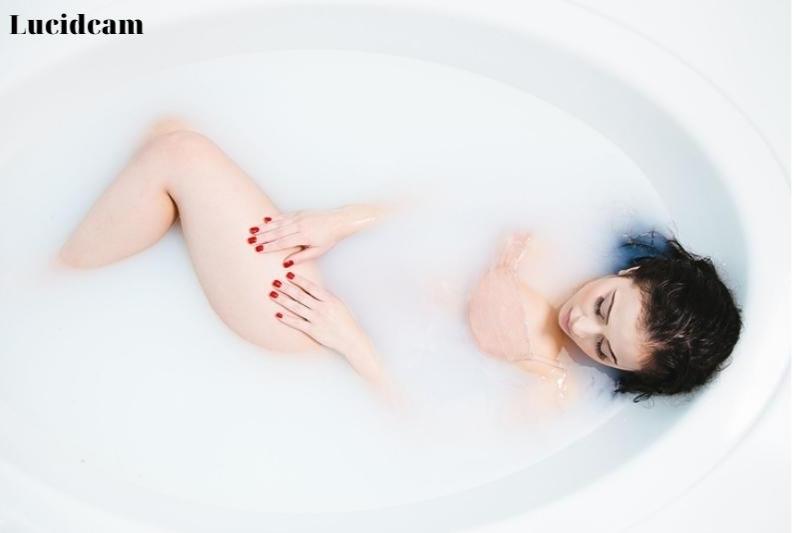
Lingerie and sheer fabric will enhance your milk bath photography shots. For customers who are hesitant or don’t want to be professional models, this is a fantastic option.
A nudist shot will showcase the body’s shape and skin’s smoothness. You can employ careful postures and protect delicate regions if your subject is timid.
14. You Can Color The Milk Bath
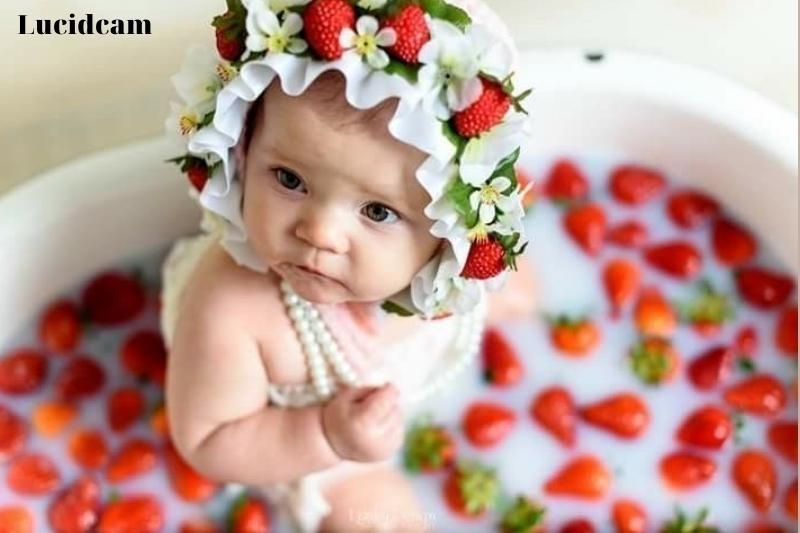
The natural milk tone can be used to make a neutral foundation. Additionally, it can be utilized to set the scene for prenatal photo shoots in milk baths or for infant photos.
You can play around with color by adding dye to the milk bath. You can also use bath bombs or food coloring to accomplish this appearance.
You might be wondering why milk is necessary as opposed to coloring water. The milk alters the opacity. Try it with various milk ratios and a variety of colors.
15. Use Male Models
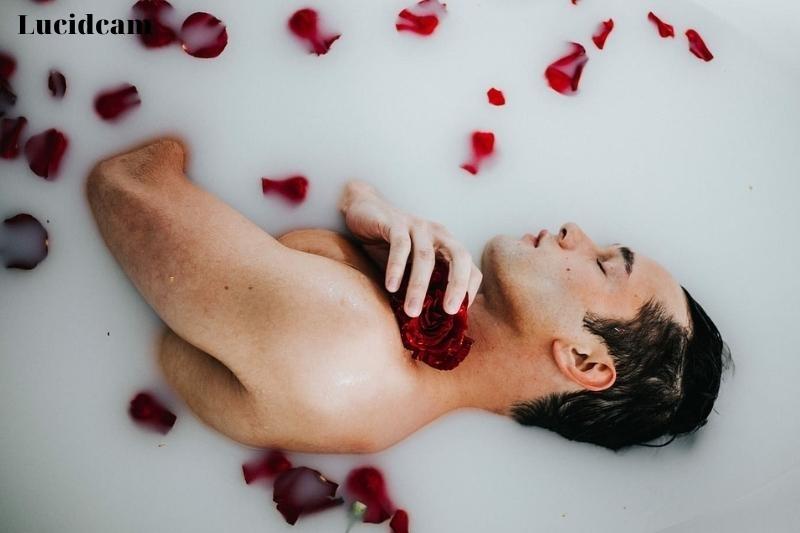
Who said that only ladies should have milk baths?
Although most photographers focus on newborns, boudoirs, and maternity, you can break the stereotypes by using male models.
You can diversify your subject selection for milk bath photography to increase your creative options. These concepts are excellent for best friend photo shoots.
16. Innovate
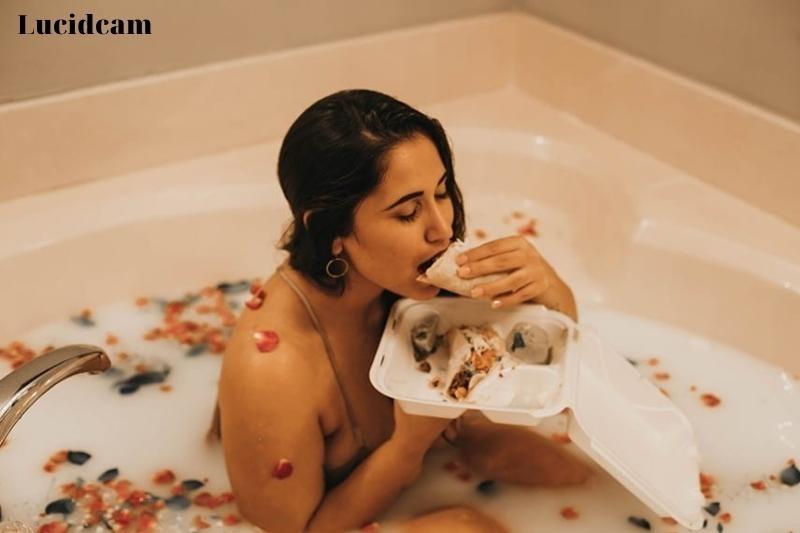
This criterion is applicable to all forms of photography, but it is particularly important for extremely popular subgenres like milk bath photography.
Though other photographers’ or online photographs may serve as inspiration, it’s crucial to build your own aesthetic. To accomplish this, you must be brave and open to new experiences.
17. It’s Not A Waste Of Time
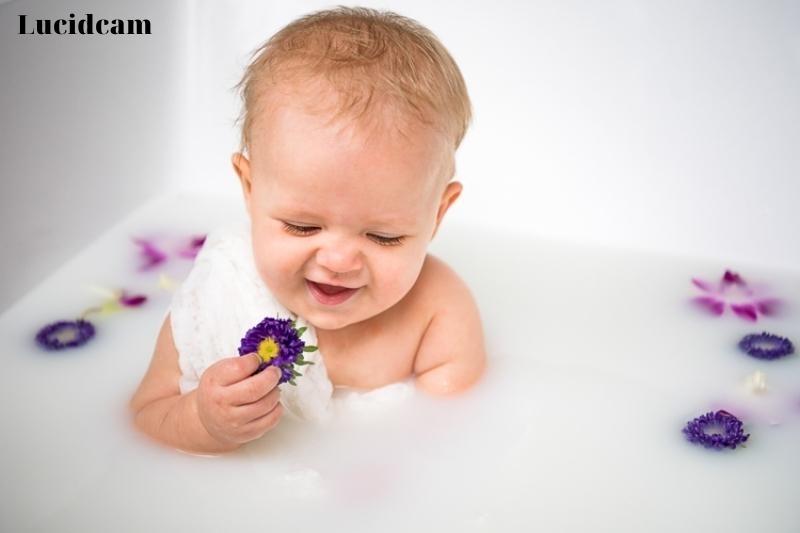
Once your model is finished, you can use the setting to take additional pictures for your book or stock photography.
By simply utilizing props to take pictures, you can produce abstract photography, artistic splashes, or culinary photographs. Making sure that the milk from your milk bath shoot is not wasted is possible.
18. Clone Stamp Is Used To Remove Unwanted Objects
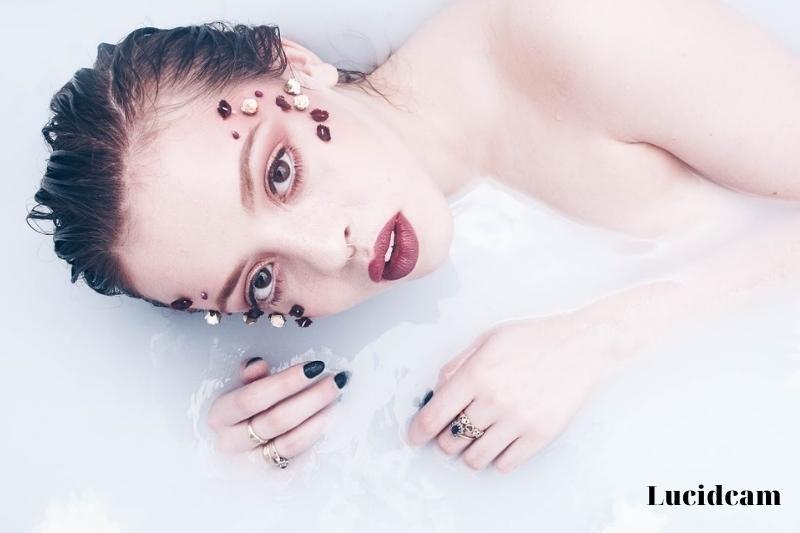
You frequently shoot a wonderful picture only to find out later that a small flaw ruined it all. Editing milk bath pictures can be useful in this situation.
To acquire the perfect photograph, use the stamp tool to conceal any imperfections in your snapshot, whether they are caused by a human component or a piece of the environment.
19. Bubble Wrap Is A Great Way To Make Fake Flowers
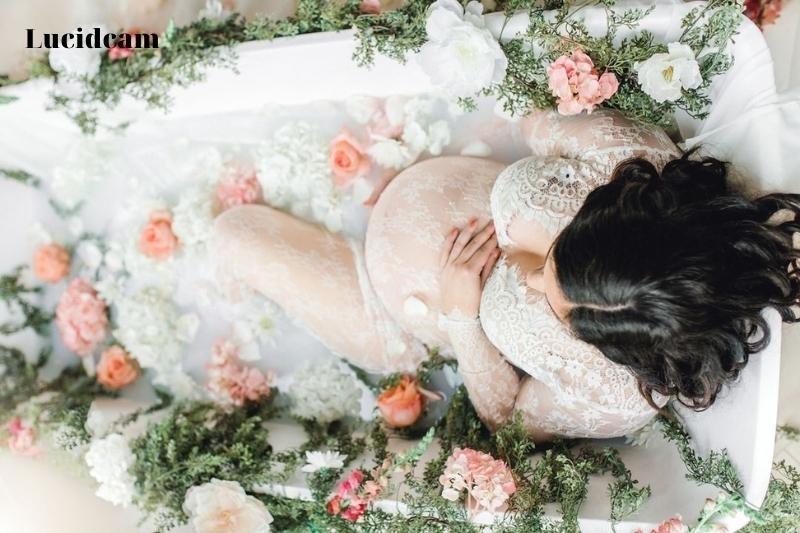
You can drown fake flowers. What steps do you take for allergic customers? The flowers can be made to swim by wrapping them in bubble wrap.
Create a tiny opening in the center so that it only accommodates the stem. Next, enclose the flower head in bubble wrap. This allows even phony flowers to float.
20. Pick a Color Scheme for the Florals
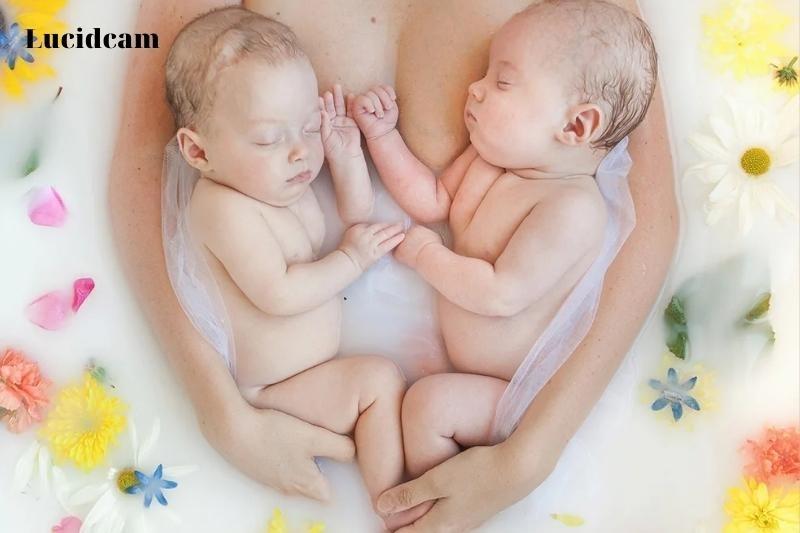
Consider a color palette while selecting flowers for your milk bathtub photography. Brighter flowers will have a different effect than if you choose pastel hues. Make sure they are consistent with the tone of the image.
21. Make Sure the Model Doesn’t Have Allergy
Despite how lovely they may appear in milk bath photographs, flowers can cause allergic reactions in people. The entire shoot can be ruined if you don’t consult your model.
It is worth asking the model about it to see if they can point you in the direction of silk flowers or animal breeds that are hypoallergenic.
22. Butterflies Are Also Available
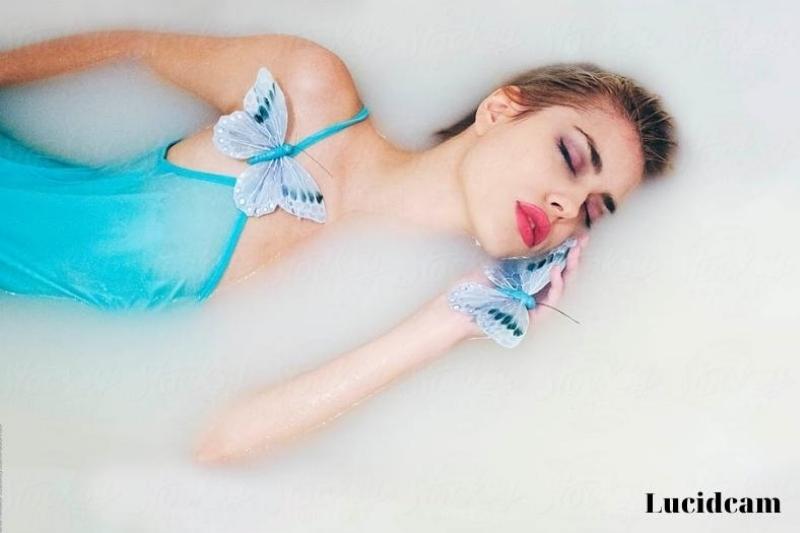
When you hear the phrase “milk bath photography,” you probably don’t immediately picture it. That does not, however, imply that it cannot be. Butterflies look fantastic in milky water, especially if the colors are selected to go well with or accentuate the model’s attire.
23. Warm Water Access
If you plan to shoot for longer than 30 minutes, use this advice to keep your subject warm. When it comes to infant photography, comfort is essential. In cases where you have a lot of milk, warm milk is preferred. We advise you to have a steady supply of warm water, if at all possible.
Post-Processing Milk Bath Photography
Distractions inevitably occur when working in a tight space. You might capture unwanted bathtub borders, stray hair, or other minute details that were not visible through the lens. Several methods can be used to remove these objects:
Cropping
Any obstructive elements that are at the edge of your image can be cropped out. Keep in mind that utilizing this tool excessively will result in poorer-quality photographs.
Cloning
The clone stamp tool makes removing objects of various shapes and sizes simple.
Content-Aware Tool
Choose Fill from the menu when you right-click on the area you wish to change. Next to Contents is Content-Aware.
Lucidcam has found that this tool performs miracles on straightforward images like the one above. If your choice is too wide or has too many colors, you won’t obtain the desired results.
FAQs

What kind of milk do you use in a milk bath?
A milk bath frequently contains cow’s milk. This is because it is the milk that is easiest to obtain. Full-fat cow’s milk is the most beneficial and inexpensive for your skin. You can also use milk bath bombs or milk in powder form.
Do you rinse your face after a milk bath?
After you have finished bathing, you don’t need to rinse off. Instead, simply dry your baby with a towel and apply a baby-safe lotion. This will lock in the nutrients and moisture. Some mothers find that adding oat milk to their breast milk baths can be helpful for certain skin conditions such as eczema.
Can a milk bath lead to yeast infection?
These products can be pleasant to the nose, but they don’t have the potential to cause yeast infections. Avoid bath products that cause irritations where candida thrives. Consider a milk bath that only contains a small amount of soap.
How do you do a milk bath photoshoot without milk?
A dairy-free creamer will be the ideal choice for a vegan milk bath. Creamers make the water more opaque since they are thicker than almond or soy milk. Without using actual milk, I used one quart of Silk Soy Creamer in the tub to give the water the ideal milky appearance.
How do you take milky water for photography?
It’s really not difficult; all you have to do is mount your camera on a tripod and choose a slow shutter speed to record the movement of the water, which will cause it to become milky blurry while the rest of the image stays steady and is therefore clear (you hope).
It can be done with a shutter speed of between 1/4 and 10s.
How much milk should I put in a milk bath?
As usual, add lukewarm water to your baby’s bath. Put 150–300 mL of breast milk in there. Just enough of this should result in milky or hazy water. While you shower the milky water over your baby’s body, let them soak for five to fifteen minutes.
How to make fake milk for photography?
Fill the milk bottle’s bottom with some paint. To get started, you don’t need much!
Slowly tilt and tip the bottle to move the paint up and around the bottle’s neck. If necessary, you can add more paint. Once the glass is covered, and the milk bottle is as “full” as you like it, keep tilting, tipping, and spinning the bottle.
Before using the paint, let it dry!
