Opening the camera on a Mac is a straightforward process that allows you to capture photos and videos, engage in video calls, or use various camera-related applications. Whether you’re using a built-in camera on your MacBook or an external webcam, accessing the cam functionality is essential for a range of tasks.
In this article, Lucidcam will discuss How To Open Camera On Mac, providing instructions for both the built-in camera and external webcams.
Table of Contents
- 1 Use Your MacBook Pro Camera for These Reasons
- 2 How To Open Camera On Mac
- 3 Using Different Applications to Open Camera on Mac
- 4 Enabling the Camera
- 5 How to Turn on Camera on Mac for Facetime
- 6 Why Isn’t My Camera Working On My Mac?
- 7 Mac Camera Settings
- 8 Tips to Use Your Mac’s iSight Camera
- 9 Other Common Mac Camera Problems and Solutions
- 10 FAQs
- 11 Conclusion
Use Your MacBook Pro Camera for These Reasons

Here are some of the top reasons to use your MacBook Pro camera:
Video calls & chats
The bult cam on your Macbook Pro is suitable for making video calls and chats with relatives. Whether you’ve using Facetime, Skype… the high quality cam ensures that you look best on screen.
You can easily adjust the camera setting to get perfect angle and light and use the built-in micro for crystal clear audio
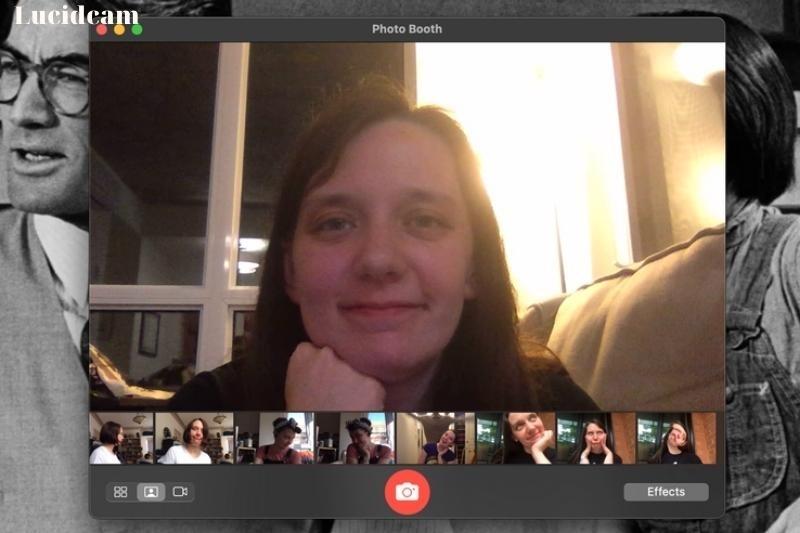
Photo Booth
If you wish to take fun and creative pictures with your Mac, the Photo Booth app is ideal tool for you. It allows you use the builts in cam to take pictures and add special effects such as filters, backgrounds, and so on. You can send photos on social media or save them to your devices.
Live Streams
Livestream in your Mac is great option because whether you’re streaming a video game, a live performance, or a webinar, the high quality cam make sure that your viewers can see you clearly.
You can use various steaming platforms such as Youtube, Twitch, or Facebook to reach a wide audience and engage with your viewers in real time
How To Open Camera On Mac
- Open the Applications folder: Click on the Finder icon in your Dock and navigate to the Applications folder.
- Locate the Camera app: Scroll down until you find the Camera app, which should have a small camera icon.
- Open the Camera app: Double-click on the Camera app to open it. Alternatively, you can also use Spotlight to search for Camera and open it from there.
- Allow camera access: If it’s your first time opening the Camera app, you may be prompted to allow camera access. Simply click OK to grant access.
- Adjust camera settings: Once the Camera app is open, you can adjust the camera settings, such as the resolution, aspect ratio, and exposure. You can also switch between the front-facing and rear-facing camera by clicking on the camera icon in the top right corner.
- Take photos or record videos: To take a photo, simply click on the camera icon in the bottom left corner. To record a video, click on the red video button in the bottom middle of the screen.
Overall, opening the camera on your Mac is a simple and straightforward process. With just a few clicks, you can start taking photos and recording videos on your device
Using Different Applications to Open Camera on Mac
There are several applications available on Mac that allow you to use the built-in camera. Here are some popular apps and how to use them to open the camera:
- Photo Booth App: This is a built-in app on your Mac that allows you to take photos and videos with various filters and effects. You can open the app by searching for it in Spotlight Search or by going to the Applications folder. Once the app is open, click on the camera icon to start using your Mac’s built-in camera. You can also use the space bar to take a photo or start/stop recording a video.
- FaceTime App: Facetime is a video calling app on your Mac, you can use it to video chat with other Mac or IOS users. To open the cam in Facetime, open the app and sign in with your Apple ID.
- Skype App: Skype is a popular video calling app that you can download from the App Store. Once you’ve installed the app, sign in to your account and click on the camera icon to start a video call. You can also use Skype to make voice calls, send messages, and share files.
- Zoom App: Zoom is a video conferencing app that allows you to host or join online meetings. You can download the app from the Zoom website and sign in with your account. To start a video call, click on the New Meeting button and select Start with Video. You can also join an existing meeting by clicking on the link provided by the meeting host.
Enabling the Camera

You need to be able to enable the camera and see if it is working properly. Two apps that use iSight are PhotoBooth and FaceTime. The cam will be activated if you enable either of these apps. If everything is working properly, you’ll see a green LED flash up.
Online apps like Facebook Messenger can be used to enable the cam. To verify that the cam is working, you don’t need to make a video conference. Navigate to messenger.com/facebook.com and navigate to any chat. You can also use the one you have with you. Click the plus icon beside the area where you would like to type a message. Next, choose the cam icon from the menu that appears. The cam should now activate.
Other apps can also work. It doesn’t matter if the app uses iSight. You can use it to verify that it is working correctly.
Your camera may be malfunctioning if it doesn’t show anything or the green LED doesn’t light up.
How to Turn on Camera on Mac for Facetime
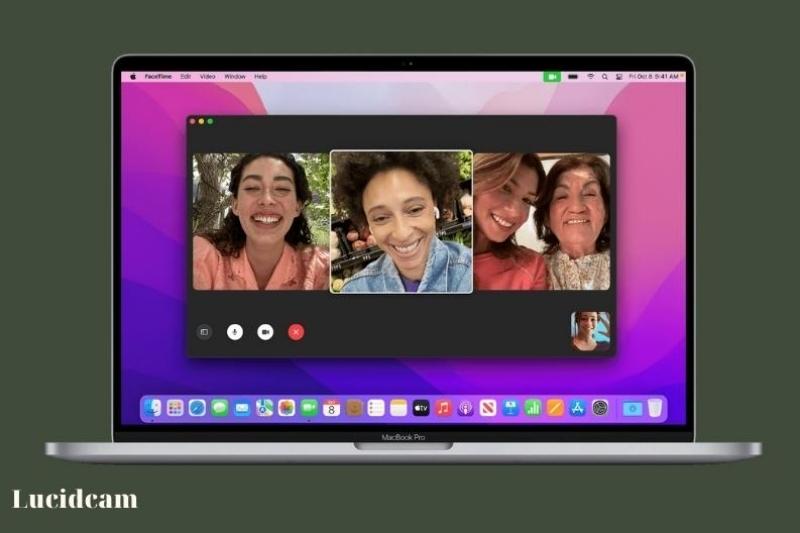
You now know that Mac cameras automatically activate. The automatic activation process can sometimes fail, so you may need to manually turn the camera on.
- Turn on the Camera on Mac for Facetime.
- Open Terminal from Apps > Utilities.
- Enter ‘sudo killall VDCAssistant‘ in the terminal window.
- Press Enter to confirm. Your admin password may be required. If all goes well, there won’t be any confirmation messages. You will see an error message on the terminal window if there is one.
- To confirm the fix, open any app that makes use of the camera (e.g. Photo Booth).
Why Isn’t My Camera Working On My Mac?
If your camera isn’t working on your Mac, there are several possible reasons why. One of the most common reasons is that another application or program is currently using the camera, preventing other applications from accessing it. To solve this issue, you can simply close any open programs that might be using the camera or restart your Mac.
Another possible reason for a malfunctioning camera is a lack of proper permissions. In newer versions of macOS, apps must have permission to access certain features, including the camera. If you denied camera access to a particular application, it might not work correctly, so you need to grant the necessary permissions in your Mac’s system preferences.
Hardware issues can also cause camera problems on Macs. If your camera’s lens is blocked, damaged, or covered, it may not function correctly. Ensure that your camera lens is clean, clear, and unobstructed. If you’re using an external camera, you may want to check if it’s correctly plugged in, turned on, and functioning correctly.
Lastly, software issues could be the cause of a non-functional camera on your Mac. Updates, upgrades, and changes in your system settings can sometimes affect your camera’s functionality.
Check for any updates available for your macOS and make sure to keep all applications up to date. If the problem persists, you may want to try resetting your Mac’s SMC (System Management Controller) or NVRAM (Non-Volatile Random Access Memory) settings to fix any possible software issues that could be affecting your camera.
Mac Camera Settings

Cam settings apps are not available in macOS. Apple does not include native camera settings in macOS because most webcam apps have their own configuration options.
Third-party apps for cam settings can be downloaded. These apps allow you to adjust the brightness, contrast, saturation, and white balance of your cam. Webcam Setting is an example of such an app.
Tips to Use Your Mac’s iSight Camera
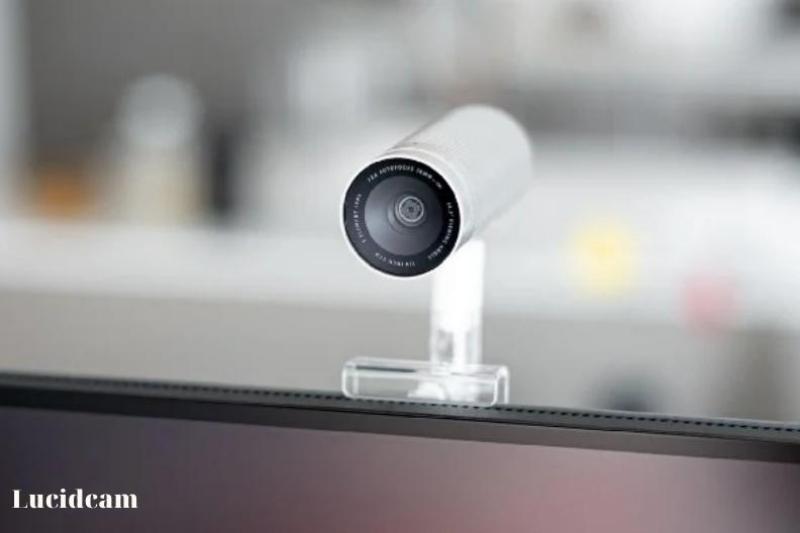
The iSight camera is a built-in camera on your Mac that you can use to capture photos, record videos, and video chat with your friends and family. Here are some tips on how to get the most out of your Mac’s iSight camera:
- Adjust camera settings: You can adjust camera settings such as exposure, focus, and white balance by using the settings option in the camera app. This will help you capture better quality photos and videos.
- Use a tripod: If you want to capture a steady shot or record a video without any shakiness, use a tripod to keep the camera steady.
- Use photo booth: Photo Booth is a built-in app on your Mac that lets you take fun photos and videos with various filters and effects. You can access it from the Applications folder or by using Spotlight Search.
- Use video chat apps: You can use video chat apps such as FaceTime, Skype, or Zoom to connect with your friends and family. The iSight camera on your Mac will provide high-quality video for a seamless chatting experience.
- Use third-party camera apps: There are many third-party camera apps available on the App Store that you can use to capture professional-grade photos and videos. Some of the popular apps include Adobe Lightroom, Camera+, and ProCamera.
- Keep the lens clean: Make sure to clean the lens of your iSight camera regularly to avoid blurry or distorted images. Use a microfiber cloth or lens cleaner to clean the lens gently.
- Use keyboard shortcuts: You can use keyboard shortcuts such as Command+Shift+3 to take a screenshot or Command+Shift+4 to take a partial screenshot. This will help you quickly capture the screen or a specific area without having to navigate to the camera app.
Other Common Mac Camera Problems and Solutions
While using the camera on your Mac, you might encounter some common issues that can be frustrating to deal with. Here are some common Mac camera problems and solutions to help you troubleshoot them:
- Camera not working: If your camera is not working, check to see if it’s turned on and properly connected. You can also try restarting your Mac or resetting the SMC (System Management Controller) or PRAM (Parameter Random Access Memory) to fix any software issues.
- Camera image quality issues: If the image quality of your camera is poor or blurry, check to see if there’s anything obstructing the lens. You can also try adjusting the camera settings or using a third-party app to capture better quality images.
- Camera freezes or crashes: If your camera freezes or crashes, try quitting the camera app and relaunching it. You can also try restarting your Mac or updating the camera app or macOS to the latest version.
- Camera not recognized by app: If your camera is not recognized by a particular app, check to see if the app has permission to access your camera. You can do this by going to System Preferences > Security & Privacy > Privacy > Camera and ensuring that the app has permission to access the camera.
- Microphone not working: If the microphone on your camera is not working, check to see if it’s turned on and properly connected. You can also try adjusting the microphone settings or using an external microphone for better sound quality.
- Camera not switching between front and back: If your camera is not switching between the front and back cameras, try quitting the camera app and relaunching it. You can also try resetting the camera settings to default.
- Green or black screen: If you see a green or black screen when using your camera, try quitting the camera app and relaunching it. You can also try resetting the SMC or PRAM to fix any software issues.
In summary, there are several common camera problems that you may encounter while using your Mac. By following these solutions, you can troubleshoot these issues and enjoy a seamless camera experience on your Mac.
FAQs

1. Why Skype Camera Does Not Work on Mac?
Skype may be the reason your Mac camera doesn’t work when you make Skype calls. Check that the latest version is installed. Skype will not work if you have the latest version.
If the problem persists, follow the steps in the previous chapter. Start your Mac computer again and try Skype again. Skype reinstall, and the above fix should resolve most issues with your iSight camera.
However, third-party cameras can be a different story. Regardless of what you do, some third-party cameras won’t work with Skype. Before you buy any accessories for your Mac, make sure you check that it is compatible with Mac computers.
2. How can I change the camera settings on my MacBook Pro’s MacBook Pro?
There are no built-in apps that can adjust settings. To change your privacy settings, go to the Apple Menu > System Preferences> Security & Privacy > Privacy> Camera > Allow or Block camera access to specific apps. You can adjust brightness and contrast using the Webcam Settings app purchased from the App Store
3. How can I reset my Mac camera?
- How to use Terminal for restarting your Mac cam
- Go to Applications > Utilities > Terminal and open Terminal.
- Enter the sudo killall VDCAssistant command and hit Enter. …
- In the pop-up window, enter your password.
- Reopen FaceTime — The camera should now work.
Conclusion
Please share this post if you found it helpful so that others might see its contents as well! If you want to know more information, you can access our website Lucidcam to explore a more interesting blog. Thank you for reading!
