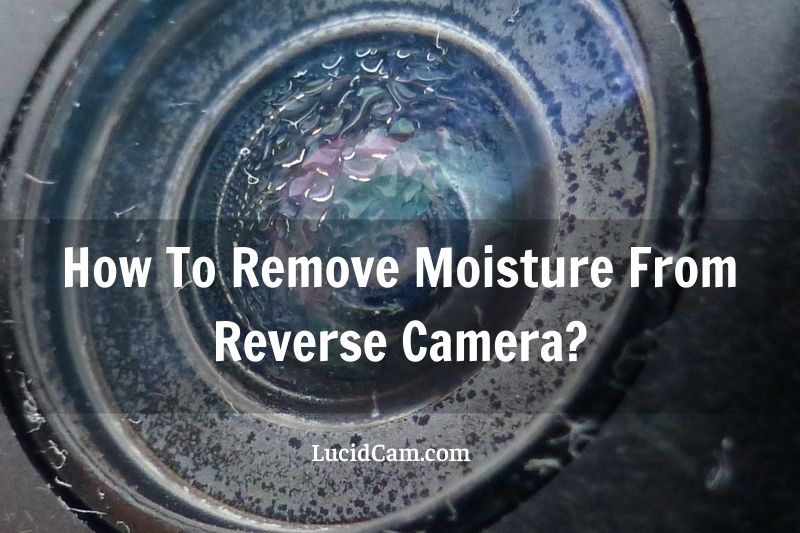
Cameras have amazed us ever since they were first invented. They evolved from just B/W pictures to now HD 8K Pictures and Videos.
Though getting a rearview camera will add to a new car’s price, that extra cash will likely be worth it. While cameras never cease to amaze, they still have their kinks for us to look out for.
If your dashboard or radio area display loads, but the camera shows no image, it’s likely a problem with your camera. One of them is moisture condensing within the lens, especially on the backup cameras, which will result in blurry pictures. Camera malfunction can be caused by interior camera condensation or moisture inside the lens.
The camera could be dirty because it is too close to the ground. Also Know, why does my backup cameras goes black? If your backup camera display is flashing or giving you black and white static, it’s likely the case that you have a fraying wire or a faulty connection. Make sure all of the cables and connections in your backup camera system are fully connected and repair any damage.
Fear not, Lucidcam has gathered all the information for you to make an educated attempt at removing such moisture from the lens and execute it perfectly. Here, you’ll find 3 easy solutions on how to remove moisture from the reverse camera.
Let’s keep scrolling to learn more.
Table of Contents
- 1 Is Moisture Condensation Harmful For Backup Camera?
- 2 Steps To Check Backup Camera
- 3 How To Know Where The Moisture Came From
- 4 Process Of External Cleaning Backup Camera Display
- 5 Process Of Internal Cleaning/Check-Up Backup Cameras
- 6 How To Remove Moisture From Reverse Camera | Easy Methods
- 7 Say Goodbye to Blurry Photos!
Is Moisture Condensation Harmful For Backup Camera?
A study by Techwhippet reveals condensation itself will never damage your equipment immediately. But leaving it condensed will fog up the lenses to a point where the pictures will be unrecognizable. Keep in mind though the hot weather and extreme humidity with damage your equipment quickly.
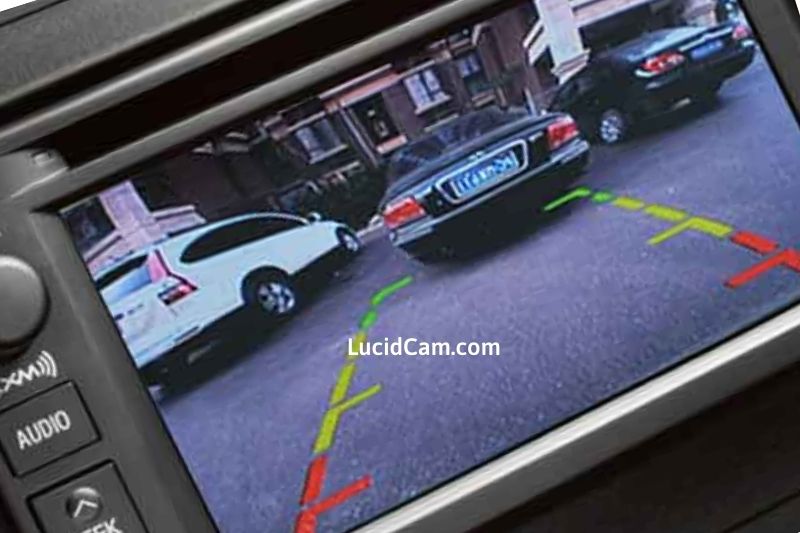
Steps To Check Backup Camera
This quick checklist will help you determine if your backup camera needs a quick fix before you rush to buy a new camera.
1. Check the Exterior of the Camera Lens
The first is easy. A blurry backup camera might have some water, mud, or other grime. To avoid scratching the lens, use a microfiber cloth to wipe it down. Apply some window cleaner if the stains seem to be getting stubborn.
You might also want to be proactive while cleaning the lens. While some backup cameras may have an auto-cleaning function, most don’t. Spraying a little Rain-X or a similar treatment on the lens will keep it clean, hydrophobic, and you won’t have to clean it as often.
2. Check for Interior Condensation
Camera malfunction can be caused by interior condensation or moisture. Your backup camera’s tiny electrical components are susceptible to water. Condensation is a problem with a reverse camera. You can use a desiccant to dry the interior moisture.
Microwaving uncooked rice in a bowl is a common technique that many people use. Then let your electronics dry in the bowl. Although this can be done with a backup camera, it may not work as the damage may already have been done. After you have connected it up, you should look for any cracks or leaks that allow condensation to form.
3. Check for Faulty Connections
A faulty connection or blown a fuse can often cause backup cameras to malfunction or become sluggish. Turn on your car and check the backup camera display to begin the diagnostic process. If the dashboard or radio display does not load, there is likely a problem with your backup camera. The camera may not be to blame if the display doesn’t load.
Before moving on to the next step, check your car’s fusebox to see if it has a blown fuse. You can replace the fuse with a cheap one, and it should work as well as new.
4. Trace it Back to the Source
This may require more technical and mechanical knowledge than many people want, but it can be a great way to troubleshoot your camera.
Locating a manual or repair manual for your car’s make and model will give you the information needed to trace the backup camera cables from the display to your camera. You can then determine if any wires are frayed and repair them.
Wireless cameras are a bit more complex than others, but they might just not be getting enough power or may need to be replaced.
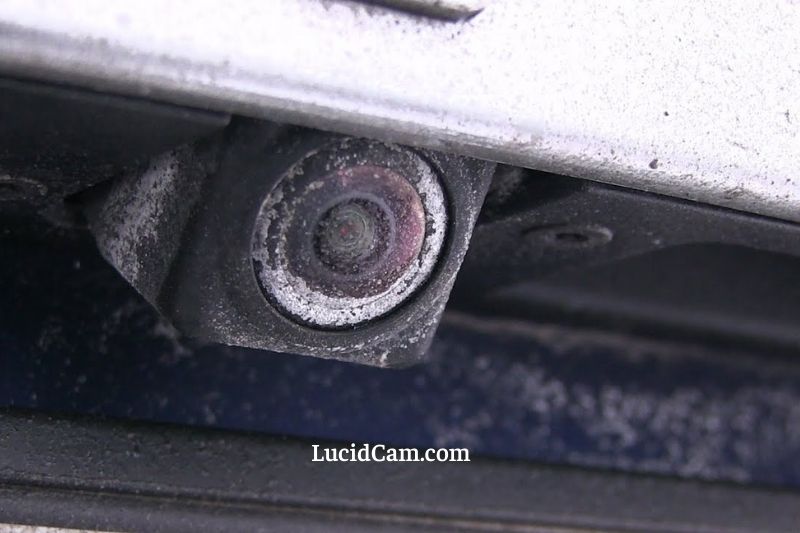
How To Know Where The Moisture Came From
It is safe to assume most of the time; the condensation comes from humidity. But in the off chance it doesn’t, you are going to need a bit of dexterity to find the origin of the issue. The things we need to check are:
- Check the outside for cracks. If cracked, the moisture could have just come from the outside.
- Check if the auto-focus. If it does work, then the infrared sensor might be at fault and not the moisture.
- Check for any other external gaps i.e., loose backplate, sim trays sticking out, or even cracks in a glass body. These can be removed by drying the device out.
After you figure out where the moisture came from, your next step should be to clean the moisture out using the appropriate method. You should always try fixing the problem from the outside first before getting inside a device as it gets more complicated there.
Process Of External Cleaning Backup Camera Display
Take a piece of microfiber cloth and clean the external part of the lens and its surroundings in a spiral rubbing motion. Don’t put too much force or do anything but a spiral motion, as this will leave permanent streaks on your lenses.
You may use a small amount of glass cleaner too but use it only after watering it down a bit. To check if this worked or not, you can take a few photos and check with previously taken photos for reference.
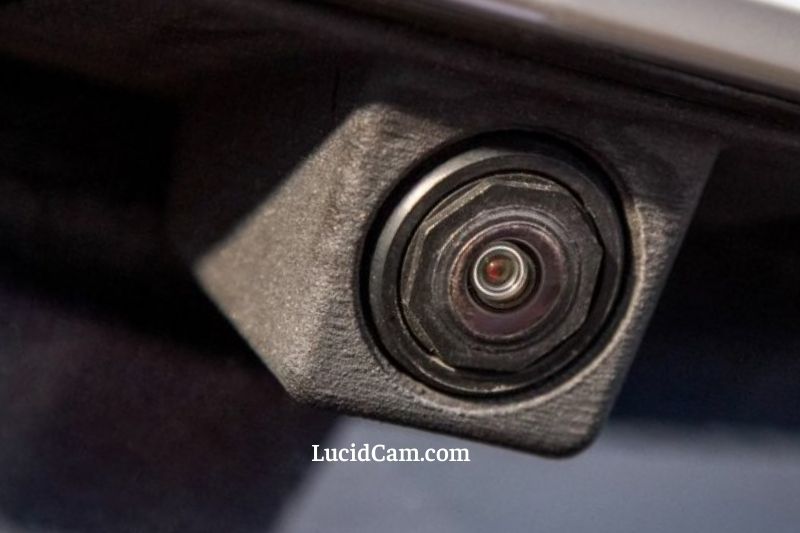
Process Of Internal Cleaning/Check-Up Backup Cameras
This part can get a bit tricky, but we are here to guide you through it. You will need a hairdryer with varying heat settings and a toolkit. At first, we will apply a bit of heat to the lens and slowly turn the temperature up.
We need to do this for a short amount of time. Our goal is to heat it to the proper temperature so that the heat evaporates the little amount of water stuck between the lenses. Next, if this doesn’t work, follow your device manual and open the backplate for further inspection. See if the connection to the camera came loose or not.
How To Remove Moisture From Reverse Camera | Easy Methods
Fret not. If you feel lost, we now will give you 3 easy solutions which have a high probability to remove that pesky moisture from your backup camera.
1. Using Micro Fiber Cloth: Using this special cloth with a watered-down glass cleaner, you can make sure that there is no filth around or near the lenses.
2. Applying Controlled Heat: A hairdryer with different heat settings is recommended for this. Even if you don’t have one, direct sunlight will do just fine. You should apply the heat to the lenses slowly to evaporate the moisture.
3. Drying the moisture out: You will need paper towels and an air-tight plastic box (Tupperware). Wrap your device in a paper towel and submerge it in the air-tight box filled with dry uncooked rice. Leave them in overnight, and most probably, you will wake up with a moisture-free camera lens.
Tips
- Always back up your files and photos before attempting any sort of repair.
- Don’t leave the device out in the sun for too long.
- If things get too complicated, don’t be afraid to go to an expert.
- You can protect your camera by placing it inside a Ziploc bag. Then, place the bag into your camera bag. This should be done before you enter your new environment. This will add an additional layer of protection to your camera and keep the air temperature from directly damaging it.
Say Goodbye to Blurry Photos!
Taking a perfect shot is hard enough. Don’t add on to it with a blurry backup camera. With our article, you can now remove the moisture from your backup camera lenses yourself.
Live your dreams. Click the perfect photos, that too with crystal clear quality.
