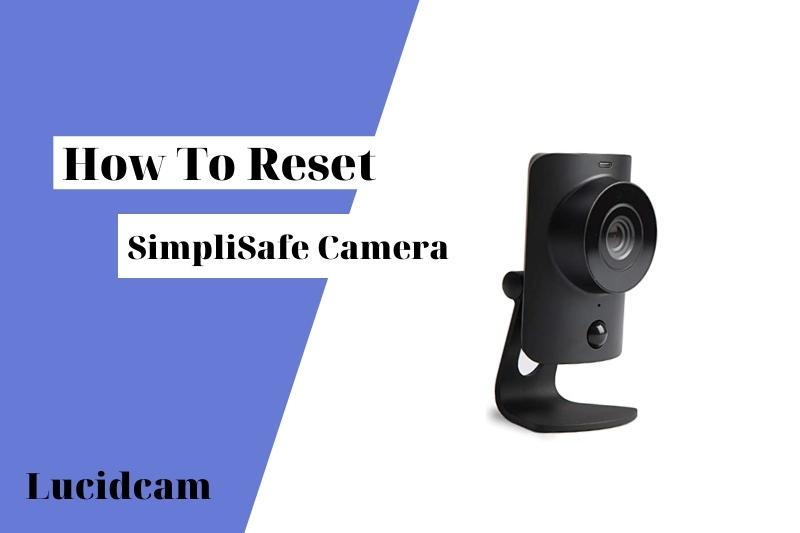
If you are having trouble connecting to your SimpliSafe camera or you just want to start fresh, resetting the camera is a quick and easy process. In this article, we will show you how to reset your SimpliSafe camera in a few simple steps.
Table of Contents
How To Reset SimpliSafe Camera
The simple reset processes
- These are the best methods to try before you go for other ones:
- For 20 seconds, hold the reset button down. Your cameras will reset.
- Wait a few minutes to unplug the device completely before replugging it
- Both of these options can be used in combination.
Reset Button
To reset your SimpliSafe Camera, press and hold the reset button for approximately 20 seconds. Your device will then automatically reset.
Unplug your Cameras
You can also unplug the device and then plug it back in. This will cause your device to turn off and then turn back on. If the reset button does not work, this would be an alternate option.
New QR Code
A new QR code will be required to access your SimpliSafe Home Security App for your cameras.
Start the setup process again
A flashing light should accompany the light of the camera. To start the setup process, you will hear audible cues.
Installation After Reset
After you have reset your SimpliSafe Cam, it is time to reinstall the device. You will need to make sure that the room is well-lit before you begin.
SimpliSafe Home Security App
- Go to SimpliSafe Home Security App, go to the main menu, and then choose Cameras.
- You will need to choose Install Camera, select Camera, and then click the gear icon in the lower-left corner. Then, select Add New Camera.
- Select Next after you have named the cameras.
Connect Your Camera To Your Wi-Fi
Next, you’ll need to locate and choose your WiFi from the provided list. Click Next after entering your password.
Your cameras may be flashing a yellow light if it is trying to connect to the internet but has not connected to your WiFi. This can be fixed by making sure that your Camera is not too far from your WiFi router. Also, ensure your internet service is functioning properly.
Your cameras may not be connecting to the internet if it flashes a red light. This is a sign that your Cam is not connecting to the WiFi.
How do I fix SimpliSafe’s camera not connecting to Wi-Fi
Are you having trouble connecting to WiFi? Here are the steps to fix it.
Two main reasons a camera might lose its WiFi connection are: You could have it installed too far from your WiFi network or not enough bandwidth.
If you’re having WiFi problems with your SimpliSafe system, there are a few things you may do to fix it:
- Make sure your router transmits your network using a 2.4GHz frequency rather than a 5-GHz frequency. SimpliSafe is designed to work with 2.4GHz WiFi networks to provide greater coverage. 2.4GHz networks penetrate floors and walls better than 5GHz networks.
- You must reset your password if your SSID (wireless networking name) or WiFi Password has changed recently. The WiFi network name, as well as the password, can only contain 32 characters.
- Make sure your SSID has not been hidden. Make sure your WiFi router’s network settings are visible to make the network discoverable.
- You can move the cameras by disconnecting them and plugging them in closer, if necessary, so it is right next to your internet router.
- If the camera is still working in this area after restarting, it may be that the distance between them was too great. In such cases, you’ll need to move the camera closer to the router.
- To increase your WiFi range, you can also purchase a WiFi extender.
- If your cam is not connecting even though it is right next to your router, this could indicate that you are experiencing WiFi connectivity difficulties. In such cases, disconnect other connected devices.
- Power cycle your base station to reconnect.
- Reset your wireless router.
- You can also speak to your Internet provider to upgrade your bandwidth.
Scanning the QR Code

To generate the QR code, select Get Code and point your phone at it. It’s helpful to turn the brightness up on your smartphone. If it doesn’t understand the QR code properly, your device will flash a white light.
If the light turns solid white, it has successfully scanned the QR code and is now connecting to your WiFi.
The code is read by the cameras. You will hear a ding sound and an announcement about the status of the cam while it connects. When your SimpliSafe camera is ready for viewing, you will be notified.
- You can check out How to Scan QR Code On iPhone From Camera Roll 2023: Top Full Guide to learn more information
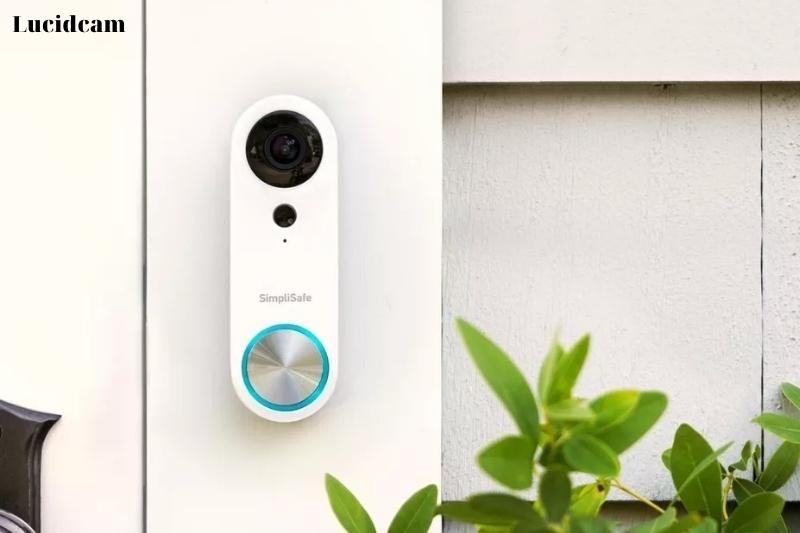
Video Doorbell Reset
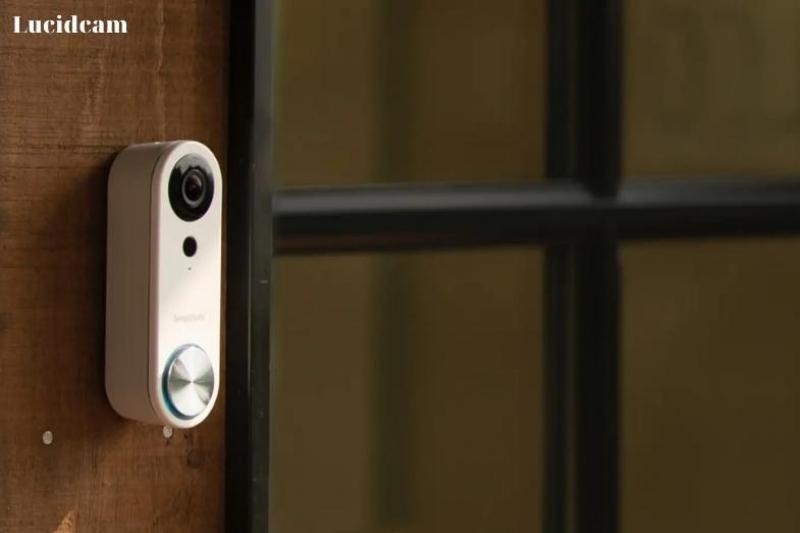
Click on Cameras in your SimpliSafe Home Security App. Next, click the gear icon at the top right of the preferred cam to access the camera settings.
Once you reach the Camera Settings menu, select the Cam that you wish to reset, then click Remove Camera at the bottom.
After the Camera has been removed, you can start the setup of your doorbell cam.
QR codes won’t scan during installation.
Before scanning the QR code using your smartphone, ensure that the brightness is set to maximum and that your smartphone has an active WiFi connection.
Android’s Challenges
Sometimes, an iPhone is better than an Android for reading the QR code. To display the QR code on an Android smartphone, you can use the SimpliSafe app Smart Home to display it.
Screenshot of QR code
You can take a screenshot by pressing the volume button and simultaneously pressing the power-on key.
Send the QR code image from your photo gallery to your Gmail account. Then, you’ll need to increase the size of the QR code image on the smartphone screen. The image should be increased by approximately one-fourth of an inch.
Change Brightness and Increase Screenshot
Find your smartphone’s settings menu, and set the brightness to maximum. Place the QR code image on your smartphone’s screen near your SimpliSafe camera lens. This process requires that your Camera be connected to the internet and that it is powered on.
After you’ve done that, slowly move your smartphone towards the SimpliSafe Camera until it is about a foot from the lens. Once this has been accomplished, you can stop moving.
The QR code should be quickly read by your SimpliSafe cam.
SimpliSafe Camera Not Working? SimpliSafe Security Camera Troubleshooting Tips
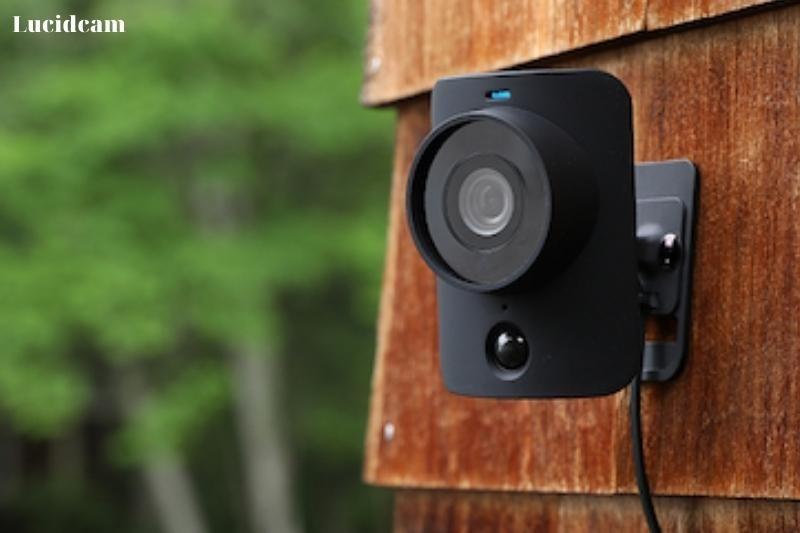
Simplisafe cameras that are not connecting to their network, WiFi, app, or network, and flashing yellow lights constantly have been reported on the internet. However, there are no detailed troubleshooting instructions. If you are in this situation, here are some quick solutions.
Restart the Camera if the SimpliSafe Camera is not working.
If the Camera is not working, restart it. This will reset everything.
The SimpliSafe Camera can be powered down to remove any faults and should then be fully operational within a matter of minutes.
If your Cam doesn’t respond, click the power button, and it will turn off. After turning it off, let it rest for a few minutes before turning it back on.
The Cam will return to normal after rebooting. There will be no further issues.
You can also check to make sure the power cable is connected and that your internet connection works.
Resetting the Cam can resolve a password issue. Also, make sure that your Camera is set to the most recent password for your network.
A Wi-Fi extender is a great option if you are having problems with your SimpliSafe camera. This will increase the signal’s reach and enable you to see clearly.
Reset Your Camera.
To get the Camera working again after a restart, you can do a cam reset. It should be easy for you and you don’t need to do anything. SimpliSafe cameras have a physical reset button that should allow you to reset the Cam.
To reset the device, keep the button pressed for 20 seconds. You can deactivate the device when it flashes. The Camera will reactivate itself when the light flashes. The Camera may need to be reset for a few minutes before you can use it again.
You may also notice a solid yellow light in the Camera’s LCD after you reset it. This is a sign that SimpliSafe’s software has been updated. The firmware will not respond while it is being updated.
It should not take more than 10 minutes, and patience is required. Once the firmware has been installed and the Cam restarted, you will be able to use the Camera with no problems.
Get in touch SimpliSafe.
These cameras do not require any additional wiring and are very simple. However, it is possible that the wiring may not be working properly. This could cause the Camera not to respond or the indicator light not to turn on. You may also need to fix other issues with the Cam.
SimpliSafe is the best option to repair or replace your cam. This will not compromise your security and warranty.
FAQs

1. How can I get SimpliSafe to exit test mode?
The SimpliSafe Keypad menu allows you to enter and exit testing mode. While test mode is active, the system will not contact dispatch. You can test the functionality of your sensors and connections to the monitoring center by using Test Mode.
SimpliSafe has a practice mode that temporarily disables professional surveillance for 72 hours after activating your system. This allows you to familiarize yourself with the system without false alarms.
2. Why is SimpliSafe red on my SimpliSafe?
To show system status, the SimpliSafe base station uses colored LED light.
- Red indicates a recent alarm or minor error.
- The system is considered to be armed if it is colored blue.
- Amber signifies an ongoing system upgrade.
White is for test mode, setting adjustments, and setup.
Conclusion
After you read this article, hopefully, you can learn something new and useful. If these methods are easy and useful, why not share them with others? Surely, you will appreciate it if someone will use these methods for reference. We do not own the copyrights of all images on this website. If you find that our content is inappropriate or if there are images that should not be here, please don’t hesitate to contact us.
