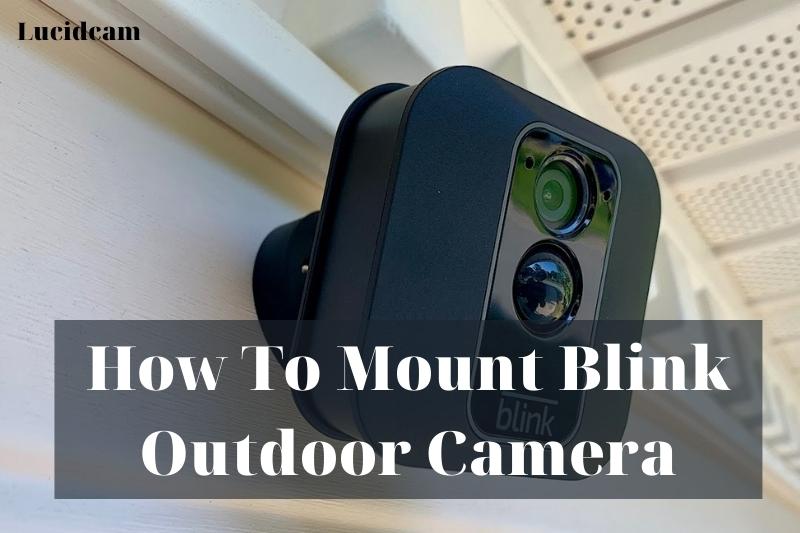
Outdoor security cameras are a great way to keep an eye on your property, and if you have one that is mounted outside, you need to make sure that it is mounted in a way that will keep it safe and secure. In this article, we will show you How To Mount Blink Outdoor Camera
Table of Contents
- 1 What Is A Blink Outdoor Camera?
- 2 How To Mount Your Blink Outdoor Cameras?
- 3 Mounting Blink XT Cameras
- 4 How to Mount the Blink XT2 Camera
- 5 How to Remove a Blink XT Camera Mount
- 6 Mount Riser, Screws, and Other Accessories
- 7 Hold the Camera and Try Live View
- 8 Combine the Mount and the Riser
- 9 Secure the Mount at the Location
- 10 What Else to Keep in Mind When Mounting a Blink Camera
- 11 Nighttime surveillance and LED indicator
- 12 Realities and Expectations
- 13 FAQs
- 14 Conclusion
What Is A Blink Outdoor Camera?
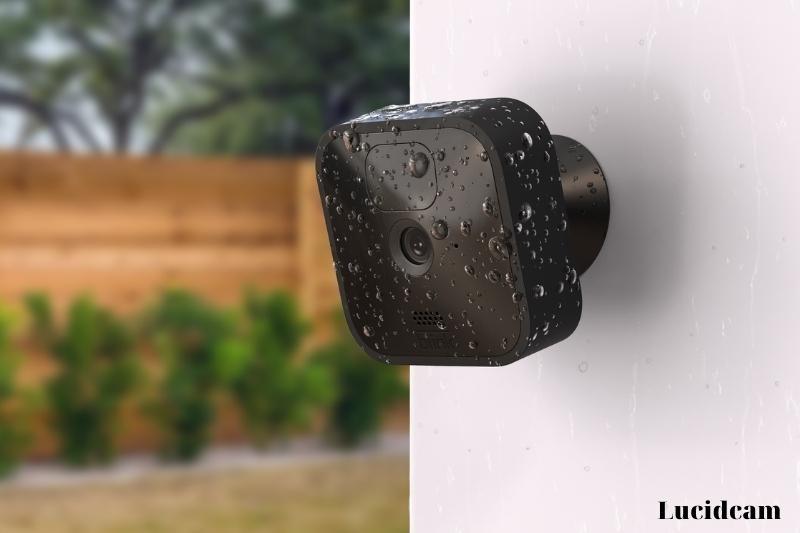
These clever little cameras can give you an overview of the outside world from your home. These 1080p, battery-powered, weatherproof security cameras record footage from the outside of your house using local cloud storage.
How To Mount Your Blink Outdoor Cameras?
You can mount your camera horizontally or vertically. BlinkForHome provides some guidance on which option is best for you.
The camera should include a volcano mount, riser, and two wood screws. You will need to go to a hardware store if you wish to mount your blink camera to another surface (other than wood). Otherwise, the camera might not be securely fixed.
Once you’ve settled on a spot, you can hold the camera up to verify that it is there. To ensure that it is exactly what you want, it may be a good idea to have someone else help.
The Mount can be mounted with the riser if desired. You will have more flexibility in positioning your cam. The camera will be further away from the wall, so it won’t hit it if it is at an angle.
Mark the holes with a pencil and drill the holes. Finally, screw the mount to the wall. You want the Mount to be stable and not move if you pull or nudge it.
Once you’re done, attach the camera to the top of the Mount. Make sure the clips are securely fastened. To adjust the desired viewing angle of the cam, you can rotate it or re-angle it on the Mount.
Note: The camera should be held in the desired location, and the Live View button can be pressed in the app. This will allow you to verify that the camera is able to see well and has good signal strength.
The best Motion detection occurs when a person moves horizontally across the field of vision, rather than towards or away from the camera. This is important to remember when attaching the device.
Mounting Blink XT Cameras
It was easy to mount the older style Blink XT cameras. The Mount is simply to be placed into the round opening at the center of the camera’s battery cover. It will be able to fit over the gray switch that is used for removing the battery cover.
Although they seemed a little fragile, this was not a problem for me. However, I found that older mounts could wear down the hinge area quite quickly if not careful. This would allow the camera to move backward and forwards if there was a lot of wind or if it was touched by a larger animal.
This is no longer an issue. They now sell the upgraded version separately in a 3-pack. They come with the new XT2 cameras and will also work with the indoor blink and blink XT cameras.
How to Mount the Blink XT2 Camera
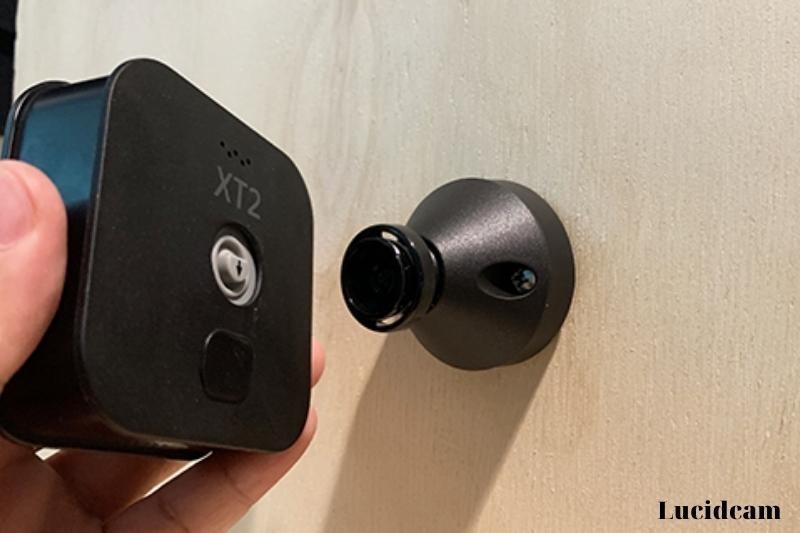
A good example of a camera mounting is the one included with your Blink Camera XT2. The Mount comes with two screws and an optional mount riser. Amazon allows you to purchase an additional amount for your spare.
This is a step-by-step guide to how to use the Blink XT2 outdoors camera.
Many customers who used the fragile mounts before decided to use aftermarket options. Blink has published these new factory mounts. They can be ordered separately or as part of the XT2 system. These mounts, made from plastic and with a ball-type joint, fit perfectly on the back.
- Two mounting points are provided for the cam. An extra spacer can be added if the camera is to be positioned at a more favorable angle.
- These two attachments have aligned screw holes.
- Connect the mount to your choice of location using the two supplied screws.
- Remember that the mounting screws provided will cause two holes in your wall.
- After the mount and optional mount riser are in place, attach the camera to the mount.
- Attach the mount’s circular portion to the rear of your XT2 camera.
- It’s easy to install: just press the button until you hear a click.
- It’s easy to adjust and rotate the device to your preferred viewing angle. It seems stronger than the originals, and it’s easy to take it off.
- These mounts are compatible with all blink cameras. To assemble, simply use the provided screws and optional spacers.
- After they are in place, clip the camera.
Note: Your Blink camera should not be mounted outdoors in direct sunlight. For good measure, it should be placed between 8 and 10 feet from the ground. The camera can be attached to any of a variety of mounts from gooseneck to center-hole mounting.
How to Remove a Blink XT Camera Mount
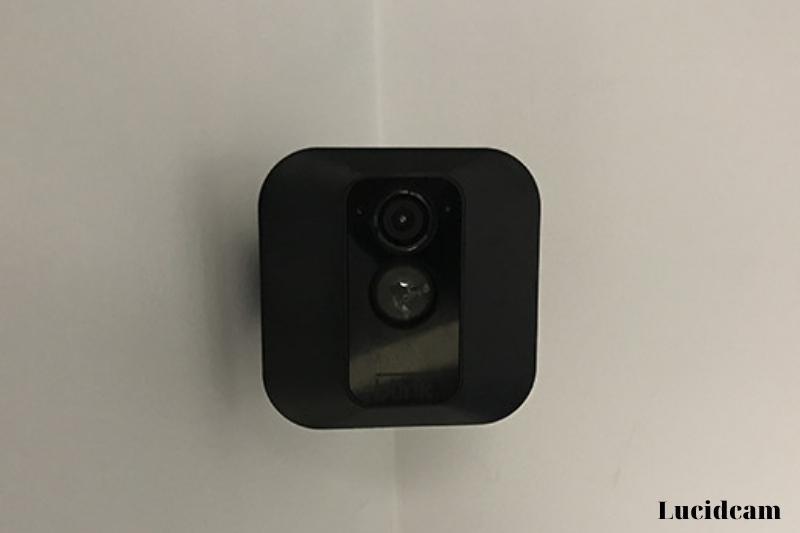
The only thing that you have to do with the original Blink XT cameras is to unscrew one screw that holds the camera to the surface. You can also remove the camera from its base attached to the surface if you are feeling brave. The new Blink XT camera mounts work similarly. They can be removed from the wall easily, even though they are not as lightweight.
Mount Riser, Screws, and Other Accessories
Mount risers increase the distance between the mounting surface and the camera. This allows your device to move freely when it’s positioned on the Mount. The screws for the XT2 mounting are made from wood screws.
A proper screw type is required to mount any type of masonry or similar surface. For installation of the XT2 onto shelves, ceilings, floorboards, or ceilings, these screws should not be used.
Hold the Camera and Try Live View
You can preview the position of your cam by holding the device where you want it to be mounted and pressing the appropriate icon on the Blink App. This allows you to check that your device is positioned correctly and receives good Wi-Fi signal strength in that area.
Remember to consider perspective when choosing the mounting location. Once you have decided where to mount your cam, the Mount and riser can be combined as one.
Combine the Mount and the Riser
Both accessories have screw holes that match one another. The Mount can be attached to wood surfaces by aligning the screw holes. Otherwise, use the screw holes to mark the masonry, drill holes, and put in the screws afterward on the hard concrete and the like.
Remember to drill or make two holes in the ceiling, table, shelf, wall, or ceiling surfaces to use the included screws. (Ideally, a wooden wall due to the number of screws provided with the device).
Secure the Mount at the Location
Mount and/or optional Mount can be secured at the desired location. Because it was made for this purpose, the Blink Mount is designed to securely attach the Blink XT2 security camera (and other cams) to the Mount.
For more precise placement, insert the center circle from your XT2 directly into the Mount’s circle portion. When you do this correctly, you should hear a satisfying snap.
To get the best view, rotate the Blink XT2 after mounting. To get a clear view of your subject, ensure that it faces the camera instead of towards it.
What Else to Keep in Mind When Mounting a Blink Camera
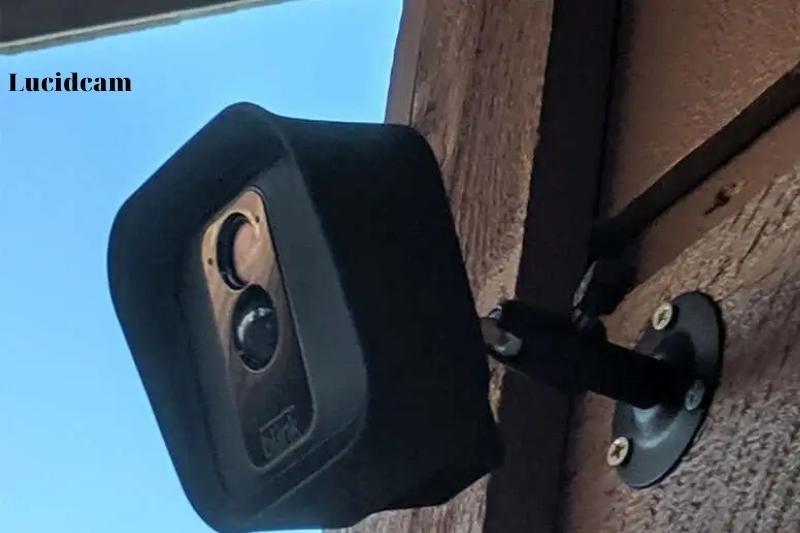
You want the camera to be placed at the right angle so that you have maximum viewing distance, regardless of where it is mounted. This could be a height of between 8-10 feet and a few feet above your chest or waist.
This is why surveillance cameras are often placed overhead at banks. It is important to consider whether you want the Blink XT2 and other models to be visible. You and your family can protect the device’s value by hiding it from plain sight.
Nighttime surveillance and LED indicator
Night vision mode should not be used for surveillance at night. It should be used in conjunction with a motion-triggered floodlight or emergency floodlight to scare away potential intruders.
When the camera is recording, the blue LED on it flashes blue. To let guests and visitors know that they are being recorded, some people leave the light on. If they want the device to be hidden, such as a surveillance cam or nanny cam, others can turn the LED off.
Realities and Expectations
Outdoor cameras should be pointed at the sun and ground, with the cam slightly tilted so that you can see the backyard or perimeter of your home. Indoor cameras should be hidden or placed on shelves or tables.
These cameras can be viewed live (without uploading recordings), or you can store hours of recordings in the Cloud (all cameras have Wi-Fi capability).
Motion detection is for cameras that detect when someone walks horizontally in the camera’s field of view, not away or towards it. To get such a view, the camera should be placed on the corner or side of the hallway instead of directly on the corridor.
- You can check out How To Set Up Blink Camera 2023: Top Full Guide to learn more useful information
FAQs

1. How do you mount an outdoor blink camera without screws?
2. Is the Blink camera compatible with Mount?
The box contains a mount riser and a camera mount. There are also two screws included with your Blink XT2. … Motion detection is best when the subject walks horizontally across the field of view rather than towards or away from the camera. This is important to remember when selecting a mounting location.
3. Can you use blink mini outdoor?
as long as it is dry and within its operating temperature range 32deg-95deg F (0deg-35deg C). Blink Indoor’s camera and sync module cannot be waterproofed. Any exposure to moisture or temperatures beyond their operating temperature range will invalidate our one-year limited warranty.
Conclusion
Lucidcam has covered how and where to mount Blink outdoor cameras. This guide will help you set up your camera to maximize its potential and make sure you see all the important things. Thank you for taking the time to read!
