How To Reset Drone? There are quite a few reasons people would like to mill reset their drones, with the most typical one being if their drones are not working as planned and several potential repair measures have already been attempted.
Another reason might be that there is likely to be a shift in ownership that could happen when you’re giving someone your drone or even selling it. But, no matter your reason for factory resetting your drone, you will discover step-by-step directions about how to perform it successfully within this report.
We are going to be discussing different ways of resetting drones below. Keep on reading to learn about these and which apply to your situation.
Table of Contents
How To Reset Drone?
Resetting a DJI Drone
If your drone does support a factory reset, the process can vary depending on the make and model. The following steps are specific to DJI drones, but other manufacturers that support factory resets may have similar steps:
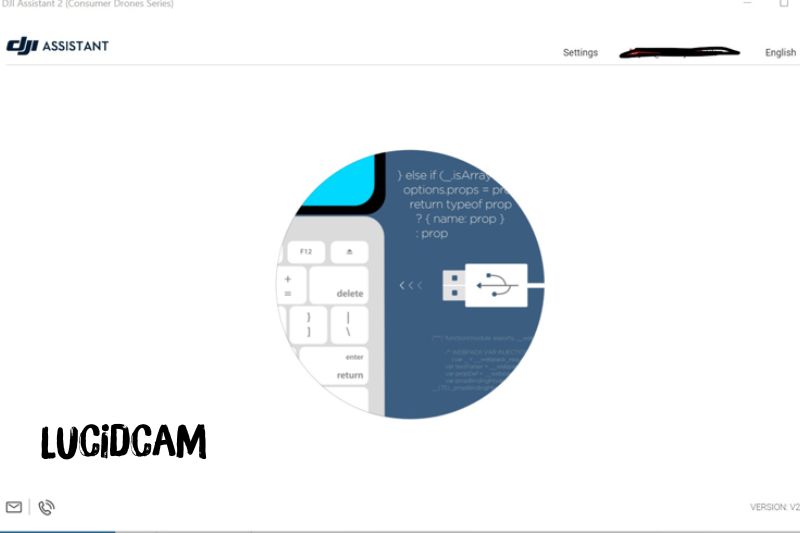
Step 1: Download and install the DJI Assistant Program on your device. This can be done on Windows or Mac OS computers, or you can check the Google Play Store for the Android version. It’s important to note that there are different versions of the DJI Assistant, each compatible with specific drones.
For example, the DJI Assistant 2 works with Mavic Air, Mavic Pro, DJI Goggles, and more. Additionally, the DJI Assistant for Mavic is compatible with Mavic drones, while the DJI Assistant for Phantom works with Phantom drones such as Phantom 4, Phantom 4 Pro, Phantom 4 Advanced, Phantom 4 Pro V 2.0.
Step 2: Turn on your drone.
Step 3: Connect your drone to a laptop using the USB cable that came with it. You can also use other compatible USB cables.
Step 4: Open the DJI Assistant program and wait for it to detect your drone. This may take a few seconds.
Step 5: You will be able to see your drone on the Connected Devices display. Select your drone and click CONFIRM.
Step 6: Click on Firmware Update. After that, you will be able to see the “Restore factory defaults” button.
Step 7: Click the factory reset button and confirm when prompted to confirm the reset. A progress bar will appear showing the progress of the reset. You will be notified when the reset is complete.
It’s important to note that a factory reset will erase all custom settings and data on your drone, so be sure to back up any important information before proceeding. Additionally, a factory reset should be used as a last resort and only when necessary, as it may not always fix the issue and may even cause new problems.
If you are unsure about whether a factory reset is the best solution for your drone, consider seeking assistance from a professional or the manufacturer’s support team.’
Resetting Other Drone Models
Resetting other drone models can be a necessary step when troubleshooting various issues that may arise during drone operation. The process for resetting drones may differ depending on the specific model and manufacturer, but there are general steps that can be followed.
Here are some steps that can be taken to reset other drone models:
- Install the manufacturer’s software for your drone on your device.
- Link your drone to your device via the manufacturer’s software.
- Search for the reset option under settings/systems/firmware upgrade.
- Follow the instructions provided by the manufacturer for resetting the drone.
- If the reset option is not available or doesn’t work, try performing a hard reset. A hard reset may erase all data and settings on the drone, so it’s important to back up any critical data before proceeding.
- Check the manufacturer’s website for additional troubleshooting steps and firmware updates.
It’s important to note that resetting a drone should only be done as a last resort if all other troubleshooting methods fail. Additionally, it’s crucial to follow the manufacturer’s instructions carefully to avoid damaging the drone or causing any further issues.
In the case of Parrot drones, the process for resetting is slightly different. To reset a Parrot drone, turn on the drone and wait for the LEDs to turn green. Then, press the power button and hold it for approximately 30 seconds.
Both drone LEDs will turn red alternately, and they will blink. The blinking will happen more often, signaling that you’re in the last phase of the reset process. Do not release the power button until the LEDs return to green, indicating that the Parrot drone has been successfully reset.
In conclusion, resetting a drone can help resolve various issues that may occur during its operation. By following the steps provided by the drone manufacturer, you can reset your drone and get it back to working condition. Remember to always back up critical data before performing a hard reset and to seek additional support from the manufacturer’s website if needed.
How to Reset Drone Wifi?
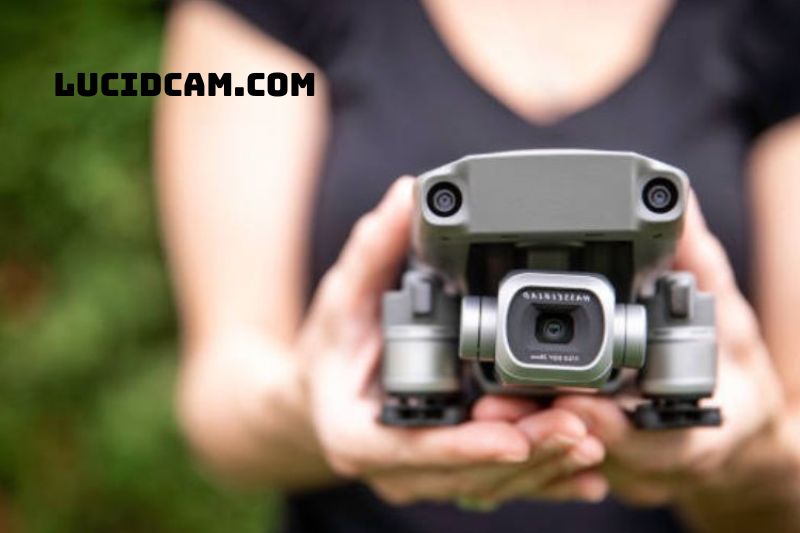
Resetting drone WiFi can be a useful step when experiencing connectivity issues between your drone and device. Here are some steps that can be taken to reset your drone WiFi:
- Power off your drone and device.
- Disconnect any cables that may be connected between your drone and device.
- Locate the WiFi reset button on your drone. The location of the button may vary depending on the model and manufacturer, so refer to the user manual for guidance.
- Press and hold the WiFi reset button for several seconds until the LED lights on your drone start flashing.
- Release the button and wait for the LED lights to stop flashing.
- Turn on your device and search for available WiFi networks.
- Connect to the network that corresponds to your drone.
- Open the manufacturer’s app and follow the prompts to establish a connection between your drone and device.
If resetting the drone WiFi doesn’t resolve the connectivity issues, try resetting your device’s WiFi settings or updating the drone’s firmware.
It’s important to note that resetting your drone WiFi will erase any previously saved network configurations, so you will need to re-enter the WiFi credentials the next time you use your drone.
How to Reset a Drone Controller?
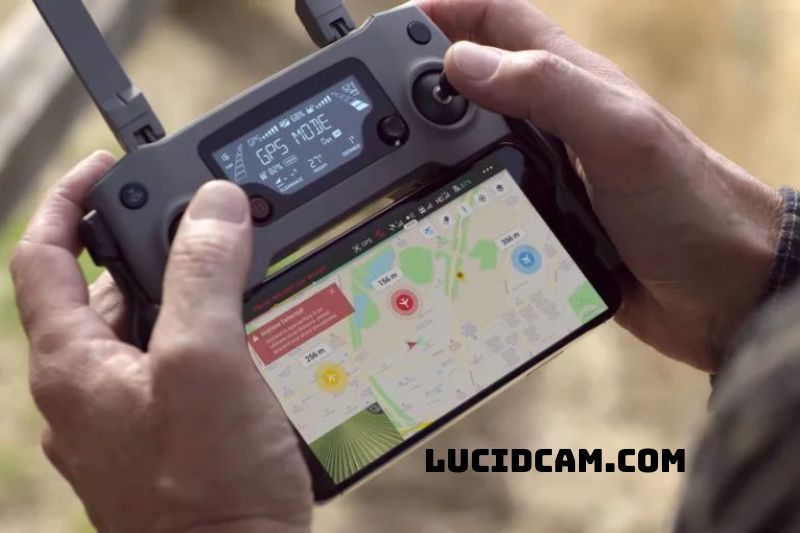
Resetting a drone controller can be a necessary step if you encounter issues with its functionality, such as power failure or unresponsiveness. Although there are different types of drone controllers available on the market, the process for resetting them is generally similar. Here is a step-by-step guide on how to reset a drone controller:
- Step 1: Hold down the power button on the drone for about 9 seconds or until you hear three beeps. Repeat this process with the controller. This will allow the drone and controller to disconnect from each other.
- Step 2: Once you have powered off both the controller and the drone, make sure they are placed close to each other.
- Step 3: Power on the controller and then press and hold down the Pause button, the Fn button, and the bottom right shoulder button. Depending on your controller, the buttons may vary. For example, on a DJI drone controller, the bottom right shoulder button is located under the camera. Hold down these buttons until you hear a continuous beeping sound. This will initiate the reset process.
- Step 4: Power on the drone and then press and hold down the power button until you hear one beep. This will put the drone into binding mode, which allows it to connect with the controller. Wait for the controller to connect to the drone. You will know that they have connected when the lights on the controller turn green.
- Step 5: Once the controller and drone are connected, perform a test flight to ensure that everything is working correctly. Make sure to test the various features of the drone, such as the camera, gimbal, and other functions, to ensure that they are all working correctly.
Notice: For many drone versions such as Parrot, resetting the drone also involves resetting the control. Therefore, if you are already flashed your Parrot drone working with the procedure we discussed below, the resetting drone subheading, you can make certain your controller has been flashed.
See more: How To Detect A Drone In The Sky
How to Reset the Smart Battery from DJI Drones?
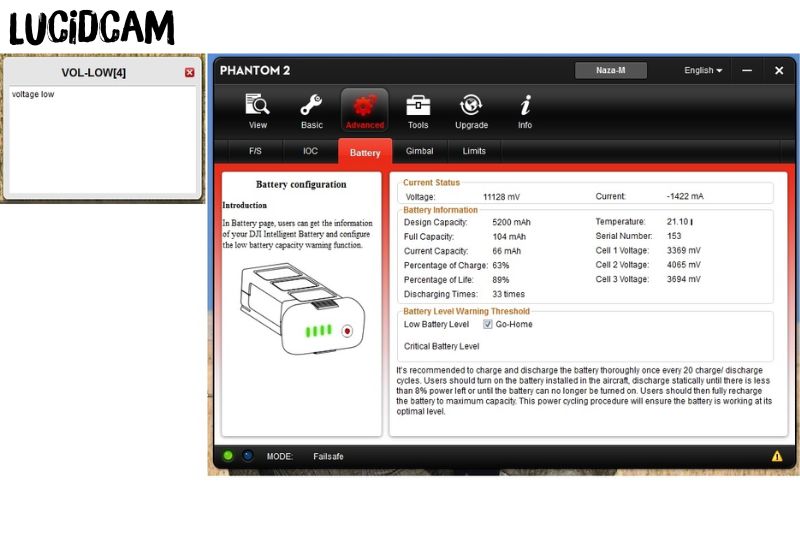
Resetting the smart battery from DJI drones can be a useful step to take if you encounter issues with the battery’s performance, such as a sudden drop in battery life or problems with charging. Resetting the battery can also help to recalibrate its sensors and restore it to its default settings.
Here is a step-by-step guide on how to reset the smart battery from DJI drones:
- Step 1: Power off the drone and remove the smart battery from the drone.
- Step 2: Locate the power button on the smart battery. Press and hold down the power button for about 5-7 seconds or until the battery’s LED lights turn off.
- Step 3: Once the LED lights have turned off, release the power button and then press it again for another 5-7 seconds. The LED lights will turn on again, indicating that the battery has been reset.
- Step 4: After resetting the battery, it’s important to charge it fully before using it again. Make sure to use the appropriate charger and charging cable that came with the drone to avoid any compatibility issues.
- Step 5: Once the battery is fully charged, reinstall it in the drone and power on the drone. Perform a test flight to ensure that the battery is working correctly.
It’s important to note that resetting the smart battery from DJI drones should only be done as a last resort and after ruling out other possible causes of battery issues. If you continue to experience problems with the battery after resetting it, you should consult the manual for your specific drone model or contact the manufacturer for further assistance.
How to Factory Reset DJI Mavic Air 2 via DJI Assistant
You may upgrade or refresh the firmware on your drone by using an application called DJI Assistant, which is a computer tool that can be installed on either a PC or a Mac.
To accomplish this, carry out the steps outlined in the following method.
STEP 1: Download the DJI Assistant
The first step in resetting your DJI Mavic Air 2 is to download the DJI Assistant software. This software is available for Windows and Mac operating systems, and can be downloaded directly from the DJI website.
STEP 2 – Connect your drone
Once you’ve downloaded the DJI Assistant software, connect your DJI Mavic Air 2 drone to your computer using a USB cable. Make sure that your drone is powered on and in a stable location.
STEP 3: Update the firmware on your device.
You may view all of the firmware that is compatible with your Air 2 by navigating to the “Firmware Update” option on the left-hand panel.
You will see a button labeled “REFRESH” in front of your drone if it is already running the most recent firmware version.
If you click the REFRESH button, the firmware on your drone will be reloaded, and all of the settings will be reset to the defaults that were present when the drone was manufactured.
If you want to return your Mavic Air 2 to an earlier firmware version, you can do so by clicking the DOWNGRADE button. This will cause the installation of the older firmware.
As soon as the procedure is finished, your drone will automatically restart, and you will be able to detach it from the computer.
If you decide to downgrade or update the firmware on your drone, all of the data, user profiles, and accounts will be deleted. Your drone needs to be re-registered, and you also need to link it to the controller and your phone.
STEP 4: Perform the factory reset
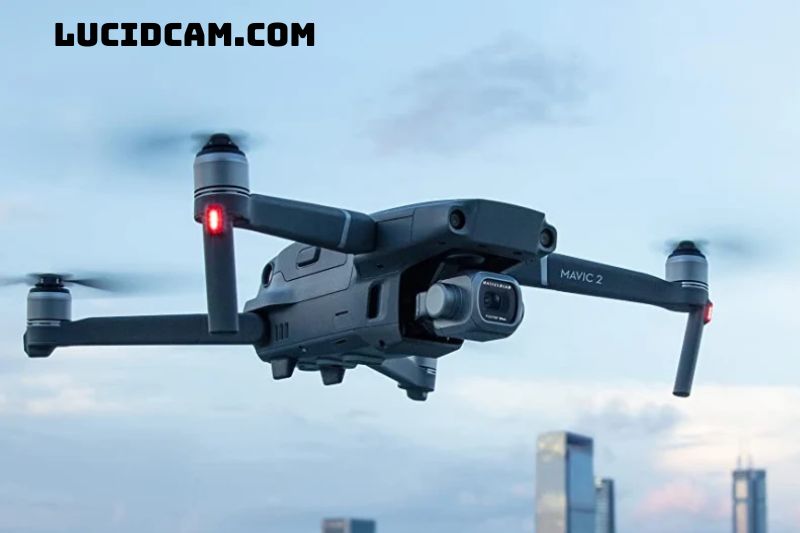
After updating the firmware, you can perform the factory reset by selecting the “Factory Reset” option in the DJI Assistant software. This will erase all settings and data from your drone, restoring it to its default settings.
STEP 5: Confirm the reset
Once you’ve selected the factory reset option, you’ll be prompted to confirm that you want to proceed with the reset. Confirm that you want to reset your drone, and the process will begin.
STEP 6: Wait for the reset to complete
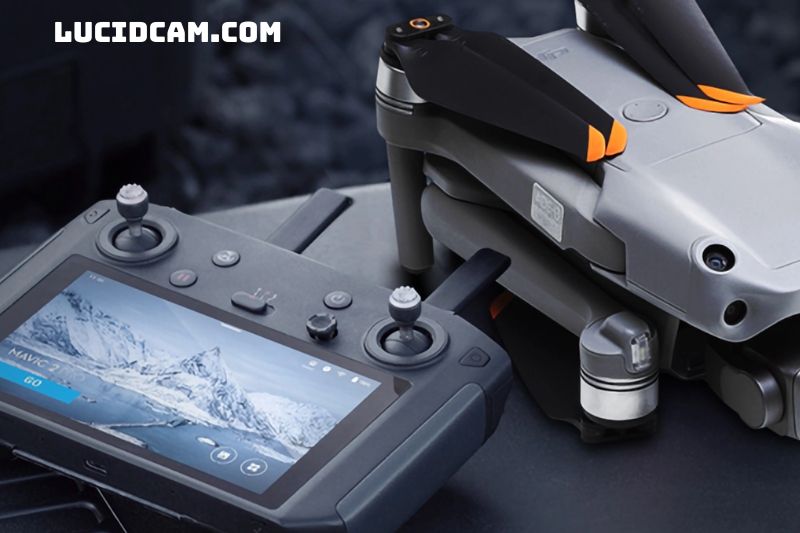
The factory reset process may take several minutes to complete, depending on the speed of your computer and the size of your drone’s storage. Once the reset is complete, your DJI Mavic Air 2 will be restored to its default settings.
Performing a factory reset on your DJI Mavic Air 2 via DJI Assistant is a quick and easy way to restore your drone to its default settings. It’s important to note that this process will erase all data and settings from your drone, so be sure to back up any important data before proceeding.
If you have any issues with the process or need further assistance, consult the DJI website or contact their customer support team.
Troubleshooting

When it comes to resetting a drone, there are a few common issues that you may encounter. These can range from difficulty binding the remote controller to connectivity issues between the drone and controller. Here are some tips for resolving these issues:
Difficulty binding the remote controller:
If you’re having trouble binding the remote controller to the drone after a reset, there are a few things you can try:
- Make sure that the remote controller and drone are both powered on and in close proximity to each other.
- Check that the remote controller is in the correct mode (e.g. GPS, ATTI, Sport).
- Try resetting the drone and remote controller again, following the manufacturer’s instructions carefully.
Connectivity issues between the drone and controller:
If you’re experiencing connectivity issues between the drone and controller, try these troubleshooting tips:
- Make sure that the remote controller and drone are both fully charged.
- Ensure that there are no obstacles blocking the line of sight between the drone and the controller.
- Check that the antennas on the drone and controller are properly oriented and not damaged.
- Try resetting the drone and remote controller again, following the manufacturer’s instructions carefully.
Other tips for troubleshooting:
- Consult the manufacturer’s website or support team for guidance on specific issues.
- Look for online forums or communities where other drone pilots may have encountered similar issues and shared their solutions.
- Consider taking your drone to a professional repair service if the issue persists or you’re not comfortable troubleshooting the issue yourself.
FAQs
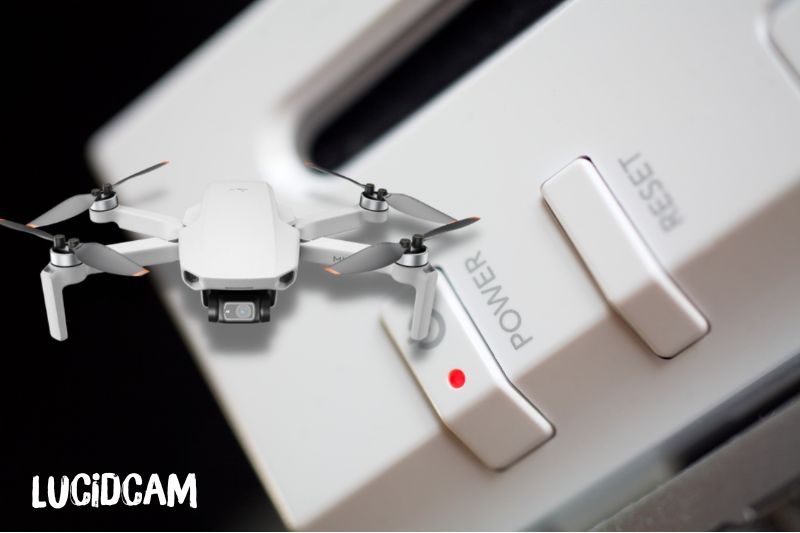
How do I reset my quadcopter?
If you’re having trouble with your quadcopter, there are a few things you can do to reset it.
- First, try restarting the quadcopter. If that doesn’t work, you can try resetting the controller. To do this, turn off the quadcopter and the controller.
- Then, press and hold the quadcopter’s power button for about 5 seconds.
- After that, press and hold the controller’s power button for about 5 seconds.
- Finally, turn on the controller and then the quadcopter. If your quadcopter still isn’t working properly, you can try recalibrating it.
To do this, turn on the quadcopter and the controller. Then, press and hold the quadcopter’s power button for about 5 seconds. After that, press and hold the controller’s power button for about 5 seconds. Finally, turn on the controller and then the quadcopter.
How to reset DJI Mini 2 controller
If you’re having trouble with your DJI Mini 2 Controller, you can try resetting it. Here’s how:
- Turn off the controller and disconnect the battery.
- Press and hold the power button for about 10 seconds.
- Reconnect the battery and turn on the controller.
- Wait for the controller to connect to the drone.
- Try flying the drone again.
How do you reset a toy drone?
To reset these drones, you will have to switch the Parrot drone on and then wait for the LEDs to turn green. After that, press the power button again but this time, hold it for about 30 seconds. As you hold the power button, the two drone LEDs will turn red alternately and they’ll be blinking as this happens.
Conclusion
In case you’ve got additional troubleshooting suggestions, please inform us. In addition, we carry a continuation and Q/A talk of the article in our forums. So please join and ask your questions. Here’s the URL to this Droneflyers Forum Discussion of the Report.

