If you like photography and wanna get into the field, there are few things you shouldn’t miss. To begin, you must master the fundamentals of photography. This covers learning about the various elements of a camera, using manual controls, and taking amazing photos. photographic may be learned online or in lessons at a local college or photographic school.
In this article, Lucidcam will discuss How To Get Into Photography to help you.
Table of Contents
- 1 How To Get Into Photography
- 1.1 1. Take A Look At Your Photos
- 1.2 2. Learn How To Use Your Camera
- 1.3 3. Taking Photos And Make Them!
- 1.4 4. Consider Your Lifestyle
- 1.5 5. Explore All Types Of Photography
- 1.6 6. Take A Class
- 1.7 7. Invite Your Family And Friends To Participate
- 1.8 8. Reach Out To Professional Photographer.
- 1.9 9. Make Sure You Invest In The Best Gear
- 1.10 10. Learn About Post-Production
- 1.11 11. Camera Modes
- 1.12 12. The Exposure Triangle — Understanding ISO and Aperture
- 1.13 13. Pay Attention To The Light
- 1.14 14. Network
- 1.15 15. Learn More About Composition
- 1.16 16. Get Organized
- 2 FAQs
- 3 Conclusion.
How To Get Into Photography
There are many ways to start photography. These tips will help you get started as a beginner photographer. They include finding inspiration and choosing the right camera gear.
1. Take A Look At Your Photos
Look through your camera roll, Instagram, or other places where you store photos and look for patterns.
What are you most passionate about photographing? You, your pet dog, or random street scenes? Finding your passion is the most important step you can make.
You’ll soon stop taking a serious interest in photography and start capturing images that you don’t love.
2. Learn How To Use Your Camera
The final image must be yours. Modern cameras can produce well-exposed photographs if they are used in Auto mode. But there is more to it.
Your cam settings can have a profound impact on the quality of your photos, even beyond proper exposure.
The shutter speed can either freeze or capture motion blur, for example. The depth of field is largely controlled by the aperture. This is how much of your image is focused.These are decisions you must make, and not the camera.
This is just the exposure triangle. There are many different settings you can use to improve your photography.
Also, you should be familiar with exposure mode and focal mode, metering mode, file format, white balance, and other settings.
Your main goal is to be able to use the camera in manual mode. You can begin by learning one tool at a while using semi-automatic modes. This will make it much easier.
3. Taking Photos And Make Them!
It is important to continue to capture what you love, as that will help you stay focused. To take your photography to the next level, you must first start shooting photos with a purpose.
Let’s suppose you enjoy street photography. You don’t have to do it the usual way. Instead, schedule a date and arrange a photo shoot.
Choose a subject and location. Gather your camera equipment and set a goal. As if you were assigned a job.
Imagine you are given a briefing by an editor for an article. Then you will need to submit the photos at the end.
You don’t have to be disappointed if you don’t get the best shot the first time you attempt this. You will improve your skills as you practice.
4. Consider Your Lifestyle
You wouldn’t want to work weekends or during holidays if you didn’t enjoy tourism.
Well, the same happens with a photography career. Every direction you choose comes with a lifestyle choice. Event photography is an example of a lifestyle choice. You don’t necessarily need a studio, but you will likely be working nights, etc.
It will be difficult for you to capture nightscapes if you don’t like sleeping late.
It won’t be easy to direct a model or deal with the other people involved in fashion photography if you don’t enjoy fashion photos.
I am arguing that although you may like one type of photography to look at and admire, you can also be a specialist in another.
5. Explore All Types Of Photography
You don’t need any special equipment to take street, documentary, portraits and other types of photography. Depending on your lens, you can even do macro photography.
Digital photography is not the only way to experiment and learn. Ask family members if they have a film camera you could borrow. If you don’t have, you can probably find one in a second-hand shop
You can rent equipment for photography gear to try out more advanced techniques. Renting a tilt-shift lens allows you to try architecture and real estate photography.
You should rent equipment beforehand if you plan to travel to a location that has unique opportunities for photography.If you are going to the Bahamas, for example, you might try underwater photography.
6. Take A Class

While online learning is great, you are missing out on many benefits that attending class in person can offer.
There are many options available depending on your goals, budget, and time availability. It can be a career choice, and you can study Photography at University. Or, you can opt to attend one-day workshops.
It is important to remember that you will learn photography and practice. This will allow you to access professional equipment from the instructor or photographer who is teaching the course.
Also, you will get instant feedback and guidance about your work. You’ll also meet other photographers who will be a valuable resource and offer invaluable support.
Complementing your learning with magazines, books, and online resources is the best thing to do. Never stop learning.
7. Invite Your Family And Friends To Participate
Beginner photographers often use their friends to model their images. Families are also great.
Because you already know them well, you will feel at ease taking their picture. This will allow you to capture their essence.
You’ll also find that photography can often be done by two people. You might need another pair to help you hold a Speedlight or reflector.
Make friends with classmates if you take a photography course. You can share your knowledge and help one another when you get started.
8. Reach Out To Professional Photographer.
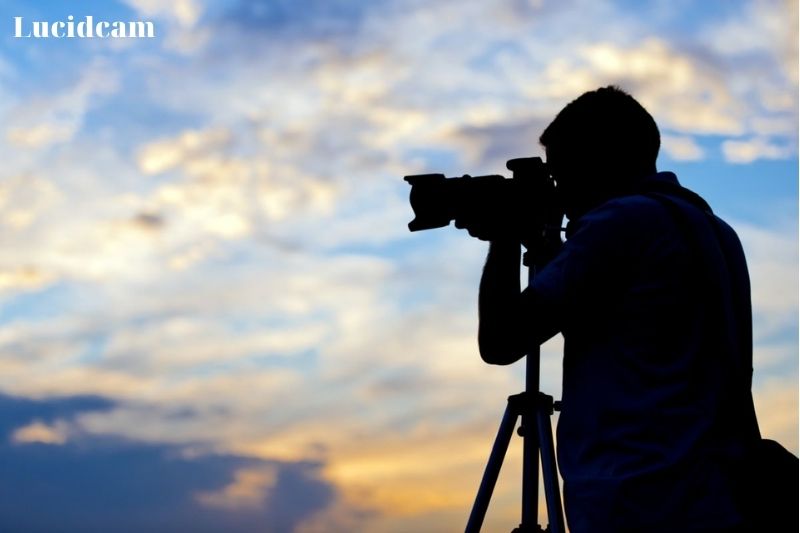
Nothing is better than hearing from someone who has been there. While books and courses are wonderful, the advice and motivation that you get from professionals are invaluable.
Although it may seem intimidating to ask for assistance, especially if your confidence and expertise are lacking, you will be astonished by their readiness to assist you.
It’s a rewarding experience for them, too. Mentors can provide you with all kinds of information. It’s worth asking.
Mentorship could be as simple as a monthly meeting to discuss your portfolio and exchange emails if you have any questions. It can also include a tag-along to a photoshoot.
You might be able to become their assistant if you plan on taking up photography as a career.
Remember that professionals are busy and will need to hear from you quickly.
Let them know your goals and why you believe they would make a great mentor. You don’t have to sound the same as you did to a thousand people. But don’t be too flattering.
Before you contact them, gather some information. You need to ensure that they are interested in your interests. You don’t need to reach out to wedding photographers if you are interested in learning about sports photography.
Ask for concrete advice about how to get into photography. You can also suggest a meeting, but be clear about your availability and how you will fit into their schedule.
There is no right or wrong way to approach it. Just be polite and you will be successful. Consider how you would want to be approached by someone if they asked.
9. Make Sure You Invest In The Best Gear
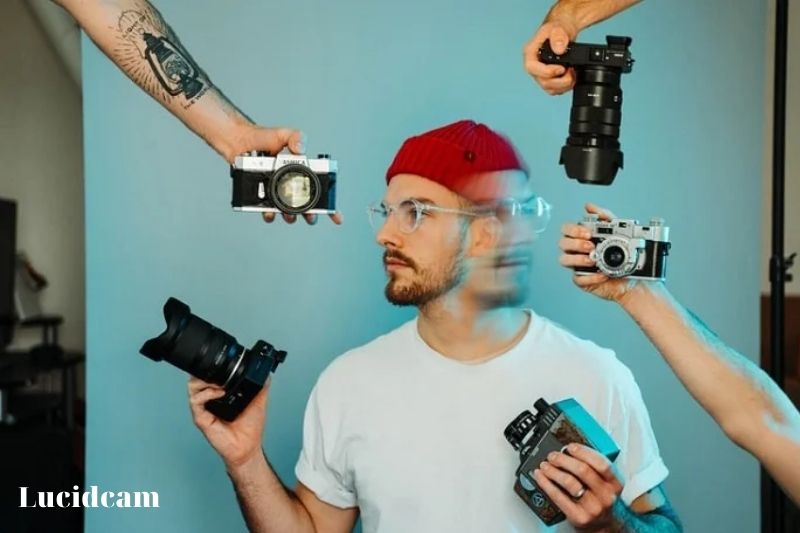
You’ve probably noticed that pursuing photography, whether as a pastime or as a job, is prohibitively expensive.
The camera does not make the photographer. However, there are limitations to what you can accomplish if your equipment isn’t improved and enlarged.
The best thing you can do for yourself is to invest in the equipment that best matches your demands and kind of photography.
You don’t have to buy the most costly camera on your first day. You don’t need a super-telephoto zoom lens to capture studio portraits.
Before you buy equipment that you may not use or don’t require, do some research, this is important as photographic equipment, like most technological devices, can become obsolete quickly. What should you do first?
A mirrorless or DSLR camera is a good choice for a starter camera. This will allow you to work in manual mode, and you can learn how the exposure triangle works. This is the shutter speed, aperture, and ISO.
Interchangeable lenses are also possible with a mirrorless camera or DSLR. Many people believe that the lens is more important than the camera.
A lot of DSLR cameras come with a kit lens. You’ll need to upgrade as you become more serious. However, this will allow you to try different lenses and decide which one you want to purchase next.
Advantages To Using DSLR Cameras
DSLR cameras offer an instant preview of your scene without any lag. The mirror can be opened and closed between shots to allow you to see what’s going on. This mirror has no electronic parts, so the light that passes through the lens instantly reaches the viewfinder. This is an advantage, especially when shooting sports.
A second advantage to using a DSLR camera for photography is its battery life. A DSLR camera has a longer battery life because there are fewer electronic components than a mirrorless. You don’t need to bring a lot of batteries. Instead, you can shoot for longer.
Downsides To DSLR Cameras
DSLR bodies are often bigger than mirrorless or point-and-shoot cameras because they have mirrors. Manufacturers can’t make DSLR bodies smaller than other types of cameras because they have larger internal components.
Another problem is that your viewfinder doesn’t allow you to see your camera settings in advance.
Because you can only see reflected light, it is impossible to predict how your photo will turn out with the current settings. This can be overcome by using Live View, which allows you to view the shot on the LCD screen. However, this can prove more difficult for beginners.
10. Learn About Post-Production

In the professional world, a photographer is often referred to as a retoucher. All photographers must be able to do basic photo editing.
You never know. Maybe your chosen branch of photography turns out to include post-production. This task can be accomplished by searching free Lightroom tutorials. You can also enroll in online classes or visit an academy.
It can hard to choose the right program for your post-processing needs.
Adobe Cloud is the industry standard. These are the most popular apps Adobe Photoshop, Adobe Lightroom, and others. You will need a membership to use them. However, you get a free 7-day trial and a 14-day refund period, so you can decide if they are for you.
Adobe is not the only option. You can also look at our software reviews here before you make your final decision.
There is also free photo editing software like Gimp. These options are completely risk-free. You can delete them if you don’t like them.
11. Camera Modes
You have three options when driving a car: drive, reverse, and neutral. Each of these options can “drive” your car but have different effects. The camera mode is the same. You can adjust the settings of different camera modes to take a photograph
12. The Exposure Triangle — Understanding ISO and Aperture
Aperture
Two things are determined by your aperture setting (measured in f/stops).
- How much light is reaching the camera sensor
- The depth of field in your image
A wide aperture (lower than 2.8 f/stop) will let in lots of light. This setting will allow for separation of the subject and background, which will result in your subject being in focus while blurring out the background. This setting is preferred by a portrait photographer.
A narrow aperture (such as f/16) will allow less light to enter. This setting will help keep the scene sharper and focused. This setting is often preferred by landscape photographers.
Shutter Speed
Two purposes can be served by the shutter speed setting. It is measured in seconds and fractions of a second.
- To freeze motion or in some cases, to blurred movement
- To lighten or darken the exposure
Moderate shutter speeds between 200 and 600 will suit most photography purposes. Higher shutter speeds, such as 3600 will allow you to capture faster-moving objects, such as people running or race cars racing around a track. You can create long exposure images with low shutter speeds, which blur out any moving objects in the scene.
Naturally, the longer the shutter speed, the longer the camera shutter will take to close. . This is because longer exposures allow more light through the aperture hole to reach the sensor.
ISO
The Exposure Triangle’s ISO setting is often the most difficult to comprehend on its own. ISO 100 is the ideal setting. You should not increase it if you are looking to enhance an image. An adverse effect of increasing ISO is an increase in noise or the appearance of grain in your image.
While most modern DSLR cameras can handle this level, beginner camera gear has trouble with it. Professional equipment can take photos up to 6400 before they become unusable.
13. Pay Attention To The Light
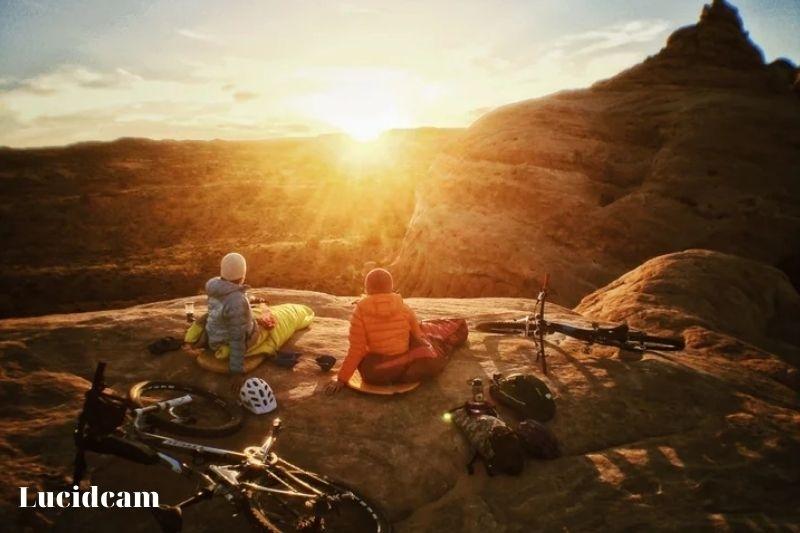
Light is probably the most important aspect of photography. A good photo will show you have taken an important step towards a great picture. What is good lighting? But it’s not just about sunsets.
The goal is often to balance the intensity of the light between your subject matter and the background. Even if you are photographing a stunning sunset, a dark, silhouetted background could ruin your photo.
This can be solved by paying attention to how soft and in which direction the light is directed. Bad shadows can result from too bright light, especially for portrait photography. You can try to adjust the angle of the light (in a studio or outdoors) or move your subject (landscape photography).
Make sure you have enough lighting conditions if you are taking handheld photos. Use a flash to brighten the area or move your camera. It is easiest to create bland photos that aren’t vibrant enough by shooting in dark environments.
14. Network
It’s wonderful to include family and friends in your photographic experience. They will, however, be unable to teach you much.
Although your mentor may be a photographic specialist, they will not have the time or expertise to share it with you. You must broaden your network.
This can be done by joining photo clubs, attending exhibition openings, or dropping by an art school to check out which events they are hosting.
You can also reach out to other mentors, in the same manner you reached out to them. You can email local photographers to meet up, or you can start messaging with other photographers you follow on Instagram.
You can also find many Facebook groups for photography. Shotkit even has one private. You can also find specific websites such as 500px and Adobe Behance.
You can also find advice and reviews on camera gear, contests, and exhibitions. If you are interested in the type of photography, you can organize or join day trips to photograph events and sites with a group.
You can also work together to share the costs of hiring a model or renting a studio. Building a network has many benefits.
15. Learn More About Composition
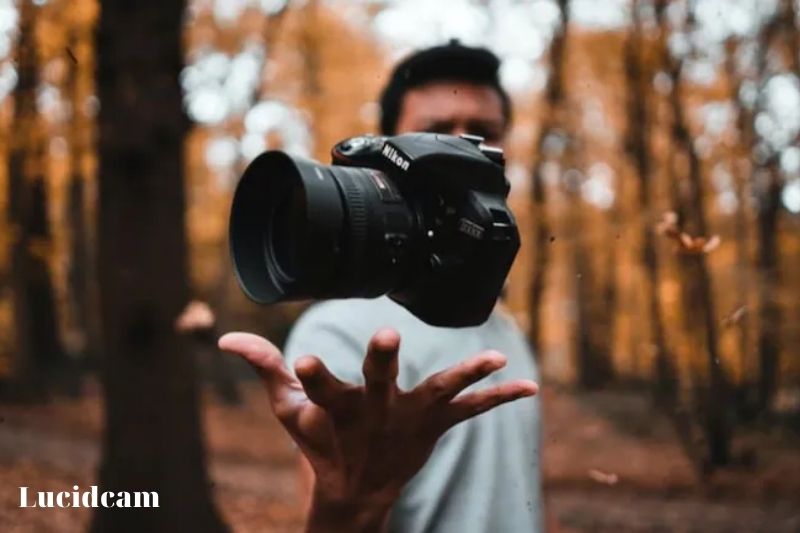
You can work on composition right away, no matter what type of camera you use. A good composition can make all of the difference, even if you are taking pictures on your smartphone.
Composition is simply how all the elements in your frame are positioned. It is how you frame the shot to direct the viewer to the subject or to make the image more appealing to look at.
You probably can’t remember why you couldn’t look at a particular photo for a long time. You can understand the rules for composition and see why certain photos are so beautiful.
A great photograph will draw your attention to the subject. This is easier with these compositional rules. These are the most important compositional rules you can use to get started right away.
Rule of Thirds
The rule of three is the most fundamental rule of composition. Every type of photo has three equal thirds that run horizontally and vertically. It’s easy to remember where these thirds are within your frame so you can position your subject.
If you wanted to take a photograph of someone standing in front of your camera, you could place them on the right or left-hand third. It is better to align them with a third rather than placing them in the middle or closer to the edges.
It is the same for horizontal thirds and horizons. You’ll most likely place the horizon light in the middle of a photograph of the ocean if you’re taking it. Instead, you can use the rule of threes to align the horizon with the top or bottom third. This will again make your photo more appealing.
Leading Lines
Leading lines is another popular and highly effective rule for composition. To draw attention to something in your photograph, this rule uses natural lines. This line can be anything, from a road to footprints in the sand. It’s okay as long as there is a clear path.
All around you are leading lines. When you run errands next time, be sure to look for leading lines that could work in a photograph. It might be as basic as a grocery store shelf or a windowsill in your home. These lines will assist you in better identifying them and incorporating them into your photographs.
It’s not worth having a leading line if you don’t know where it leads. Instead of photographing random lines through your frame, try to identify a point of interest. You can see in the image below how my subject’s silhouette is drawn by the footprints.
Our subject is drawn by the footprints made in the snow.
Depth
Depth is one of my favorite compositional rules. While everything around you is 3D, you only see it when you take a photograph. This can make a scene appear flat and boring. This problem can be solved by using depth to create layers in your photo.
Your photo’s layers are the background, foreground, and mid-ground. You can create the illusion of depth by placing an object in each one of these spaces.
Anything that is close to the camera is considered the foreground. This is usually the first thing that the viewer sees or the most obvious. A tree branch or interesting rock could be examples of the foreground.
The middle ground is where you will establish your subject and the theme of your photo. The middle ground is located below the foreground.
The background is everything that surrounds the subject. While there may be some points of interest in the background, such as a mountain or interesting clouds, they are not the main subject. Your background is the cherry on top of your photograph. It is the extra bit that makes your photo stand out.
First, establish a foreground to begin using depth in your photography. You might try to capture depth through something like a tree branch or the edge of an object. Anything you can look beyond. Once you have your foreground, you can position your camera so that it frames your subject in the best way.
Take a look at your background to determine if you have any ideas. You might have to adjust the position of your subject and camera to match a better background.
Negative Space
Negative space refers to a lack of something to view other than your subject. This technique is a mainstay of minimalist photography and is very popular in cinema. Apple is an excellent example of a company using negative space to highlight its products.
Photography can use negative space. It doesn’t matter how complicated your photo is. There should be no distractions. Just your subject. This is easiest if you place your subject in front of or near a solid-colored object.
Solid color does not refer to using a studio background. You could instead use the sky, shadow, or wall to draw your attention to your subject. Your eye immediately draws towards the subject because there is nothing else to look at.
This compositional technique is extremely useful, as it allows you to showcase your subject.
Frame within a Frame
By placing your subject within a “frame”, you can highlight them. A-frame within your photo will surround or outline your subject, much like a picture frame. This arch is an example of a frame that I use to protect my silhouette.
You can make frames from almost anything. Tree branches, rock formations, overpasses, and a variety of other materials can be used to create frames. Anything that forms a box or outline in your photo is okay.
Your attention will be pulled to this frame and you will be quickly brought to your subject. This is why, while using this approach, it is critical to position your topic within the frame.
16. Get Organized
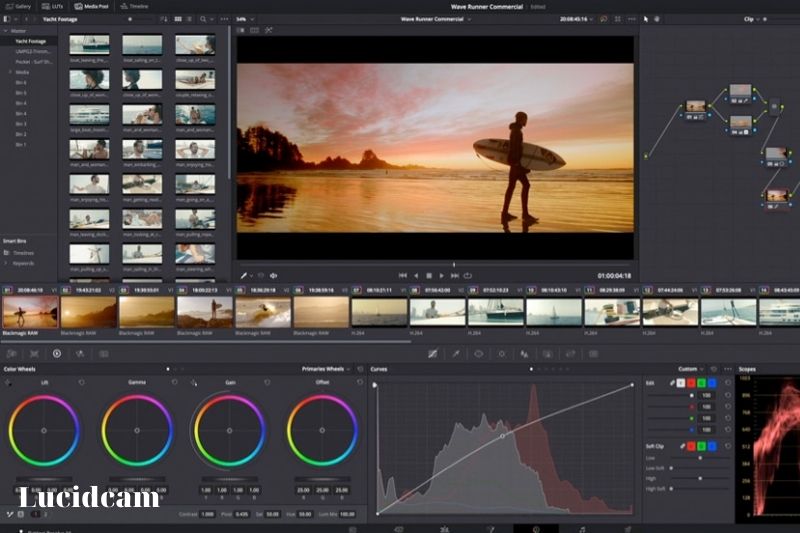
It doesn’t matter if you are organized or messy. It is important to make your photos easy to find. This is not about speeding up your workflow. If you forget how your hard drive is organized, you may accidentally delete important files.
We just create a new folder containing photographs for each year and then split each year by the months (“01 January”, “02 February”, etc.) for alphabetical order. Next, I organize the photos in different collections using my post-processing program. This allows me to find images from any given location or meant for a specific project.
This is only one method. Photographers prefer to arrange their photos by year and then divide each year into specific events rather than by months. It doesn’t really matter what method you use; just do what feels right to you. You must establish good habits early to avoid problems later.
- You can check out How To Clean Camera Lens 2023: Top Full Guide to learn more information that helps you clean your camera’s lens
FAQs

1. What are beginner photographers looking for?
To begin, you will need a camera and a lens. That’s all! More equipment may always be added, but you should start with the most basic. This allows you to focus on the fundamentals before progressing to more complicated configurations.
2. What qualifications are required to be a photographer?
Photography is a broad field, so it really depends on what job you are doing. While some specialized photography types require a bachelor’s, many professional photographers skip formal education and build their experience through on-the-job training.
3. How can I get started in photography?
First, you need to master the craft. This can be done by yourself, practicing and studying, or with schooling (such as a college or university degree), and by learning from mentors and attending workshops. Once you have decided what kind of photography you wish to pursue, start creating. Your career can be launched by building a reputation through word-of-mouth or social media.
4. Is it difficult to get into photography?
To become a professional photographer (one who earns living selling prints or photoshoots) is extremely difficult, as it requires both marketing and photography expertise.
Conclusion.
In conclusion, Becoming a photographer is a thrilling adventure for anybody who loves capture events and expressing visual tales. Firstly, you should master fundamental concepts of photography, such as composition, lighting, and exposure.
Learning about various types of cameras, lenses, and equipment may also help you gain a better knowledge and broaden your creative options. Invest time in playing with your camera, researching various subjects, and developing your abilities. Thank you for reading!
